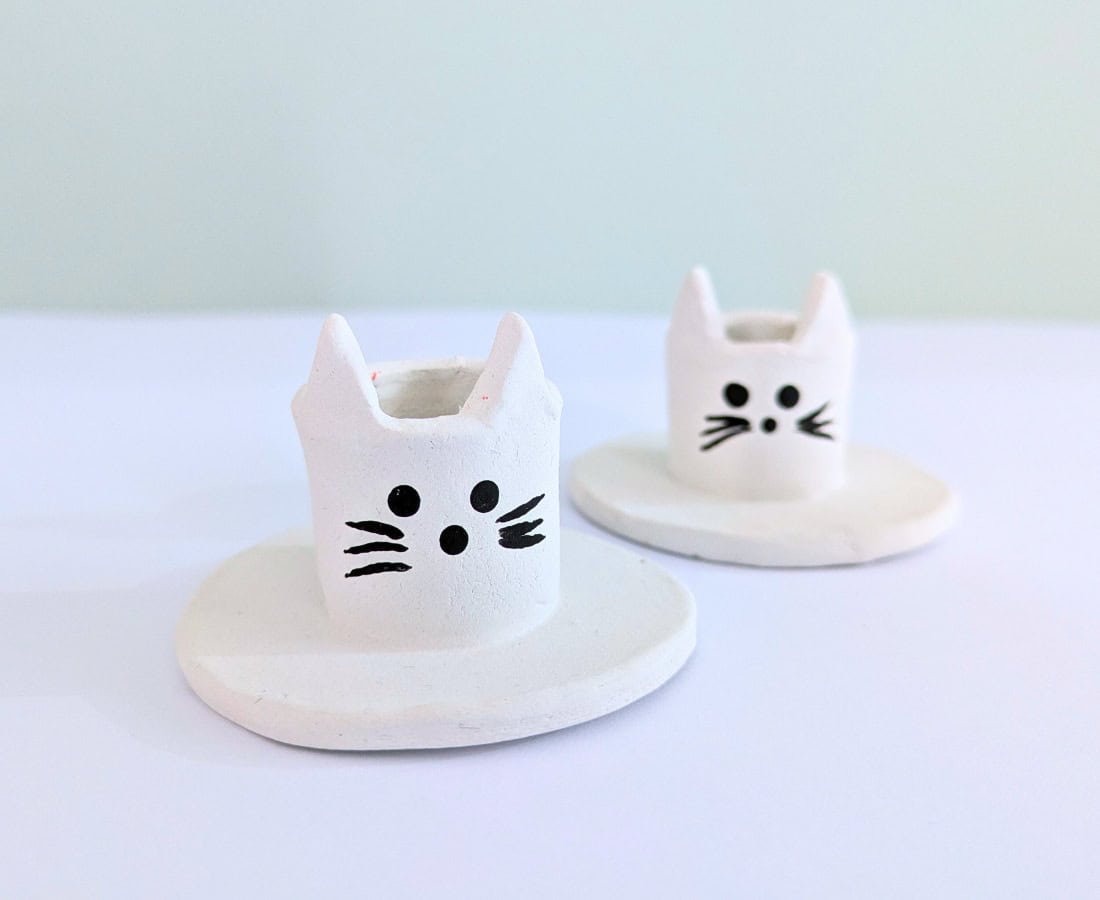
Air dry clay cat candle holders
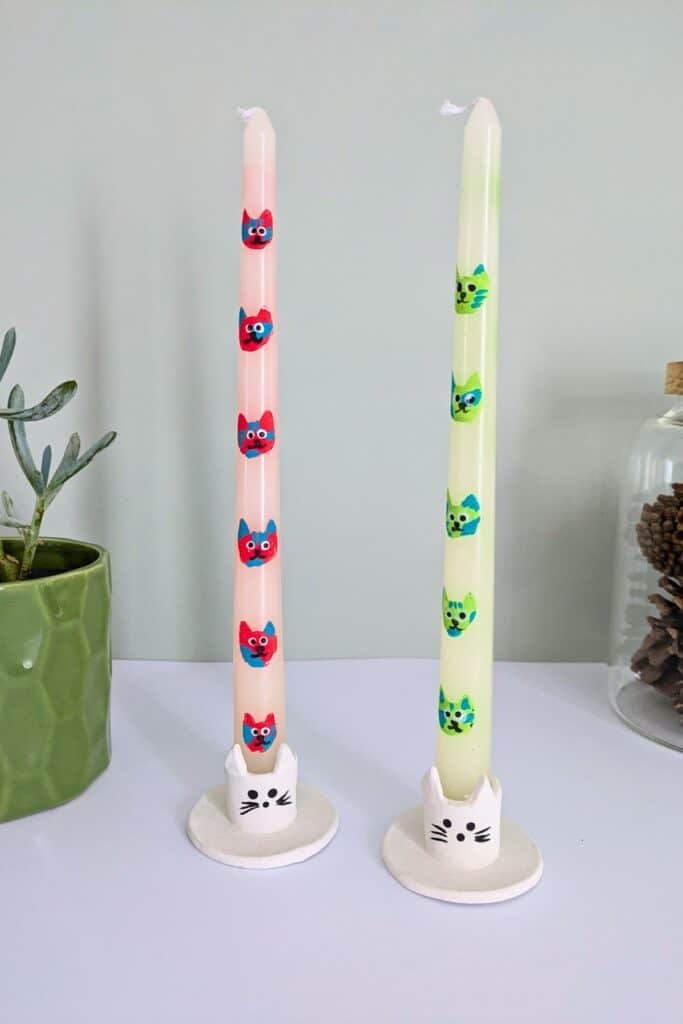
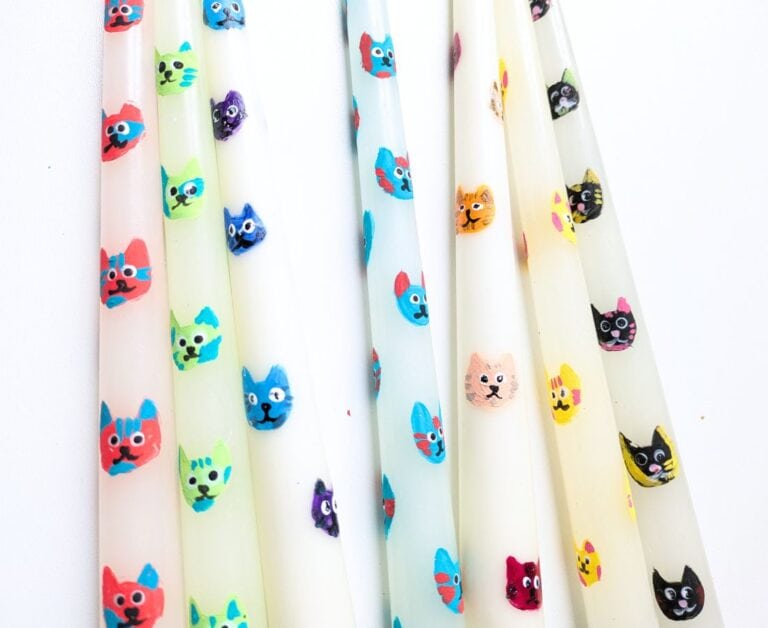
If you decided to make some of those cute cat painted candles in my last post then you’re probably about ready for your next cat themed project. These air dry clay cat candle holders are a great choice!
This post contains some affiliate links. This just means that I may get a commission on any sales made from links on this page and this is at no extra cost to the seller or you.
What do you need to make an air dry clay candle holder?
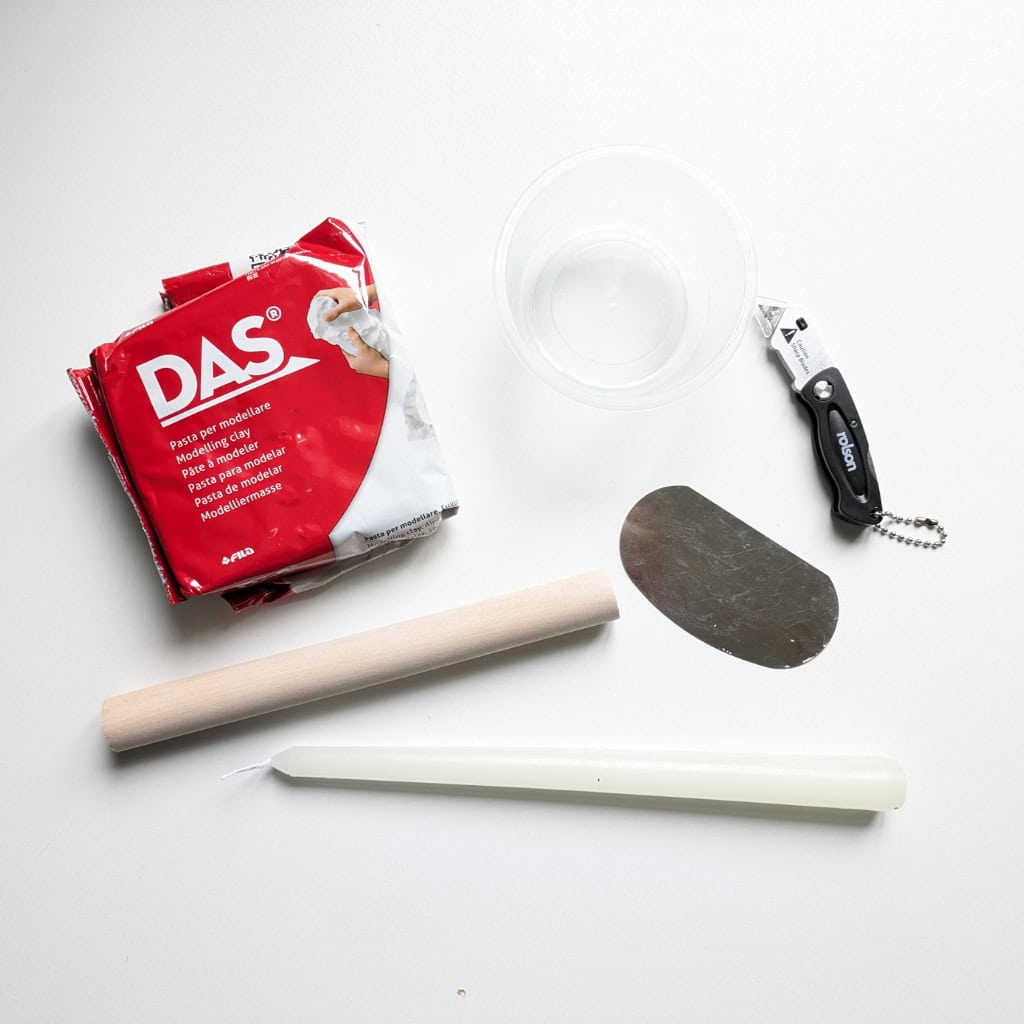
Well, I’ll tell ya! But as always I’ve forgotten to add a few things to this image, not pictured includes.
- Water
- Pokey clay tool
- Paints of your choice (I used acrylic) avoid oil based paints.
- Small paintbrush
Pictured
- Airdry clay
- Rolling pin
- Candle
- Clay rib
- Knife
- Circle template or lid
How to make air dry clay cat candle holders
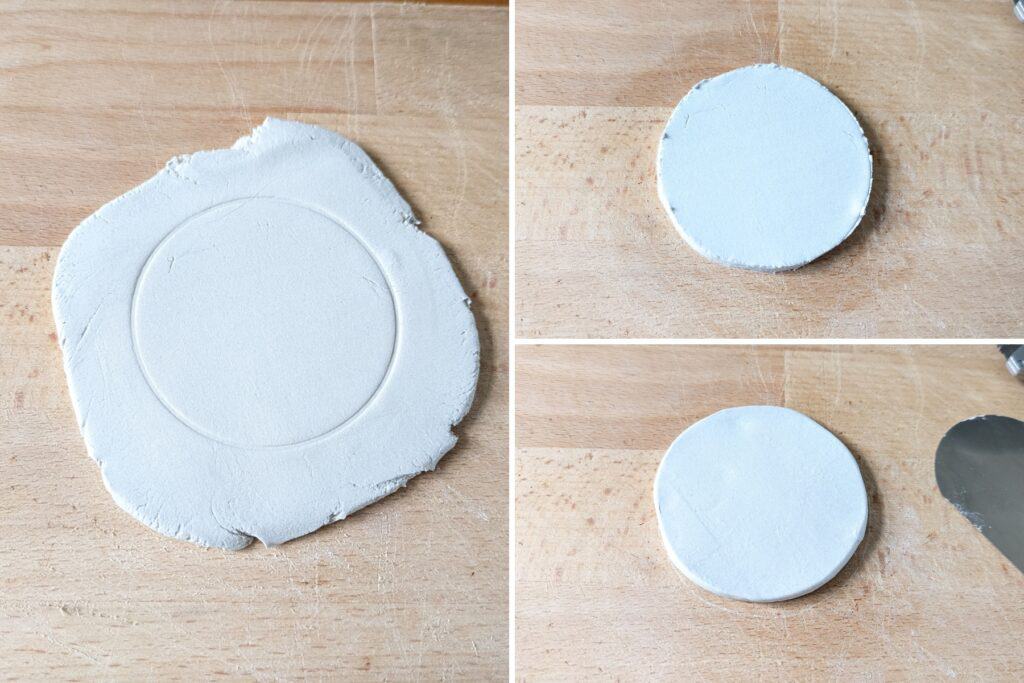
These cute little candle holders are really simple and quick to make. First off, grab a little handful of the airdry clay from the packet, making sure to seal it back up to keep the moisture in.
Roll out a piece of clay to about 5mm thick and then use your template to make a circle in the clay. I used the base of an old jelly pot that I’d saved and simply pressed it in. Then cut around the circle, don’t worry too much now about jagged edges as you can simply wet your finger a little and smooth around or use the clay rib to smooth.
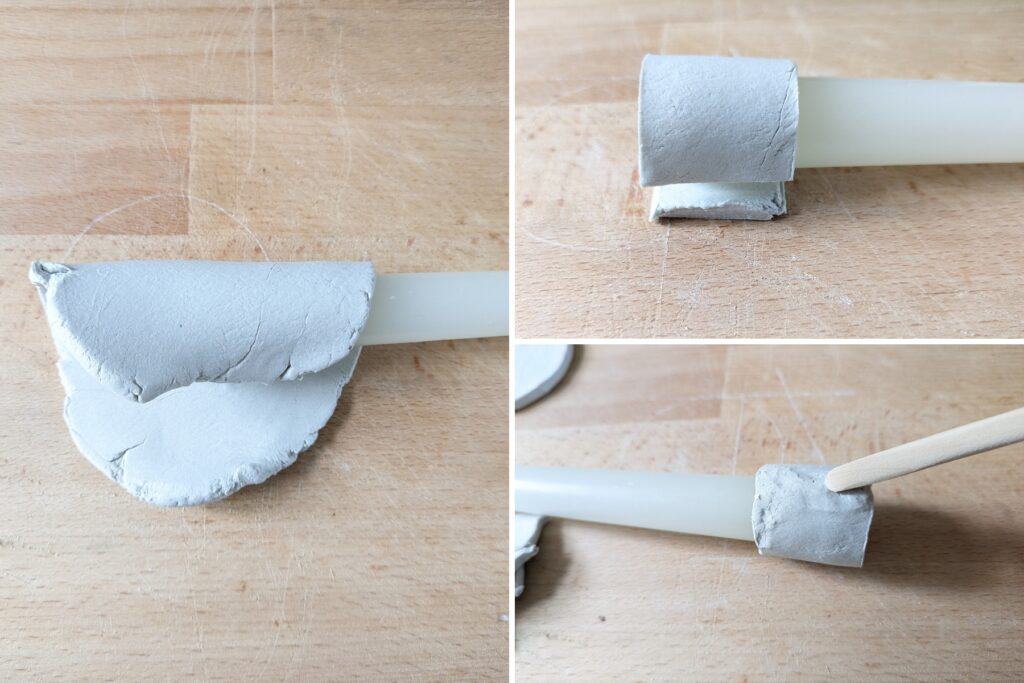
Next we’re going to make the part that holds the candle. Again, roll out some clay around 5mm in thickness.
Roll the clay around the candle to make sure you get the correct shape and size. Try not to make it too snug so that you can get the candle in and out easily, but not too loose that the candle becomes unstable.
Cut the clay to your desired height (I did around 3cm) and then join the edges together with your finger or clay tool, then smooth out to hide the join.
How to join airdry clay
Now we need to join the base and the holder together. I used my wooden modelling tool to smooth down the edge, if you don’t have one to hand then you can use your finger or even the handle of a paint brush for the same effect.
If you need to cut a little off the clay at either the top or bottom because it got out of shape (see mine above 😹) then do it whilst still on the candle.
Place the holder onto the base to get it central and then make a light line round the inside so you know where to score the base.
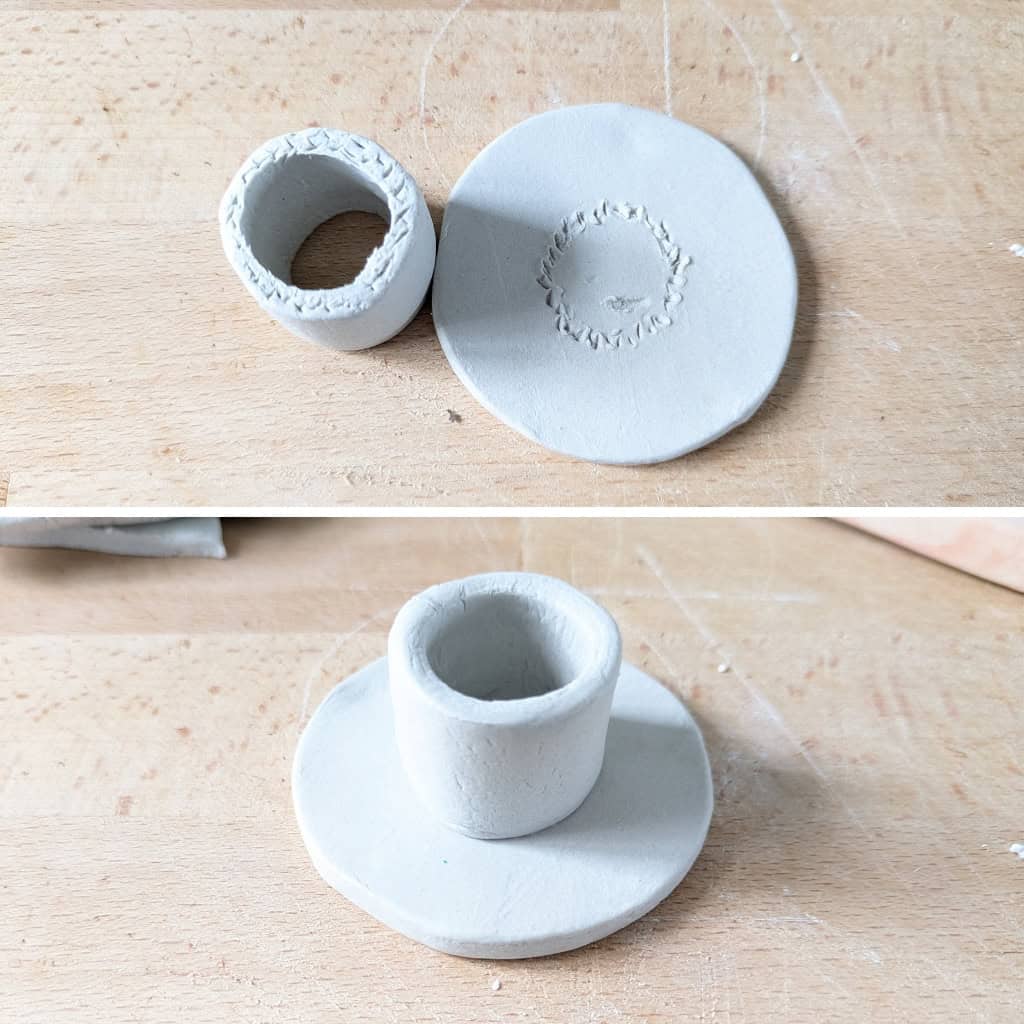
Next, score both the holder and the base, this will help them stick together. Add a little bit of water or clay slip to both and then firmly press together ensuring you don’t squash the shape of the holder.
I used a wet paintbrush around the bottom of the holder to smooth the join.
Let’s make some cute cat ears!
We’re close to finishing now but we need to add the most important part to get this little badboy looking more cat like.
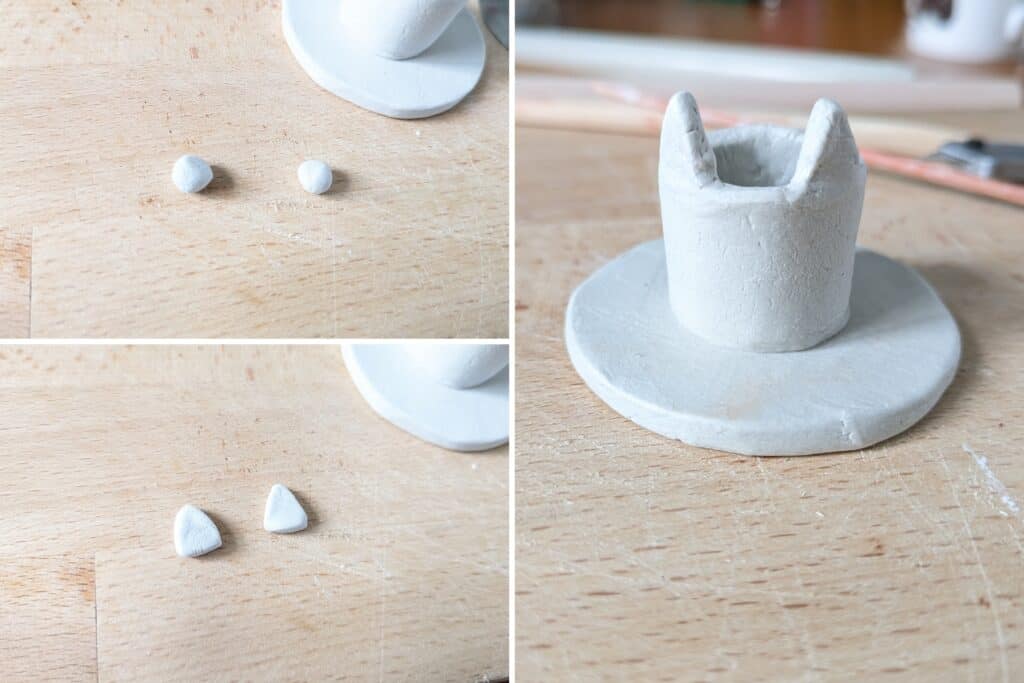
Roll two pea sized balls of clay and then squash them into that perfect triangle that is a cat’s ear.
Score both the holder and ears and attach the same way we used for the base. Once they’re on you can smooth out any creases or bumps but try not to lose the shape. Don’t worry too much at this point as you can always cover it with paint once they’re dry.
How long does air dry clay take to dry?
Air dry clay drying times vary from project to project but start from 24 hours. I let my cat candle holders dry for 3 days and they were completely set and ready to paint after that.
It also depends on the temperature and humidity where you are. I found the easiest way to check if they’re dry is to do a visual check for any moisture (this appears as darker spots) and also the tap test. If it feels like stone when you tap it, then it’s dry.
Let’s make a cat face
Once your little cats are dry it’s time to add their cute little faces. I opted for a simple black and white design in the hope that it would go with any candles I chose to use.
For this cat face I used the end of my paintbrush to dab on the eyes and nose, then painted some whiskers in the same colour to finish the look.
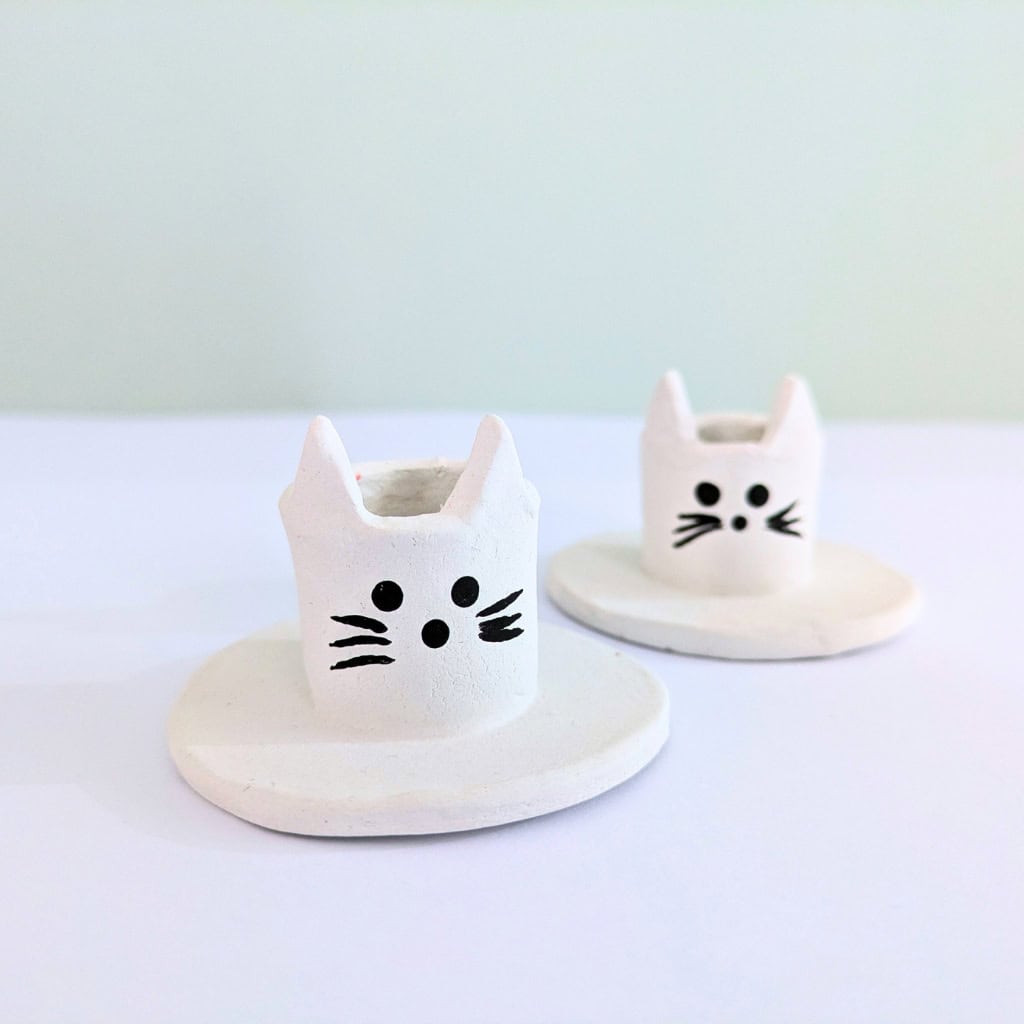
So there we go, you’ve now made your cat face air dry clay candle holders! Check you meowt 😻
Safety first!
As adorable as these cat candle holders are, it’s important to remember that safety comes first. Always keep an eye on your candles and never leave them unattended, especially if you have pets (and I know you have at least one cat!) or little ones around. Be sure to place your candle holders on a stable, heat-resistant surface, away from anything flammable. With a little care and attention, you can enjoy your beautiful, handcrafted holders while keeping your home safe and cosy.
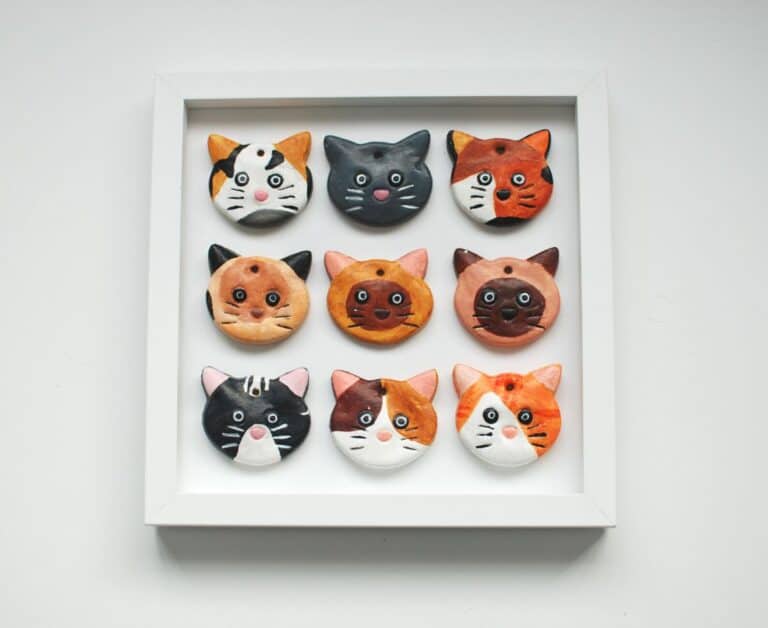
I hope you enjoyed this little project, if you love cat themed crafts for adults (and sometimes kids too) then take a look at the cat crafts section to find your next cat craft make 😻