Quick cat crafts – Turn a greeting card into cat wall art DIY
This quick cat craft is ideal for those of us with both a greetings card and cat obsession. If you’re looking for something quick and easy to brighten up your wall, shelf or desk (or wherever you put your picture frames, these days) then this cat wall art DIY is for you.
I was in Tesco last week on a panic ‘shit, I forgot to buy new school uniforms’ shop and happened to walk up the card and party aisle on my way up to the tills and OMG the range of cat stuff they have in at the moment is just gorgeous!
This isn’t a sponsored post, I just loved all the items. I couldn’t find this card online but they do have it in the stores.
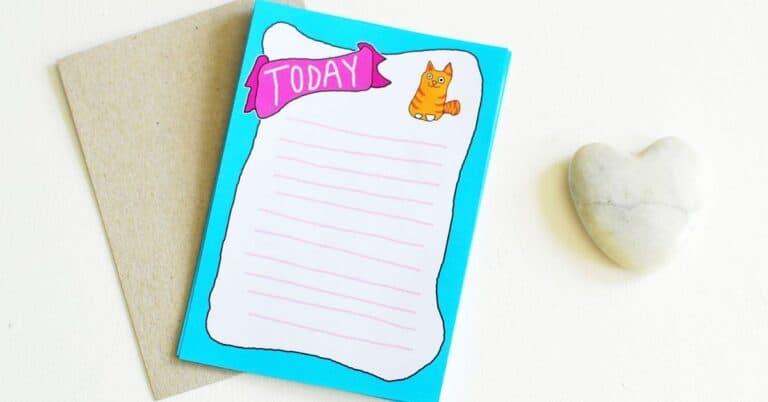
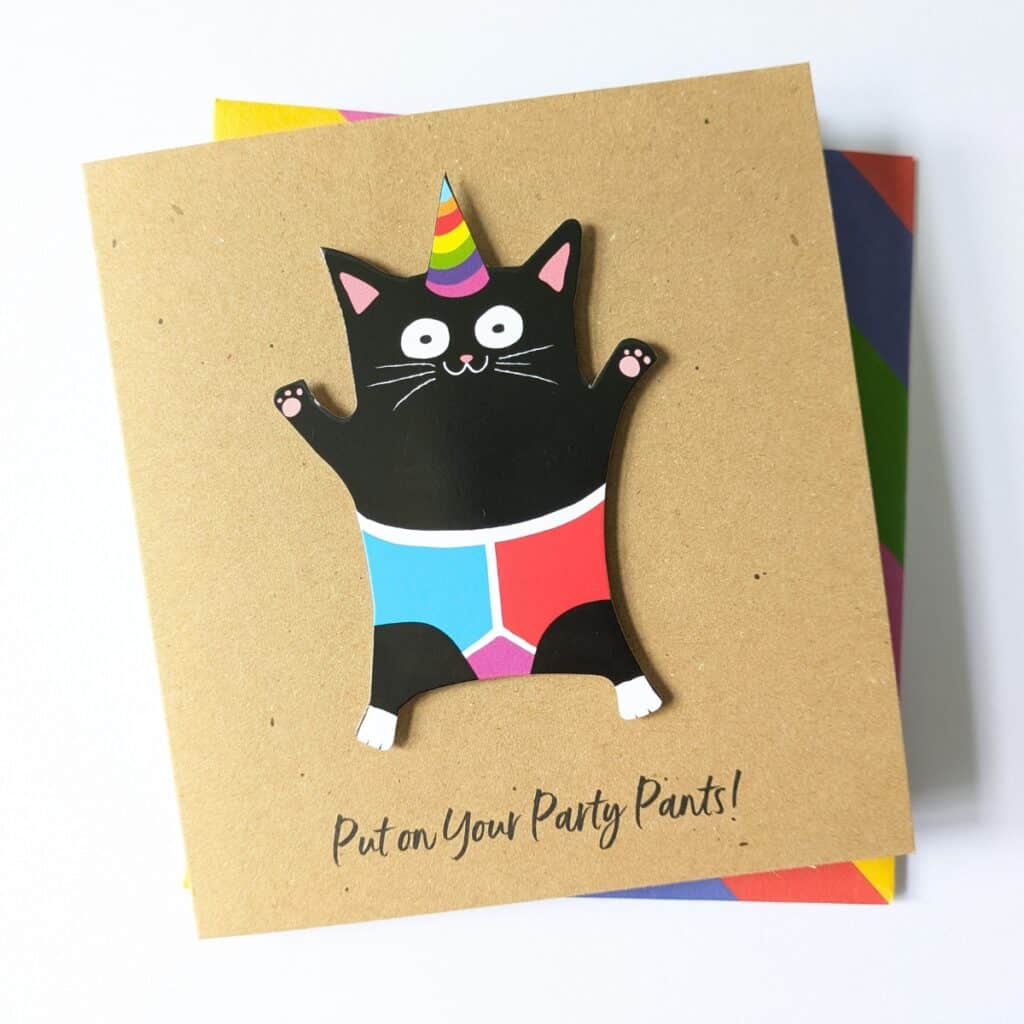
Look at this card I found! 😻
Unfortunately, I’d just got done explaining to my kids that we can’t treat ourselves every time we go into a shop so I’m going to have to go in on my own at some point and stash it all away so no one sees my dirty little secrets.
YES, I have a lot of cat themed items in my home!
Anyway, enough about me and my ‘cat tat’ as my husband calls it. Let’s get your cat wall art DIY started! I should add at this point, my husband actually really liked this card.
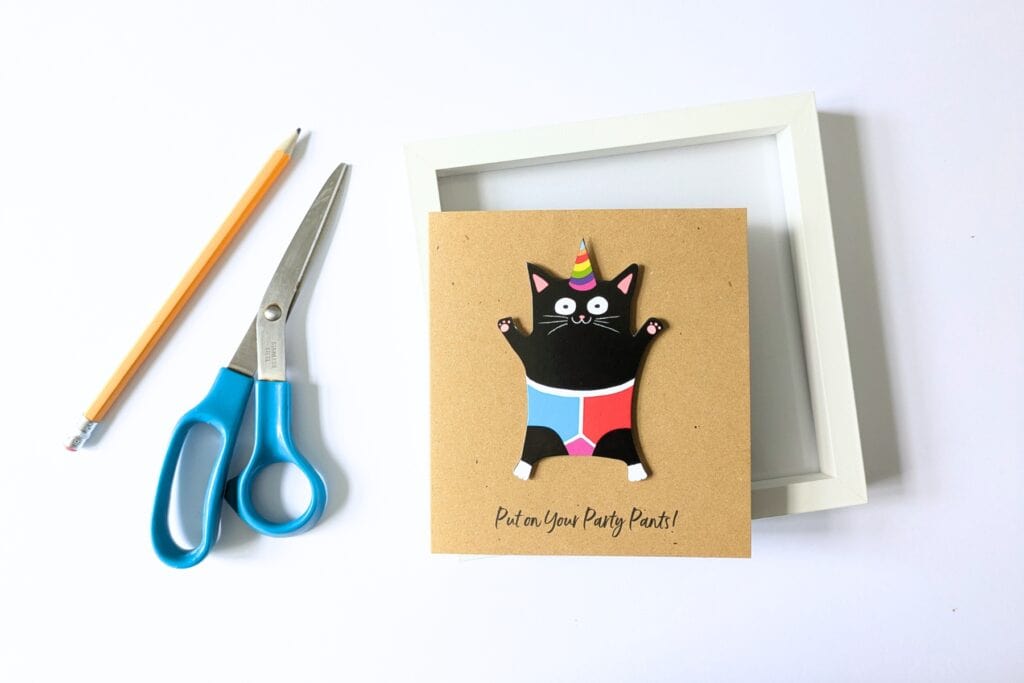
Materials Needed
- A cute cat themed greeting card that makes you smile
- A picture frame
- Scissors
- Adhesive (optional, for securing the card)
- Pencil (just in case)
Step 1: Choose the Perfect Cat Greeting Card
Start by selecting a card that just makes your heart happy. As soon as I saw this badboy I knew I had to have it. Not even to send to anyone else, just for me. Cards with vibrant colours, funny messages, or unique designs work especially well.
Step 2: Prepare the Card
You can either cut the back off the card to help it sit flat, or leave it as is. Depending on the card and frame you’ll be able to tell which will work best. The cat on the front of my card is raised so I needed to remove the back to help it fit in the frame easily.
Step 3: Frame the Card
Place the card inside the picture frame. If it’s smaller than the frame, you could use some background paper that complements the card’s design. I just took the paper out of the frame to expose the brown backing which matches the card perfectly.
Use your pencil to mark where you want it if you’re that way inclined, I just did it by eye (sorry, Dad). Then secure the card if needed, with a small piece of adhesive to keep it in place. Once you’re happy, close the frame.
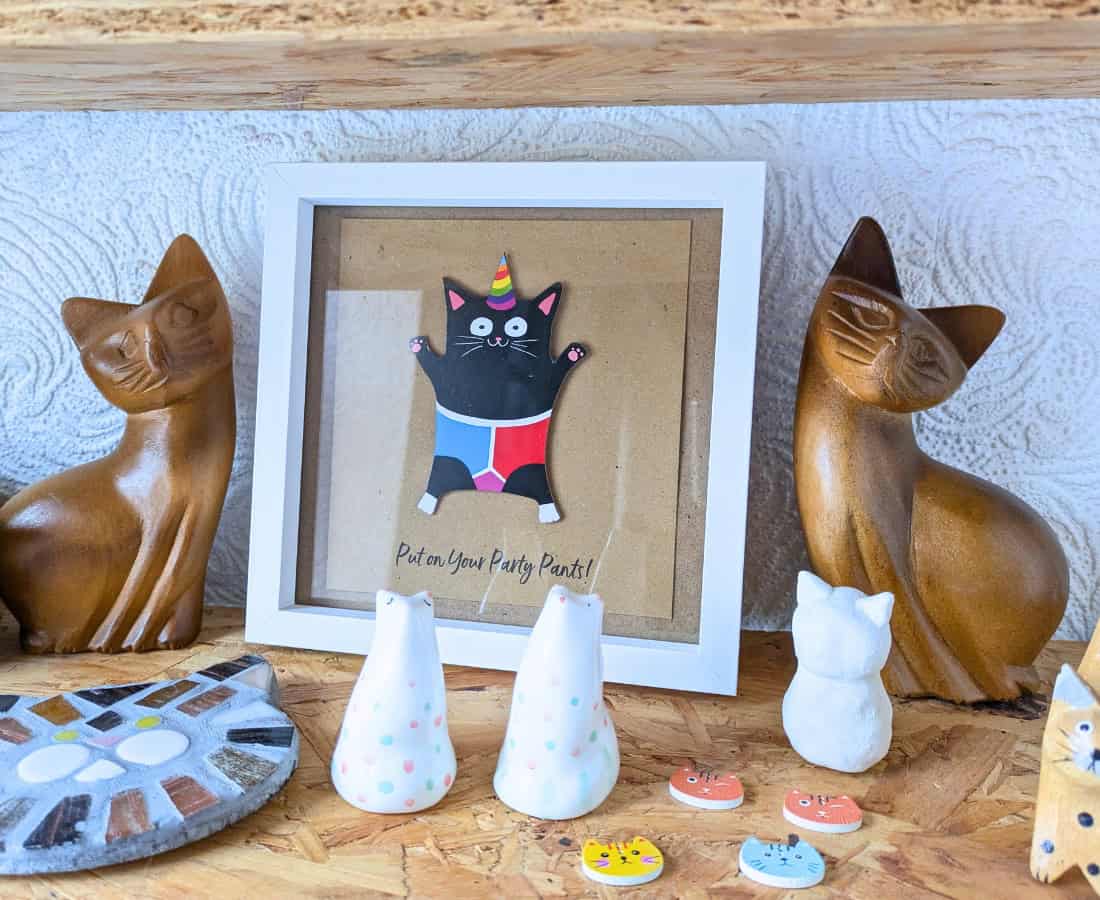
Step 4: Place and enjoy!
Now all that’s left is to find the purrfect (haha, did you think I’d go a whole blog post without a cat pun!) spot to display your meowsterpiece (sorry) then simply stare at it admiring your work for a few hours.
Need more cat wall art DIY projects?
If you enjoyed this little quick cat make then you might like my other DIY on turning a t-shirt into wall art.

Follow me on Facebook because I have a thousand people on there and only 3 interact with my posts.