How to make ghosts out of air dry clay – Cat lovers edition
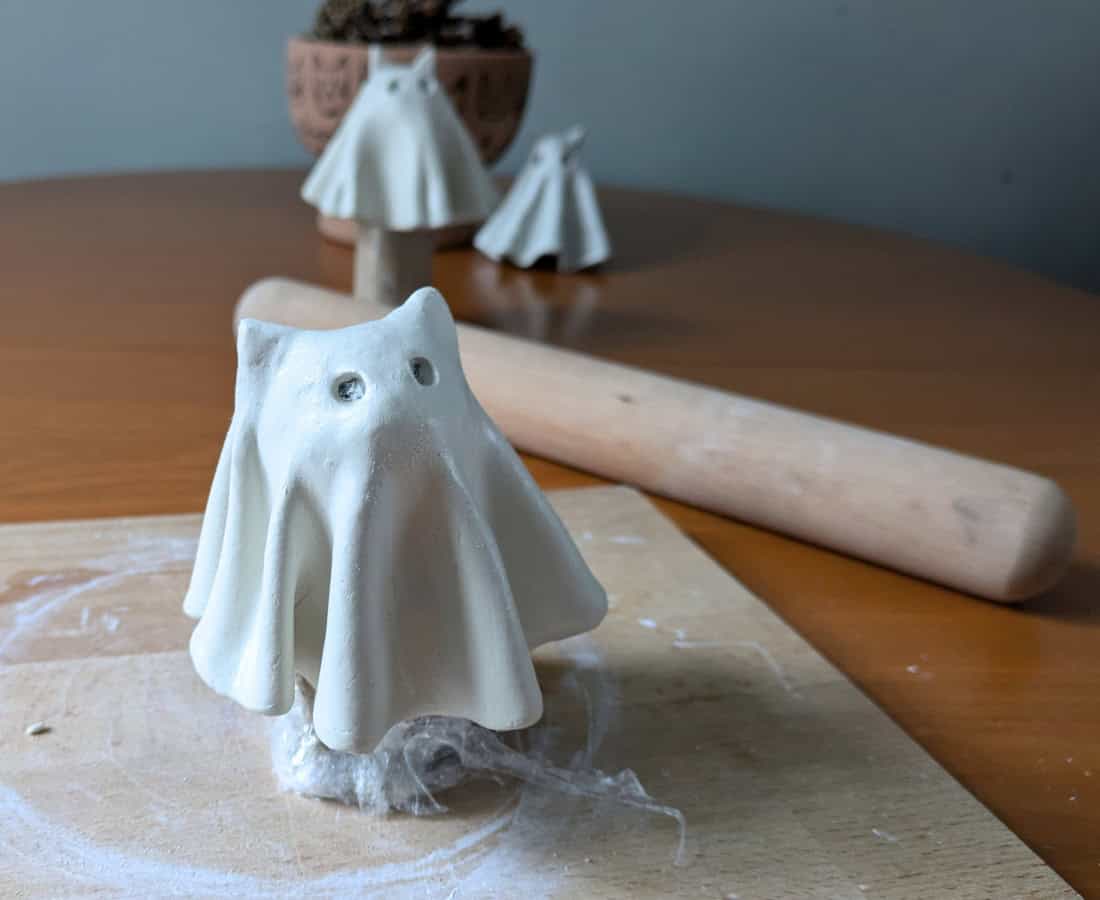
Ever wondered how to make ghosts out of air dry clay? Well, if you’re like me and don’t fancy paying out for something you can make at home, then this air dry clay ghost cat DIY is for you!
And you know what! A cat ghost is not just for Christmas, you can show off these sweet ghouls all year round.
This post contains some affiliate links. This just means that I may get a commission on any sales made from links on this page and this is at no extra cost to the seller or you.
What do you need to make a ghost cat out of air dry clay?
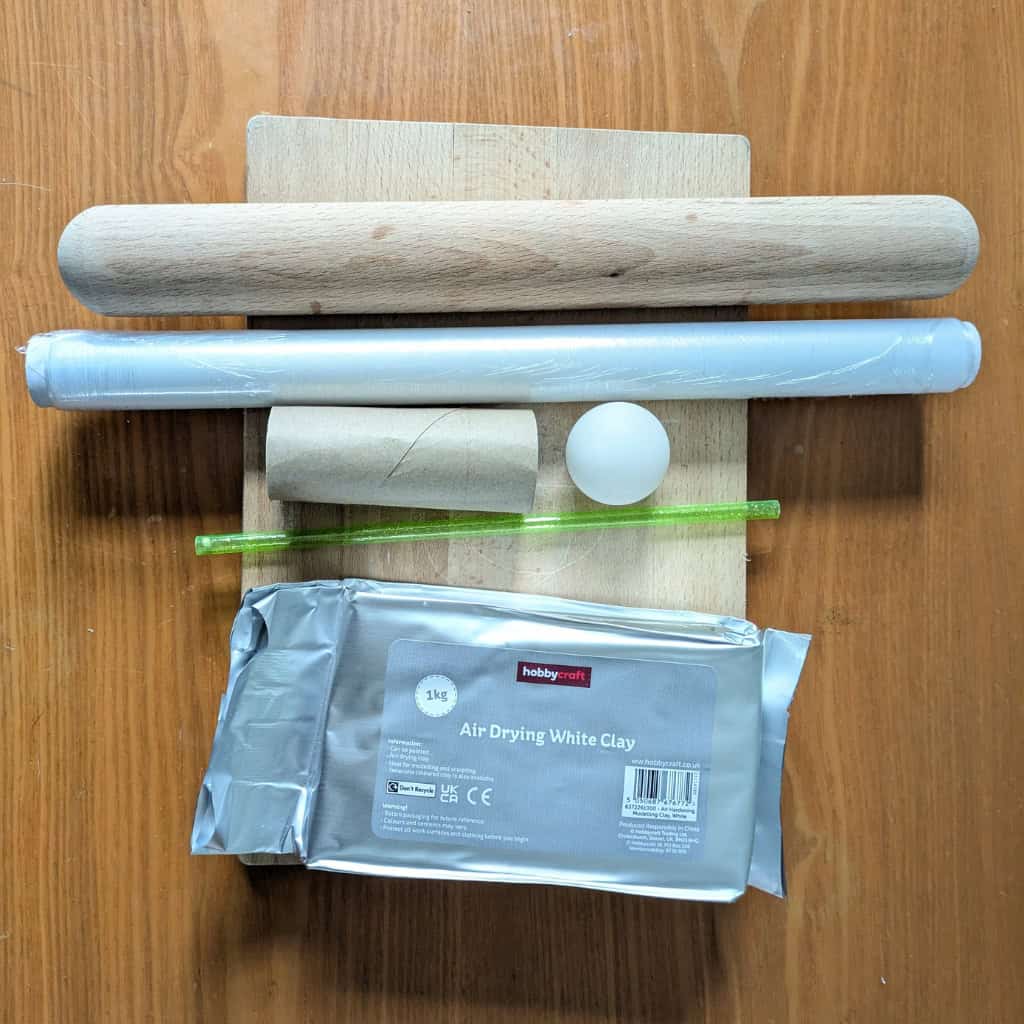
- Rolling pin & board*
- Cardboard tube
- Ping pong ball (or something you can fashion into a ball, tinfoil works well)
- Straw or similar to make eye holes
- Air dry clay
- Circular object to use as a template (size of your choice)
- Soft paintbrush
- Water
*I don’t use my regular kitchen roller & board for my clay projects.
How to make ghosts out of air dry clay
Well, get your bits together and let’s make some ghost cats!
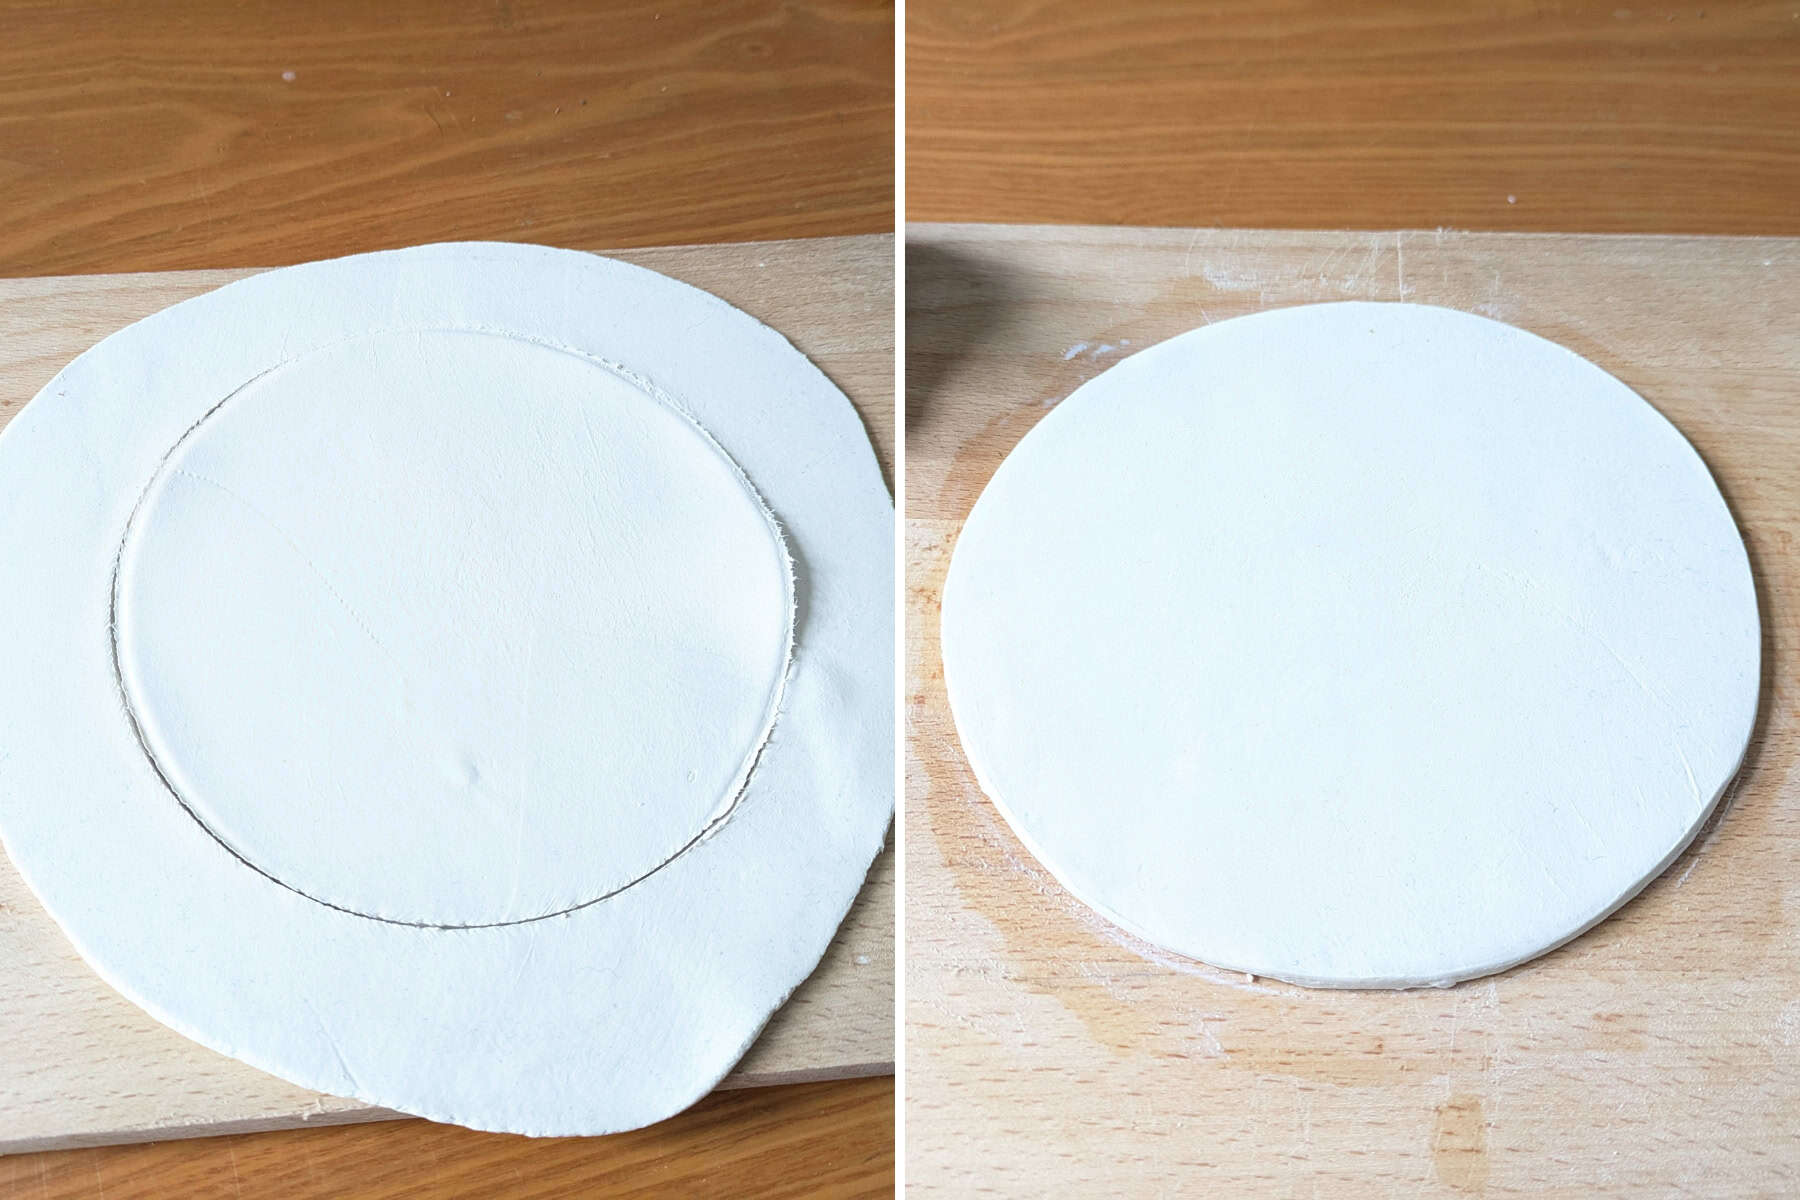
Step 1
Grab a small handful of your air dry clay and roll out to about 3-4mm in thickness. I found it was easier to have a slightly thinner depth of clay on this project because we’re going to be folding it into a fabric like finish and it just makes it so much easier.
Grab your circle template and cut round and remove excess clay. Smooth the edges down with a wet finger or sponge.
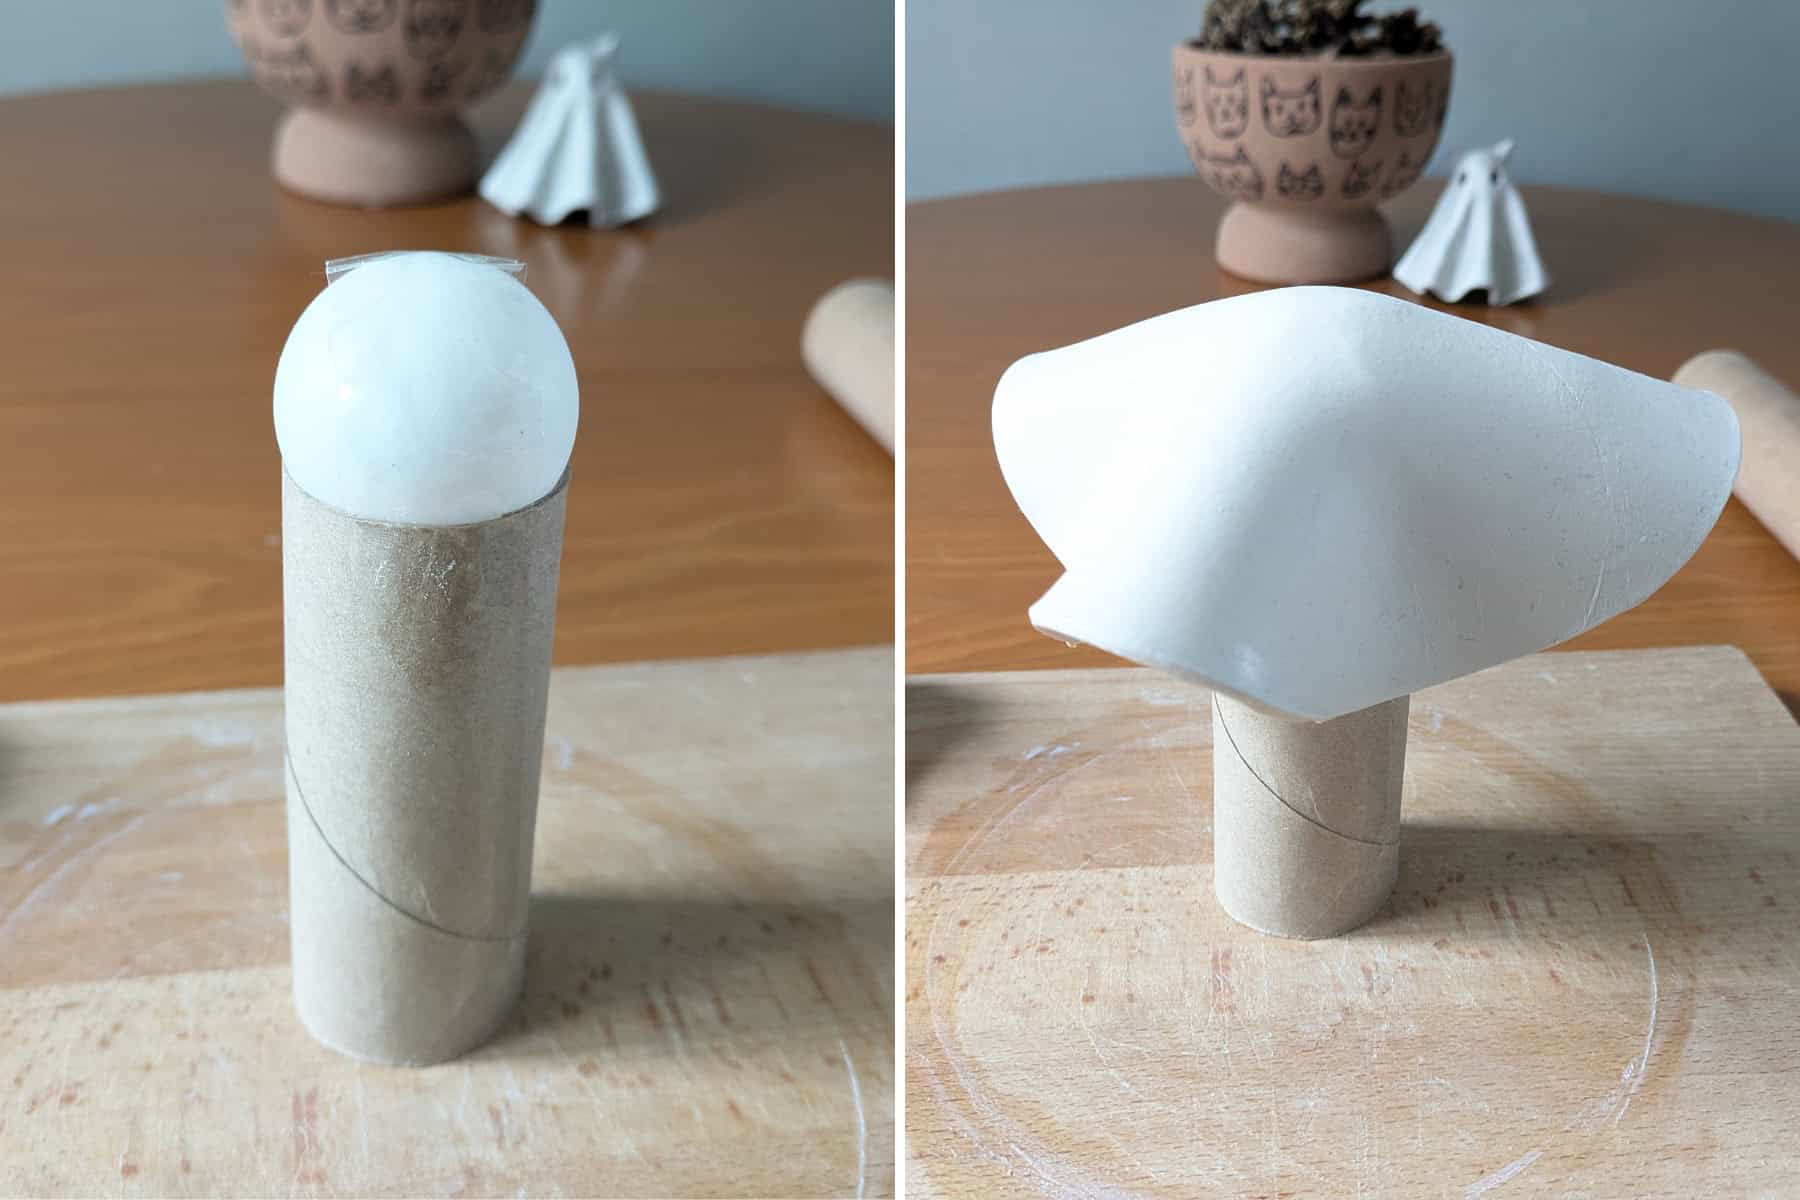
Step 2
If you have a ping pong ball then tape it to the top of your empty bog roll/kitchen roll tube. You could use tinfoil as a substitute if you’re mean to your cats and don’t have ping pong balls 🙀
I also used one of my cat ornaments as a base, see further down for details.
Carefully lay the rolled out clay over the top of the ‘head’ making sure not to stab it with your nails like I usually do!
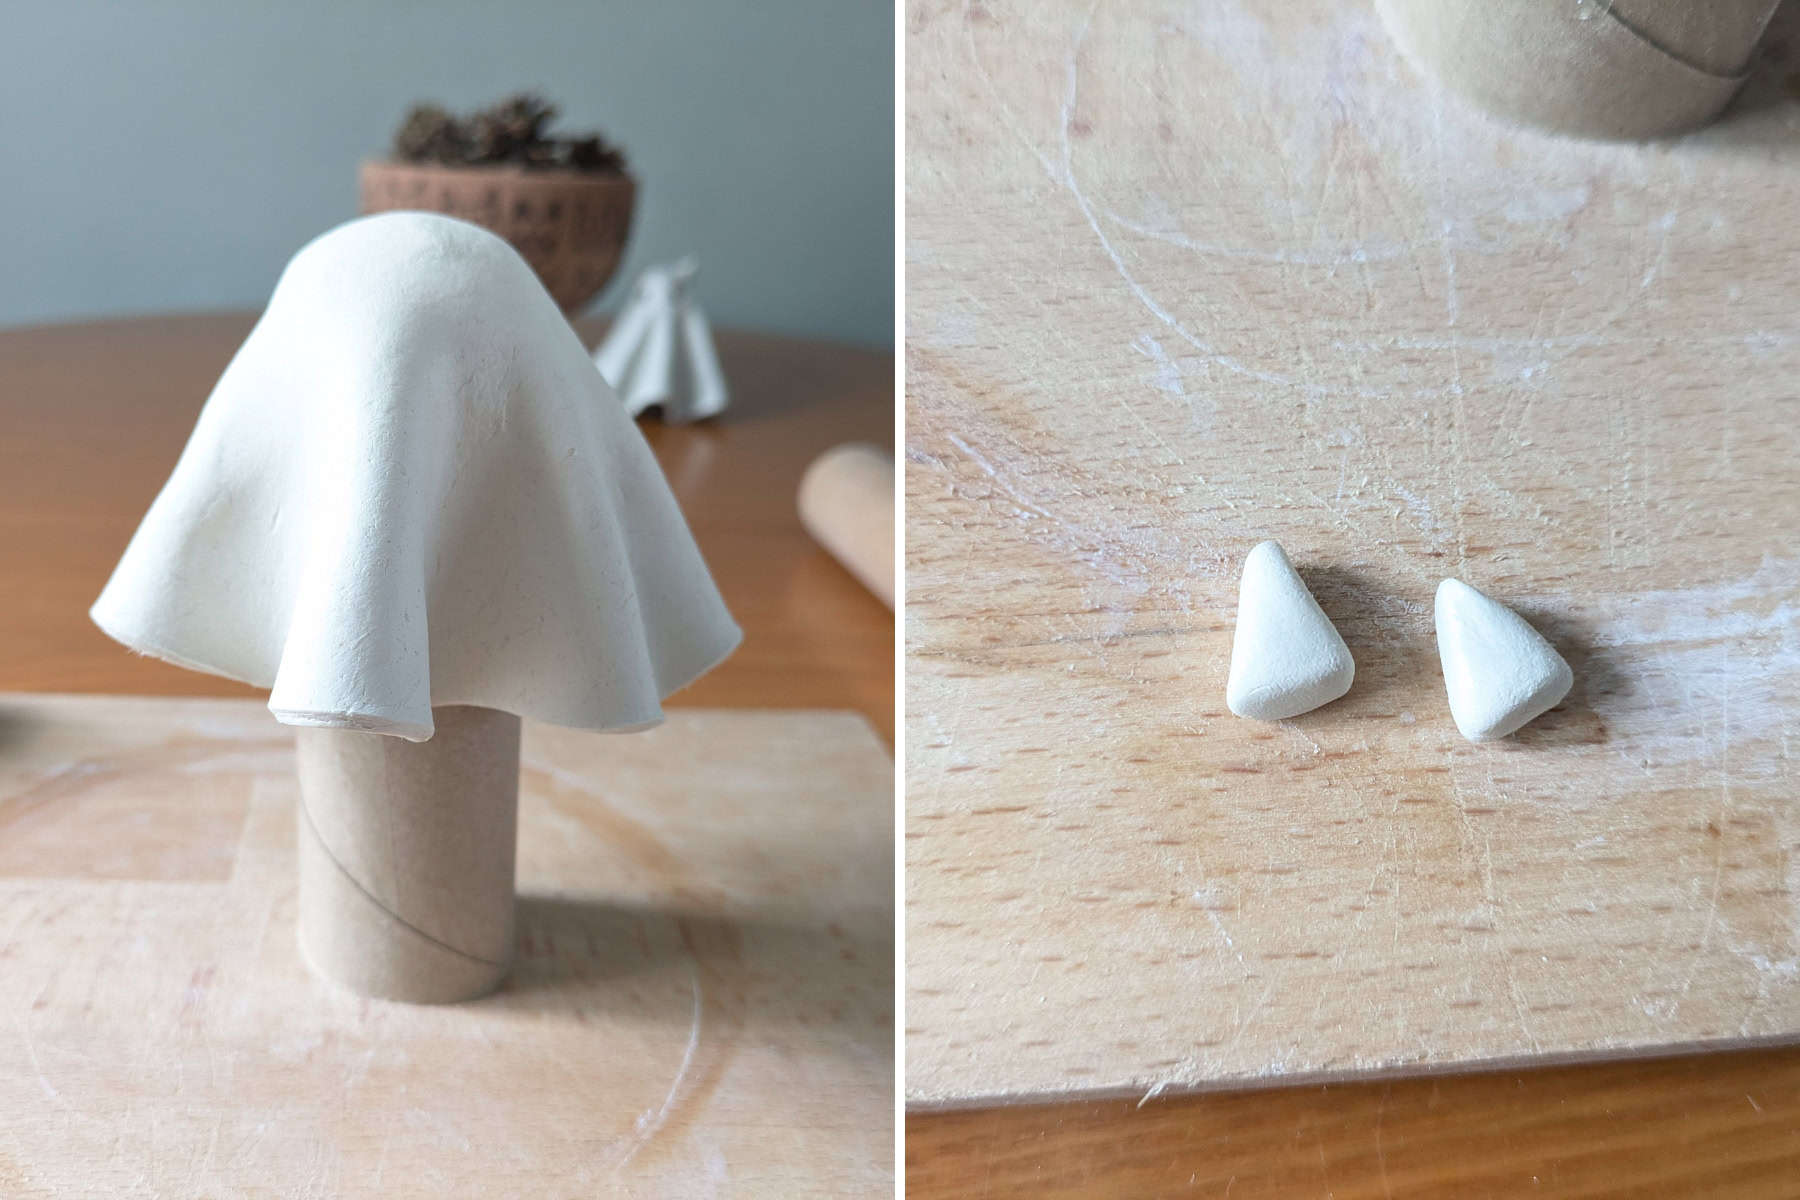
Step 3
Spend some time here making the clay into a fabric effect that you like the look of. The clay will just flop down into its folds and you can finesse it a bit until you’re happy with it.
Next, pull off two small bits of clay and form them into ears.
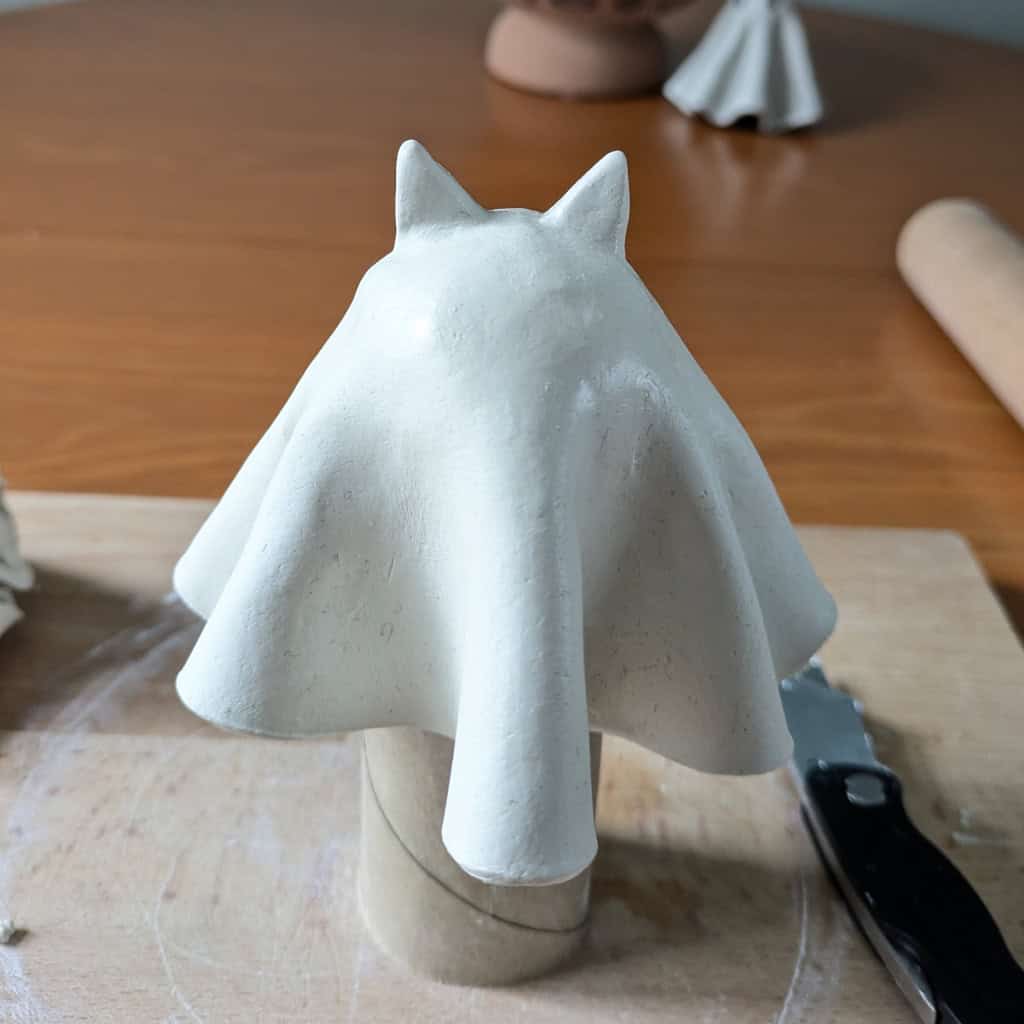
Step 4
Place the ears where they look good on your clay ghost cat and once you’re happy, score both the head and the ear and add a bit of water or slip to both.
Gently push the ears onto the head and smooth around the edges with the tool of your choice. Personally I find the side of a wooden toothpick words really well and then I use a small soft bristled paintbrush to get it as smooth as poss.
There are lots of air dry clay joining tutorials online.
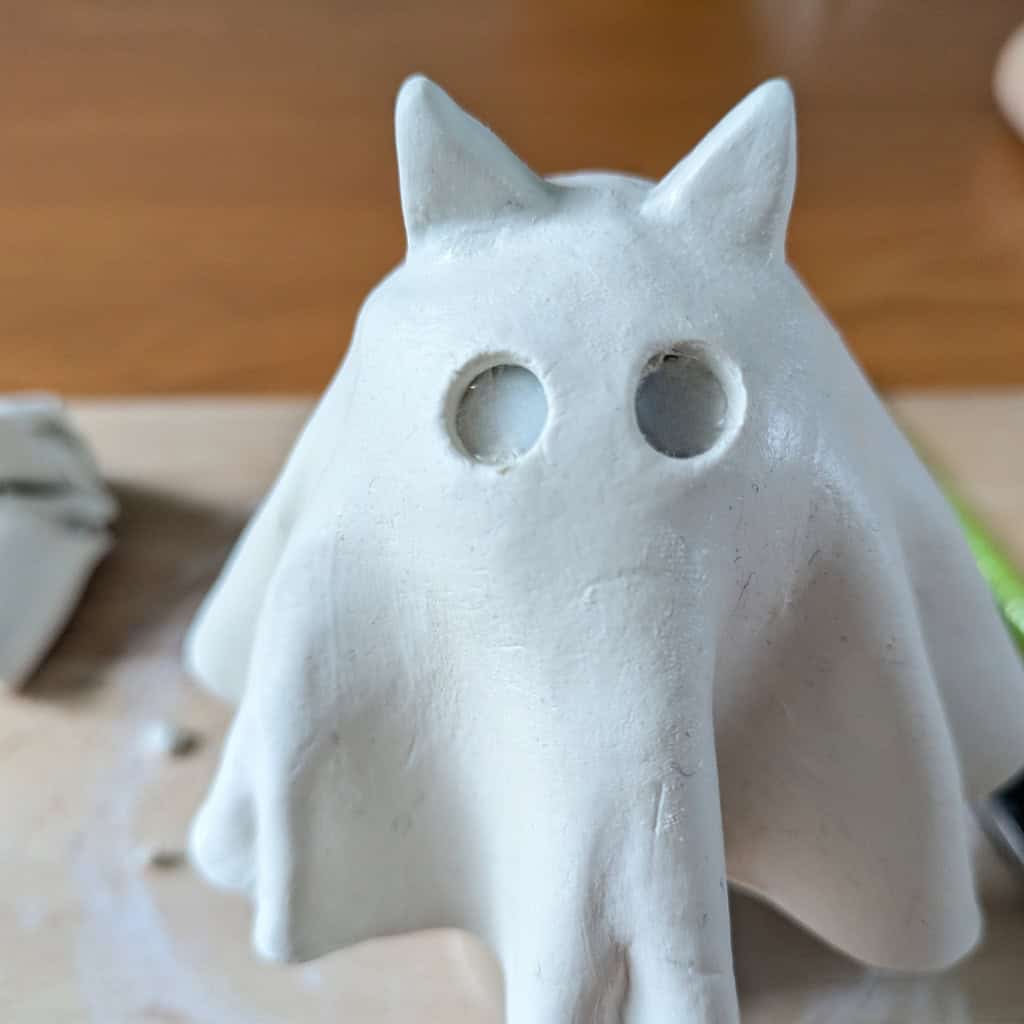
Step 5
Lastly we need to give this clay ghost cat some eyes. Take your straw (or whatever you’re using) and push into the clay to make the eye holes. Twist the straw around a little to ensure you’ve got a clean cut. You can use a damp cotton bud or your paintbrush to smooth the edges.
As you can see I changed the folds slightly in my clay ghost cat and ended up leaving a few fingernail marks 😹 If this happens to you too, a little bit of water and a soft paint brush or your finger can usually smooth them back out.
Make a clay ghost with an ornament
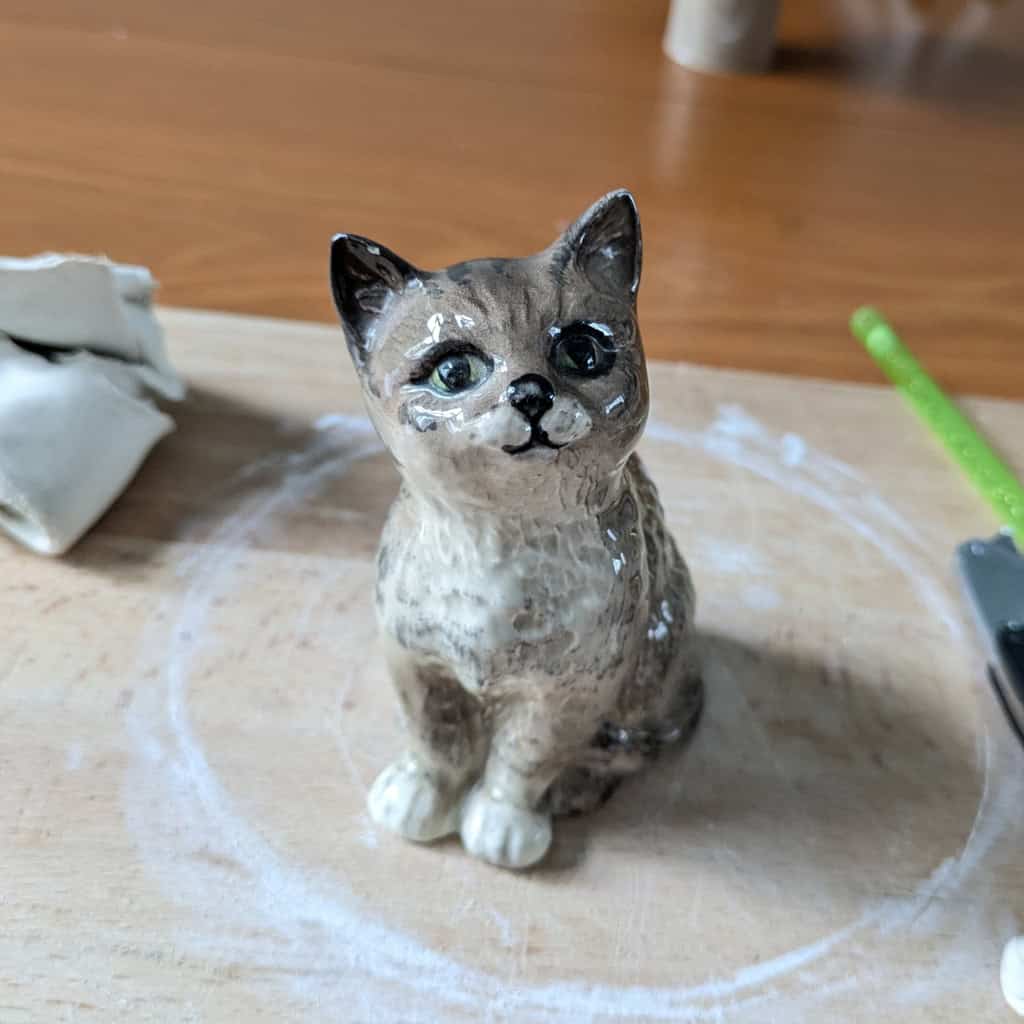
Another option to make a clay ghost cat is to simply use a cat ornament that you have at home, already. I chose this sweet guy as he was pretty much the same size as the toilet roll ghosts.
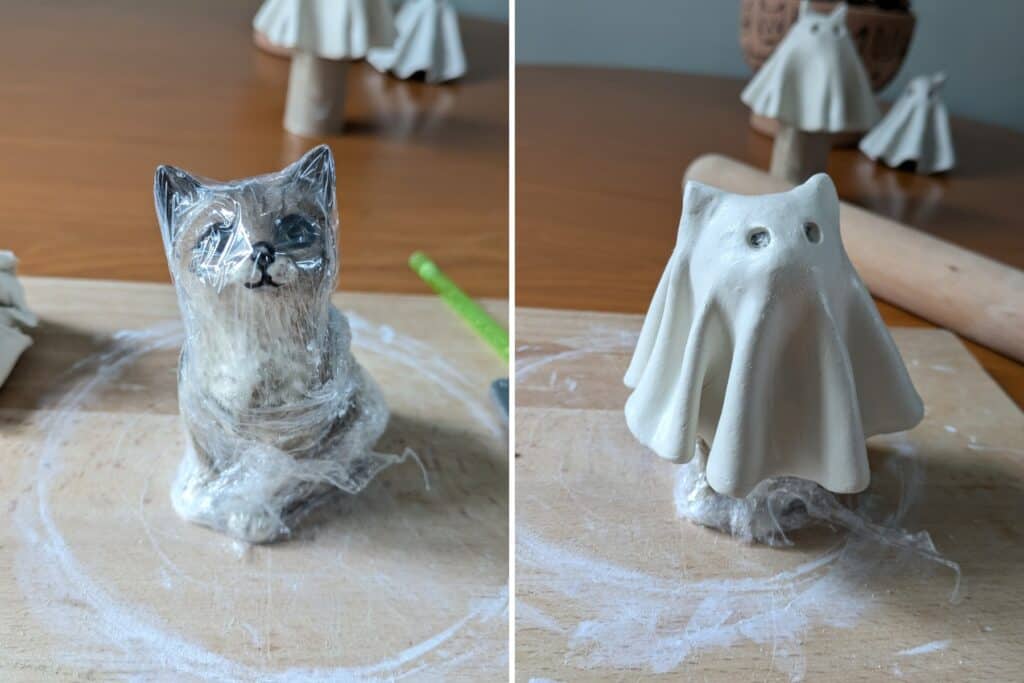
For this option, wrap your cat in cling film (cripes that sounds awful) then drape the clay over as before and make the eye holes in the same way.
The ears on this version are a bit tricky. I found that I had to add extra clay around that area as they were poking through from underneath. Once it had dried they still had small cracks so yeah, make sure to add extra clay to that area on yours then use a wet finger/paintbrush to smooth.
Add lights under your clay ghost cats
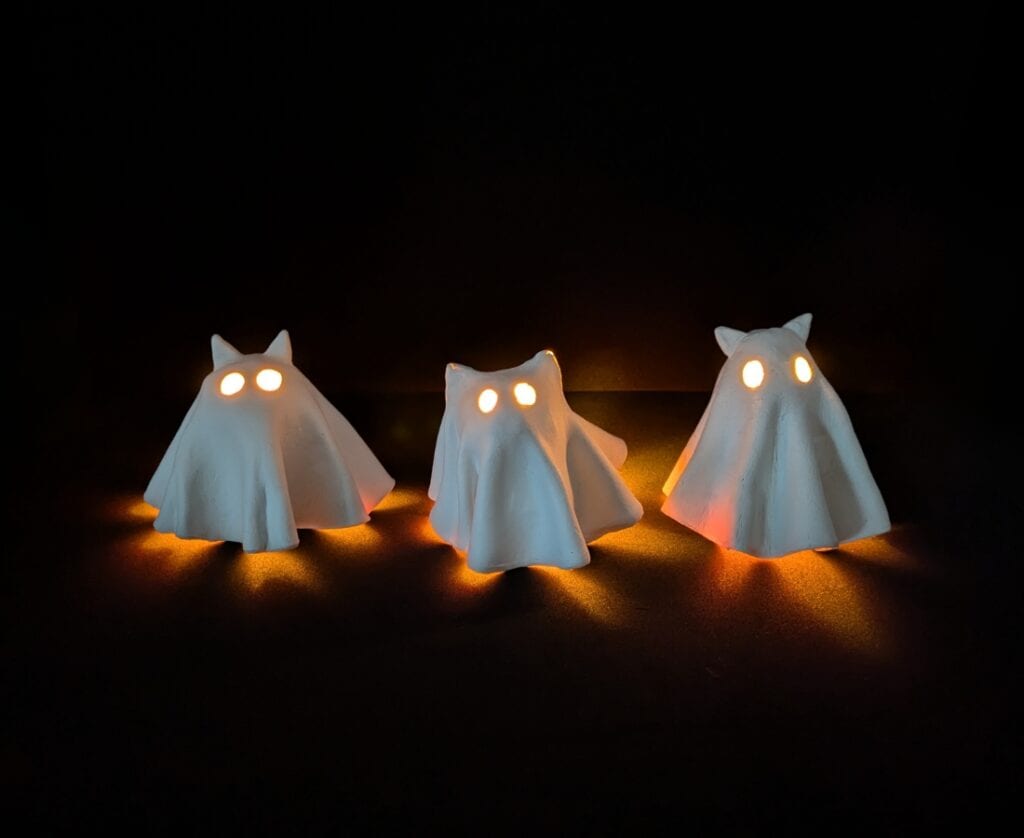
I added some battery tealights under my clay ghosts and they looked amazing but could I photograph them in their full glory? NO 😹 So here’s the best shot I could get!
I love the way the light coming from underneath makes them look like they’re floating.
Check out the rest of my Halloween themed cat crafts for your next project.

