Cat plant pot DIY
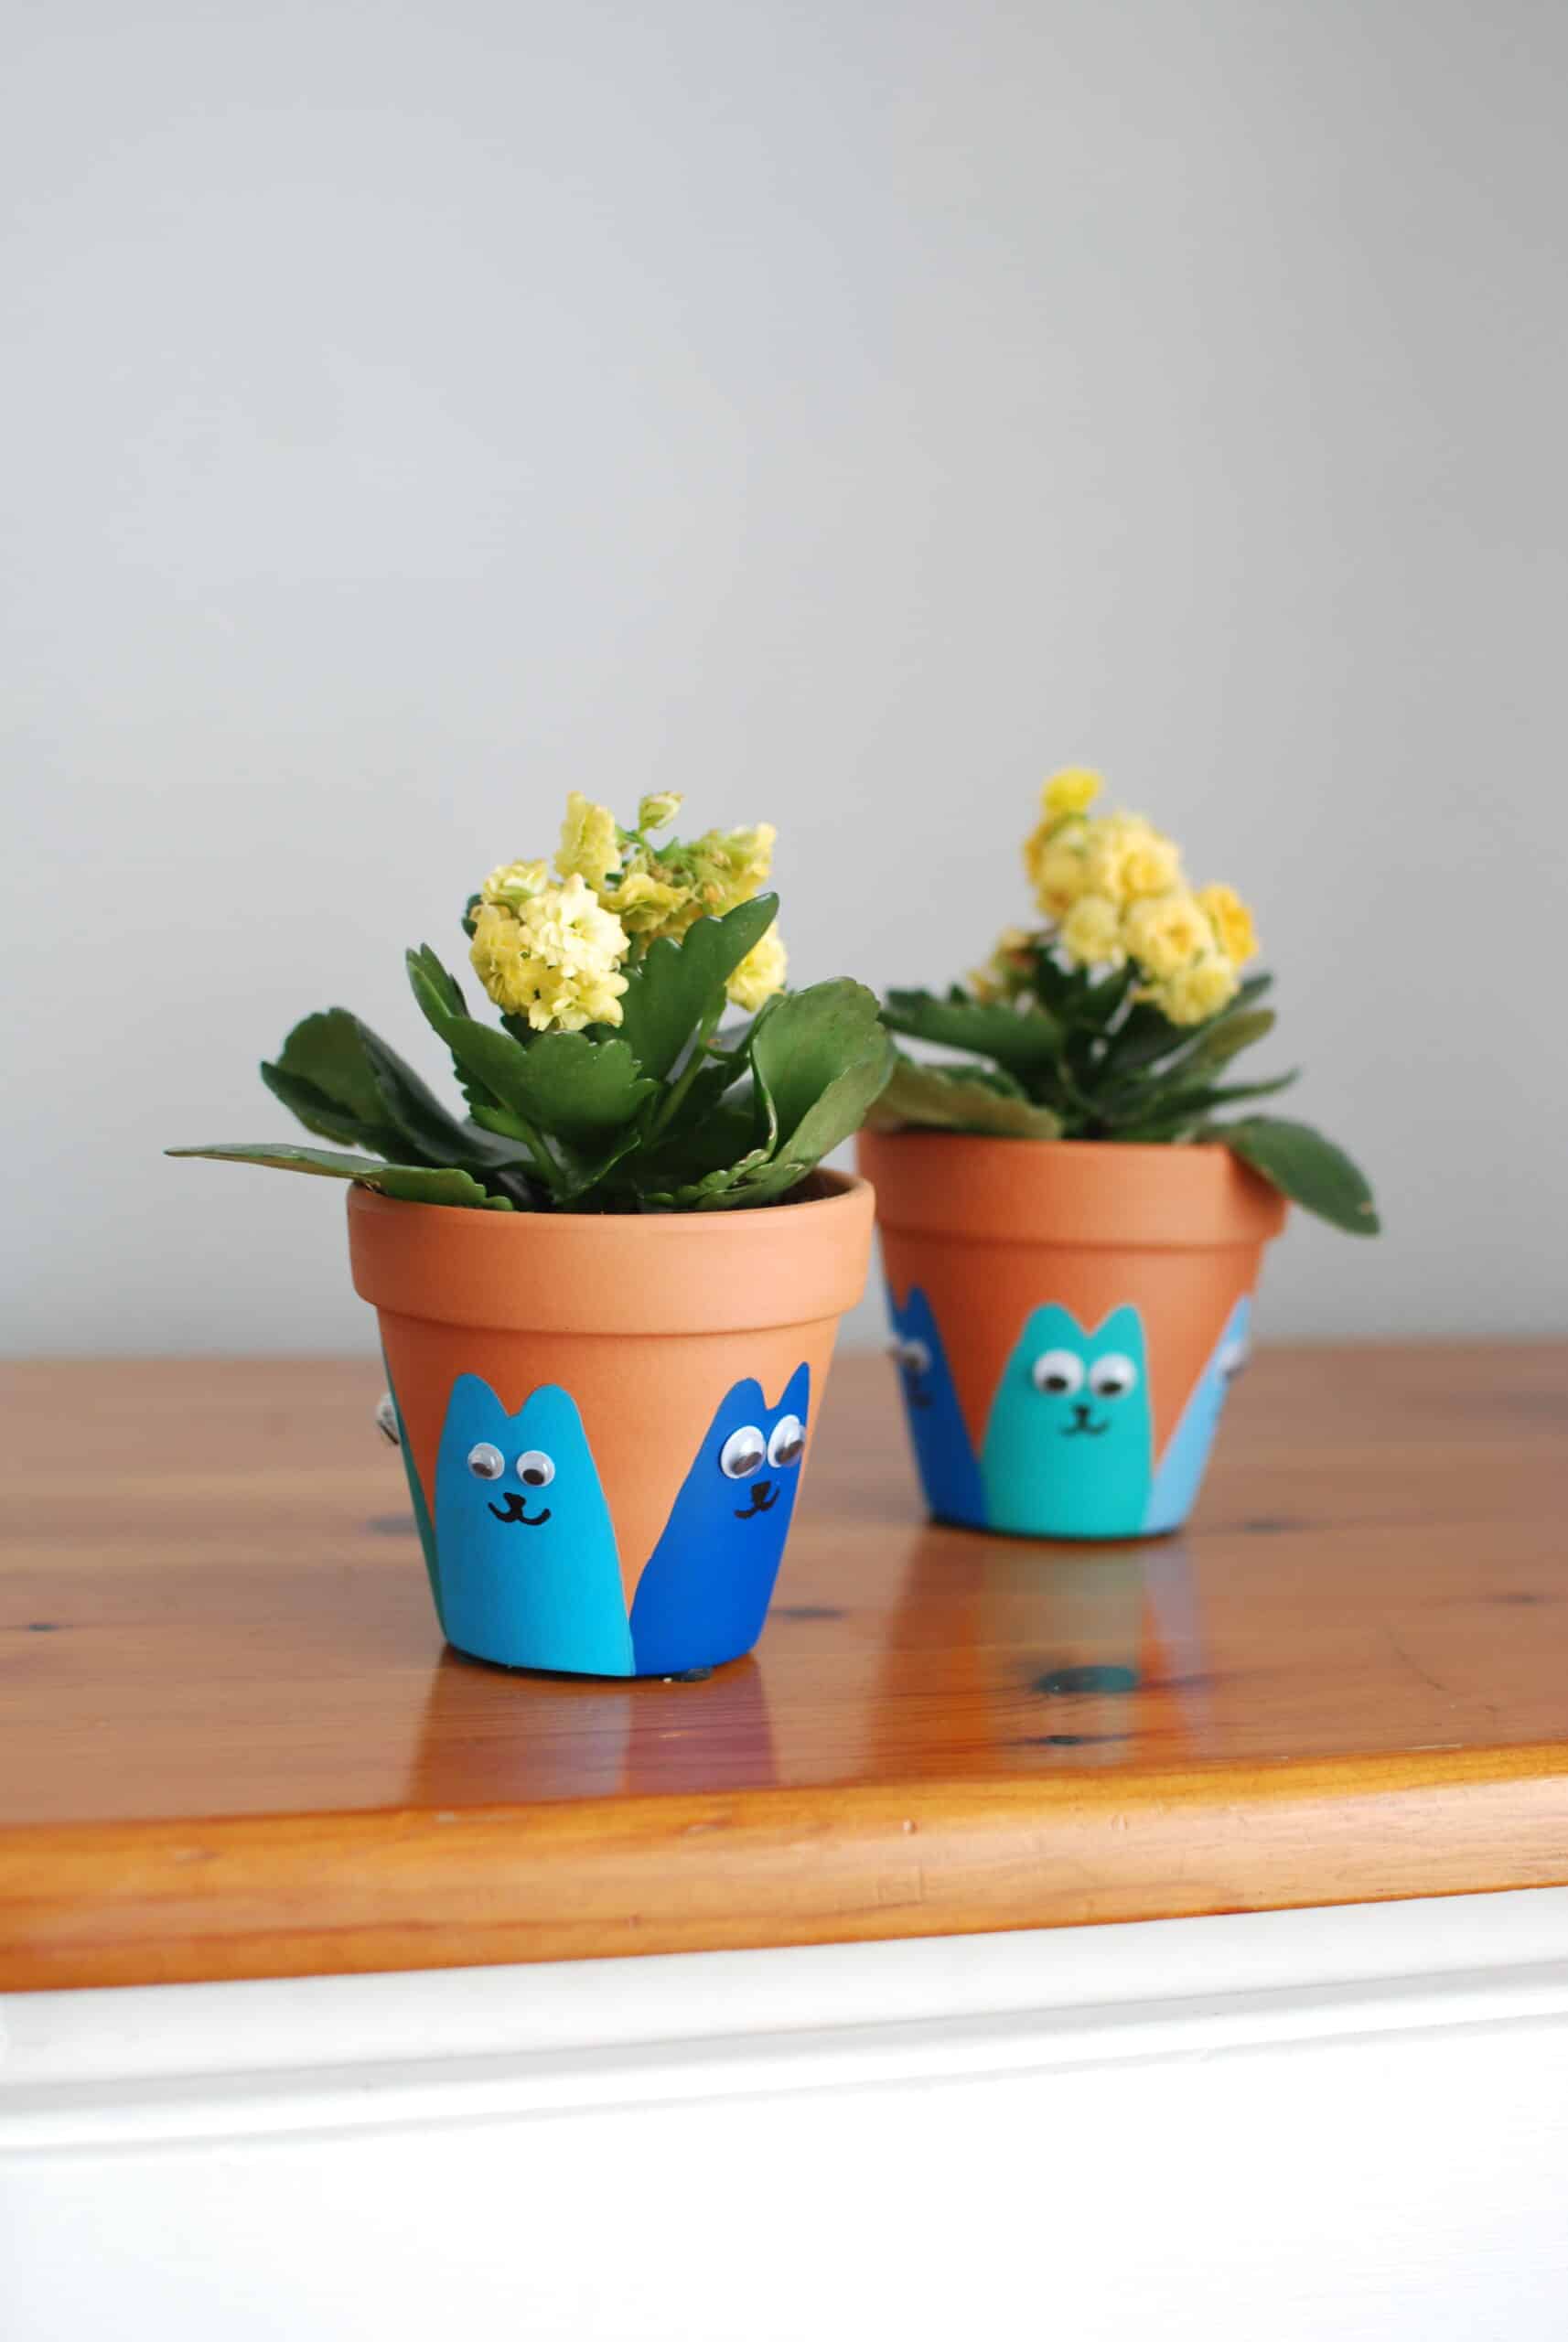
If you’re looking for a cute cat themed craft project then you’re in the right place! How about trying your hand at my hand painted cat plant pot DIY.
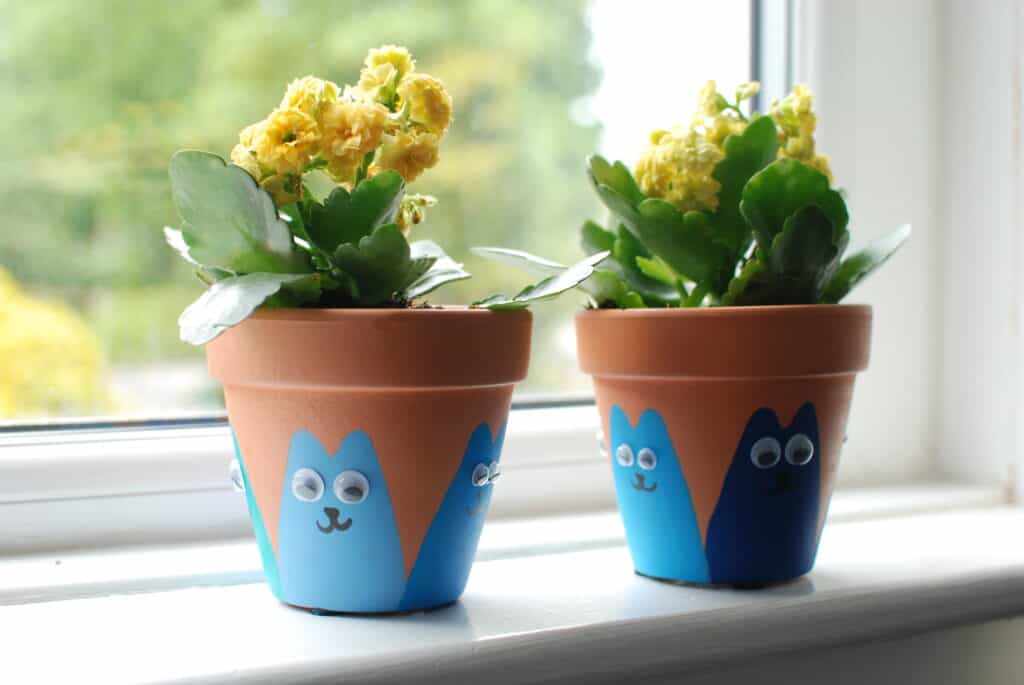
I bought my sons these little plants for Easter this year (because if I buy them chocolate I end up eating it myself). They were getting a bit cramped in their pots so I decided they needed a little bit of an upgrade.
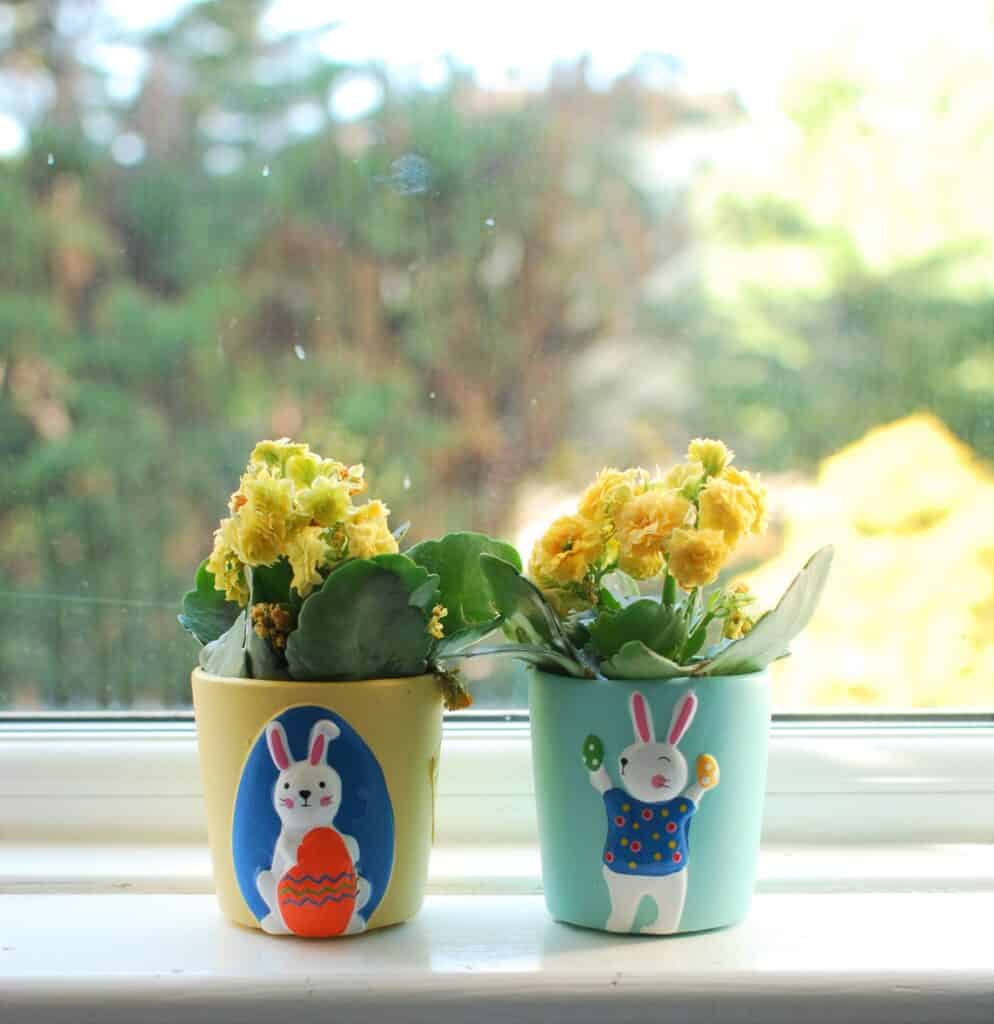
So here’s what you’ll need to make your very own cat themed plant pots.
- Terracotta plant pots
- Paints (I used acrylics)
- Paintbrushes
- Googly eyes (optional, you could just paint)
- Glue for eyes if using (I used my trusty PVA)
- Your choice of plants
- Sheet of paper, card & pen or pencil
- Black Sharpie or similar
I feel like I should mention here that yes, I do get them chocolate, I’m not a monster. But there’s a really fine balance between buying it too early, stashing it in my bedroom and then eating it myself. And getting to the point where all the Easter eggs have sold out in the shops 😆
*This post contains affiliate links, which means that if you love the products I found as much as I do and go on to make a purchase, I may get a small percentage.
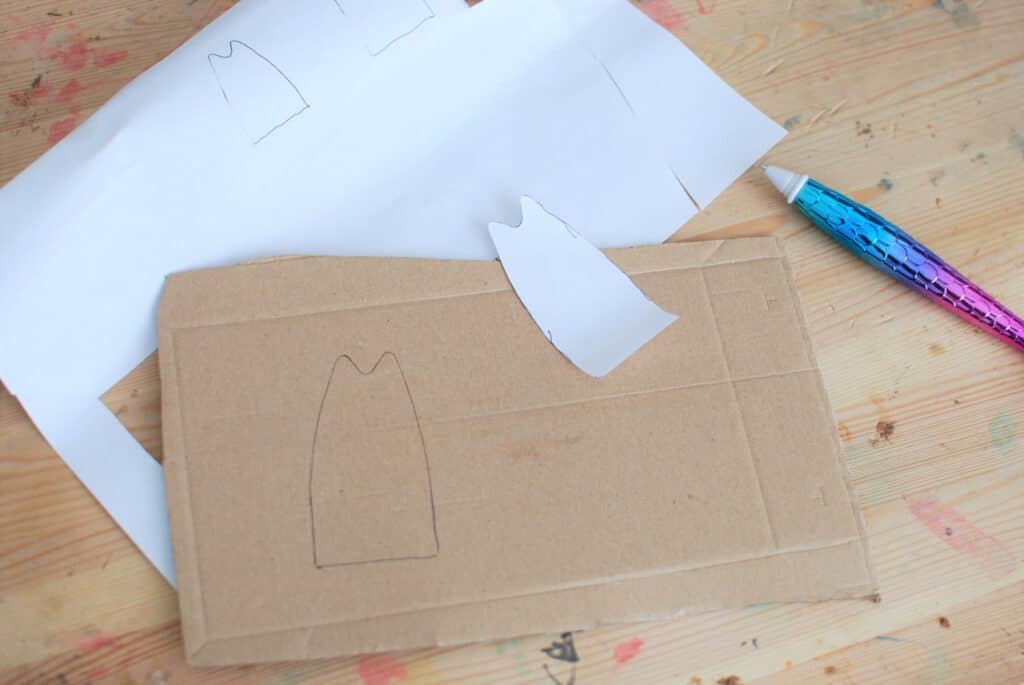
Ok, so first off in making your cat planters. You’re going to need a kitty template. I went backwards and forwards on this as I couldn’t decide what kind of shape I wanted but eventually settled on this simple design with just the body and ears outline.
Measure twice, cut once 😹
It’s a good idea to sketch a few out at first on your paper and cut them out to test on your plant pot. Depending on the depth and width of your pot, you’ll need to adjust sizing. As with most projects I just did it by eye and it ended up great in the end, but this is the reason I’m not allowed to put shelves up in our house.
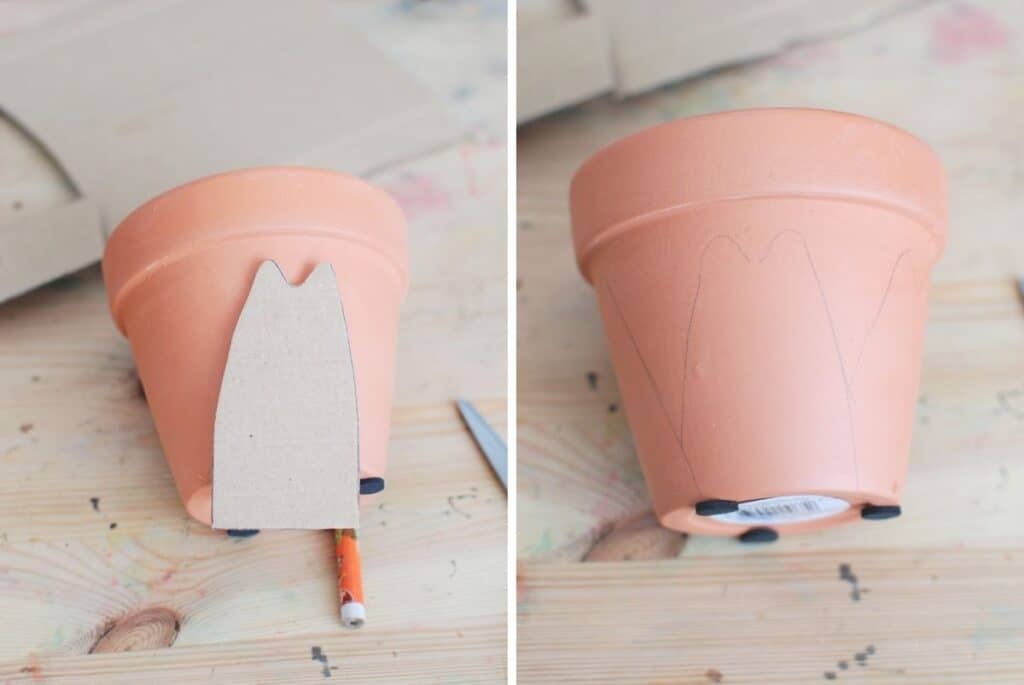
Once you’re happy with the sizing, cut out your cat and draw around it on your plant pot repeating all the way round.
And now it’s time to paint.
I chose blue and green tones as that’s my fave but go with whatever you like. I’ve got some glitter paints somewhere along with some crackle glaze which I think would look super cool. I’ll have to try that when they need bigger pots.
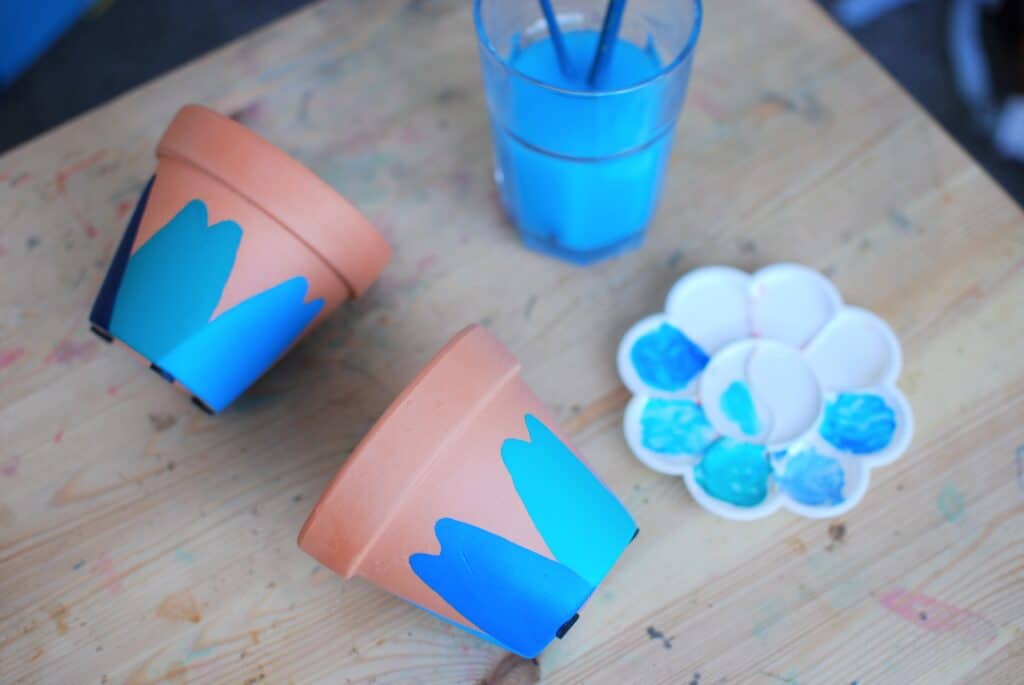
The acrylic paints dry pretty quickly and by the time I’d painted once around the pot, the first cat was ready for its second coat.
Depending on the colours you’ve chosen, you may need two or three coats.

[arrow_forms id=’356′]
It’s all coming together now
Once your cat plant pots have dried you can start to work on their cute little kitty faces. I actually ended up leaving my plant pots for a couple of days as I had other tasks to get on with but really they should be fully dry in a few hours as the terracotta pots are quite absorbent.
Remember though, you’ve got total creative control here. Maybe you want mad cats, or laughing cats or just plain cute as fluff cats. Have a look online for some ideas before you start if you’re not sure.
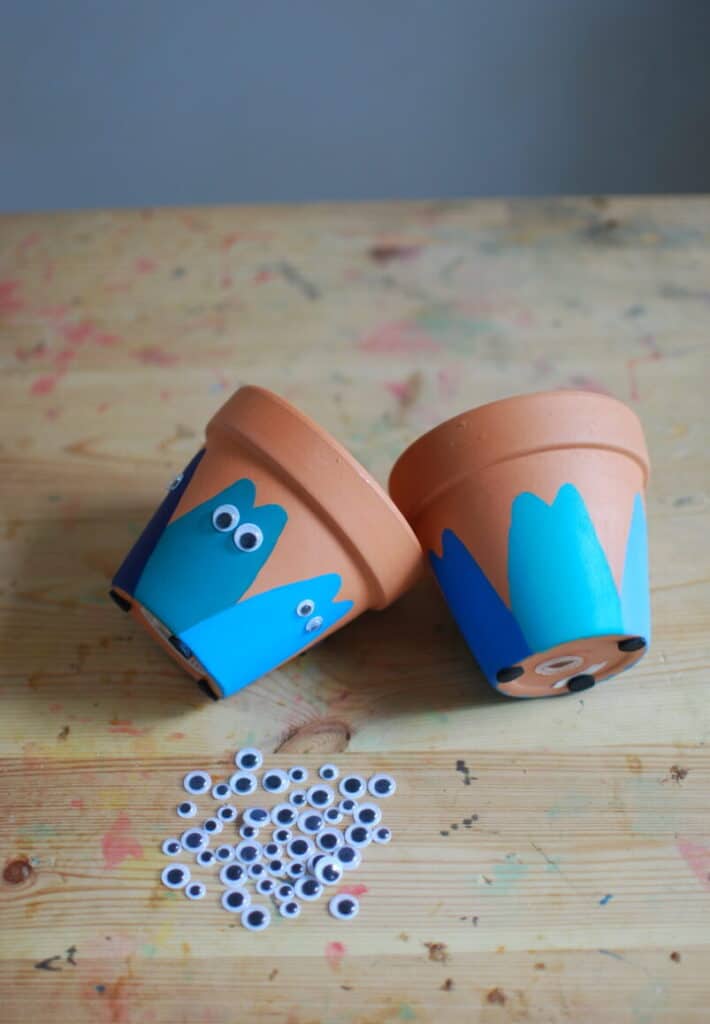
Next up I stuck on the eyes for my cats. I used a little dab of PVA on the back and did only one side of the pot at a time. Ensuring the glue was dry enough before turning so they didn’t just slip down the face.
Once the eyes were dry I simply drew on a triangle nose and little smiles to my cat faces with a black Sharpie.
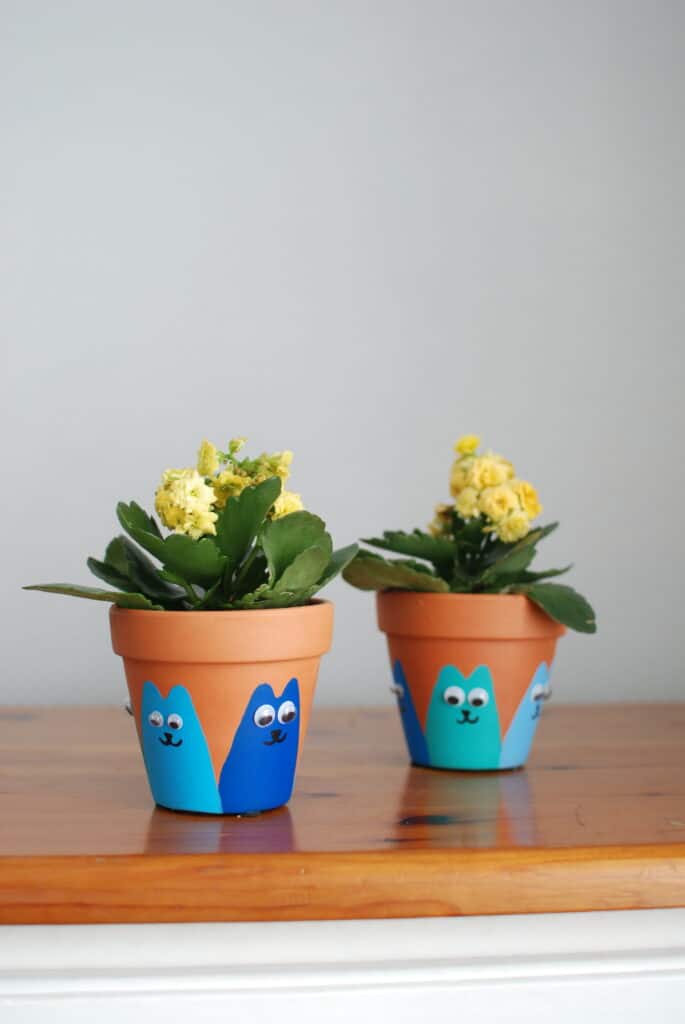
And there we have it! You have now completed your very own cat plant pot DIY. I’d love to see what designs you came up with so please tag us on Instagram so we can take a look.
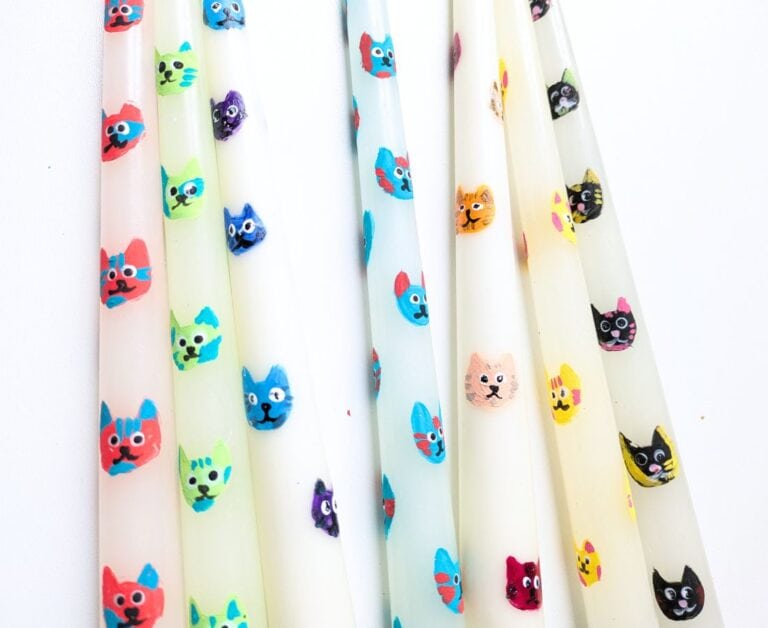
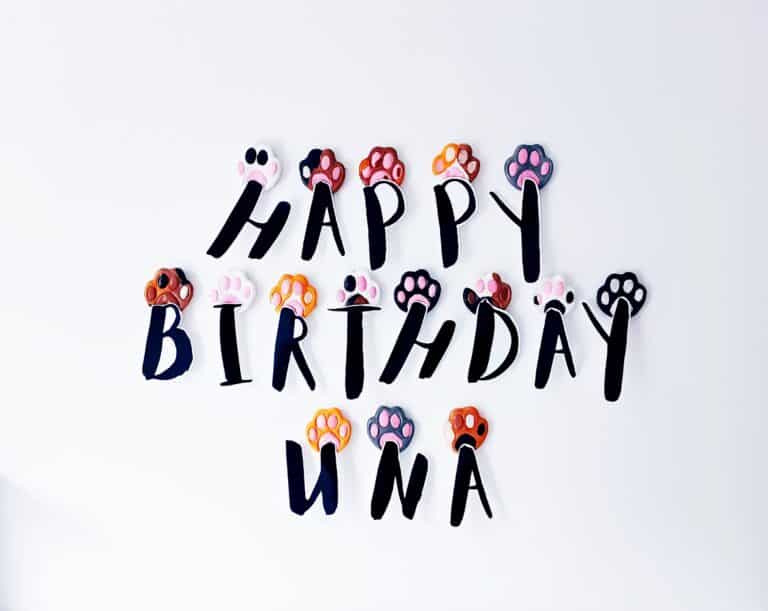
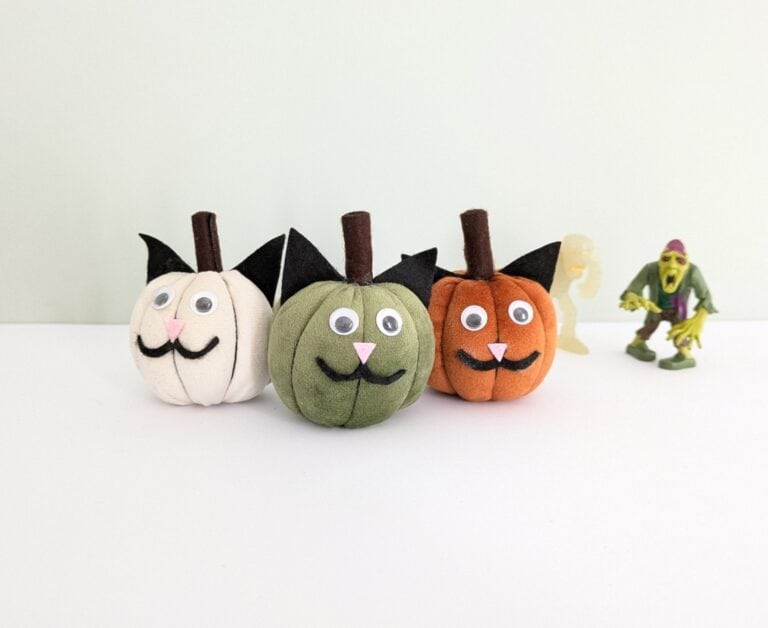
Looking for more cat crafts and DIY projects?
Take a look at our other ideas here.

