
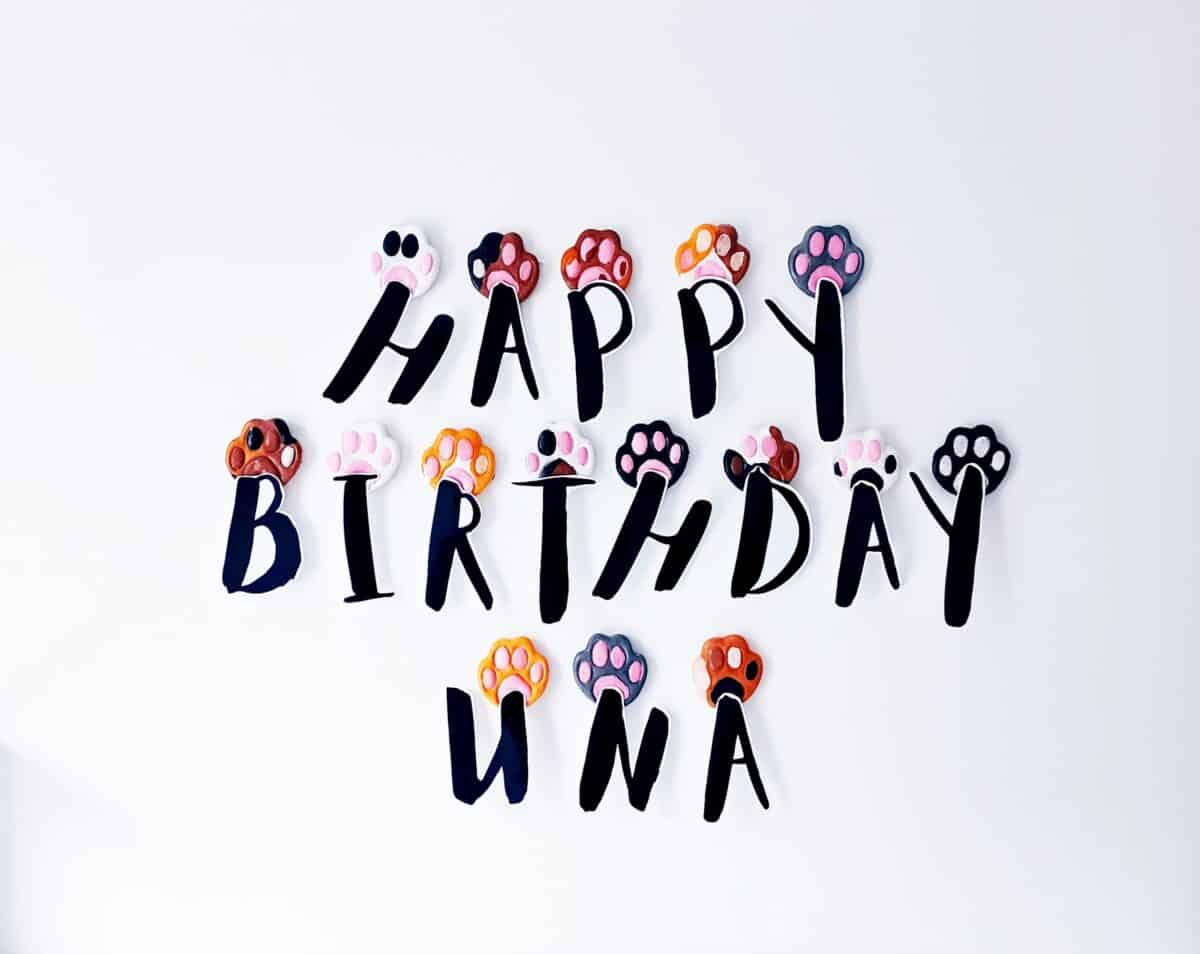
Cat birthday banner DIY
It was my cat’s birthday recently and I wanted to add something a bit special so I decided to make her a cat paw birthday banner for her big day.
If you’ve been here before then you’ll know I loves me a bit of salt dough. So guess what…………
Let’s make some salt dough cat paws, yo!
To make these cat paw banner holders you’ll need;
- Salt
- Plain flour
- Water
- A mug
- Mixing bowl
- Tin foil or baking paper
- Baking tray
- Oven 😹
- Paints of your choice + brushes
- Rolling pin
- Cat paw cookie cutter
- Straw or pokey tool
- String to tie on the letters
- Blue tack (or other brand) to stick to the wall
*This post contains affiliate links, which means that if you love the products I found as much as I do and go on to make a purchase, I may get a small percentage.
Let’s get this party banner started!
There’s plenty of salt dough recipes out there on the internet but over the years I’ve found this works best for me.
- One mug of flour
- Half a mug of salt
- Half a mug of water
Mix the flour and salt and then add the water. This is the fun bit if you don’t mind getting your hands dirty.
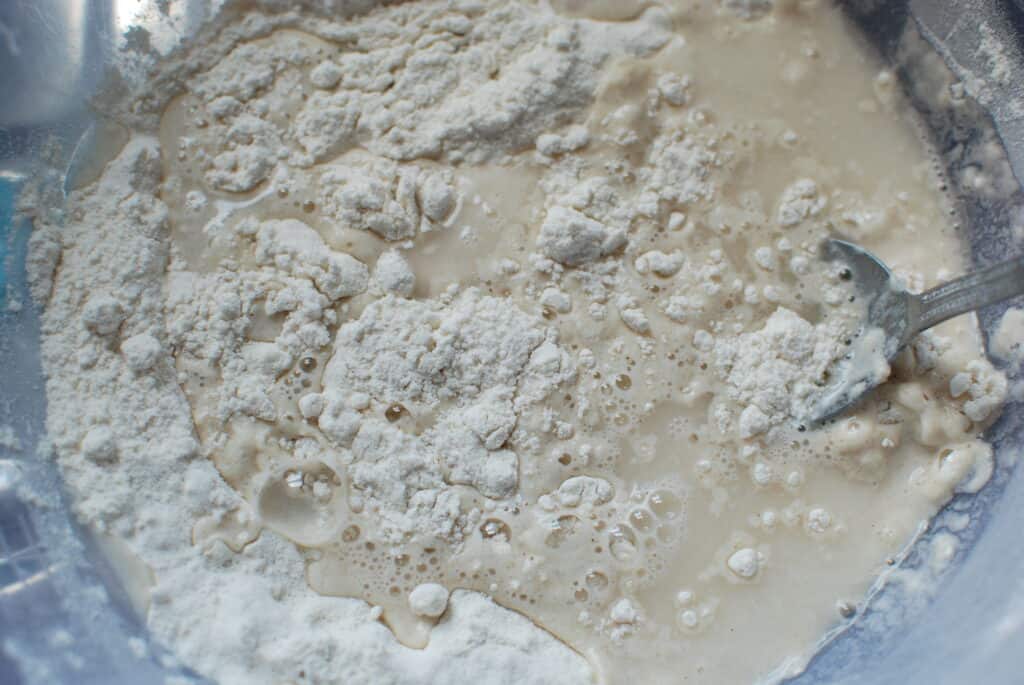
Mix it with your spoon or whatever implement you’re using until you just can’t mix no more. Then it’s time to knead and roll with your hands for a while.
We need a playdough-like consistency here.
Let’s roll!
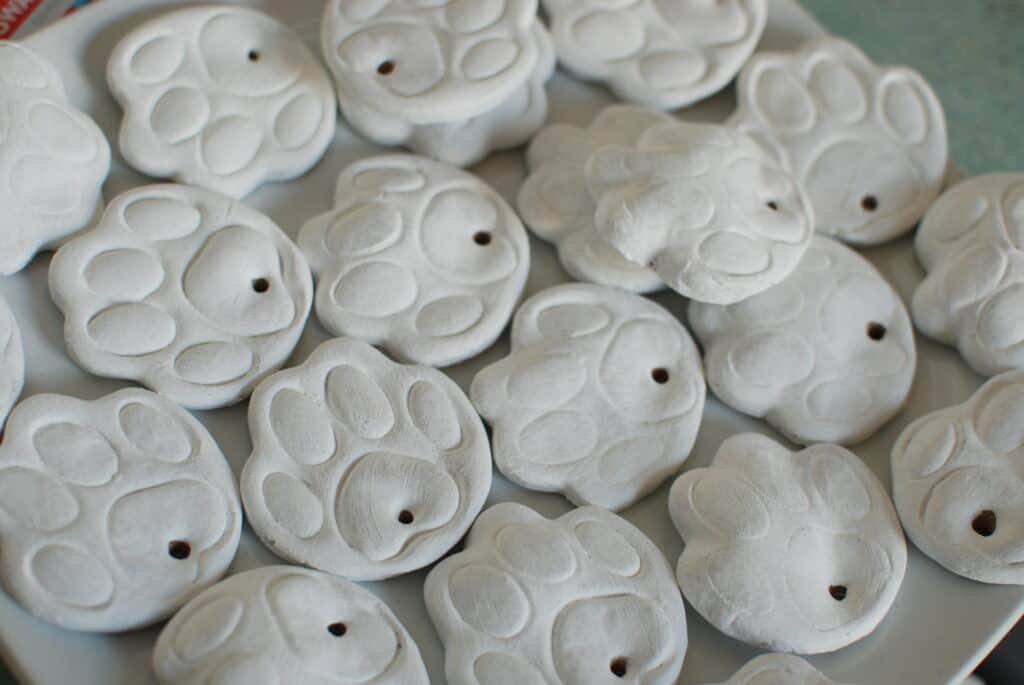
Once you’re happy with your salt dough, it’s time to roll it out. For the cat paws I rolled out the dough to around 5mm, maybe a little under. Flour your work area (that’s what she said) to ensure the dough does not stick.
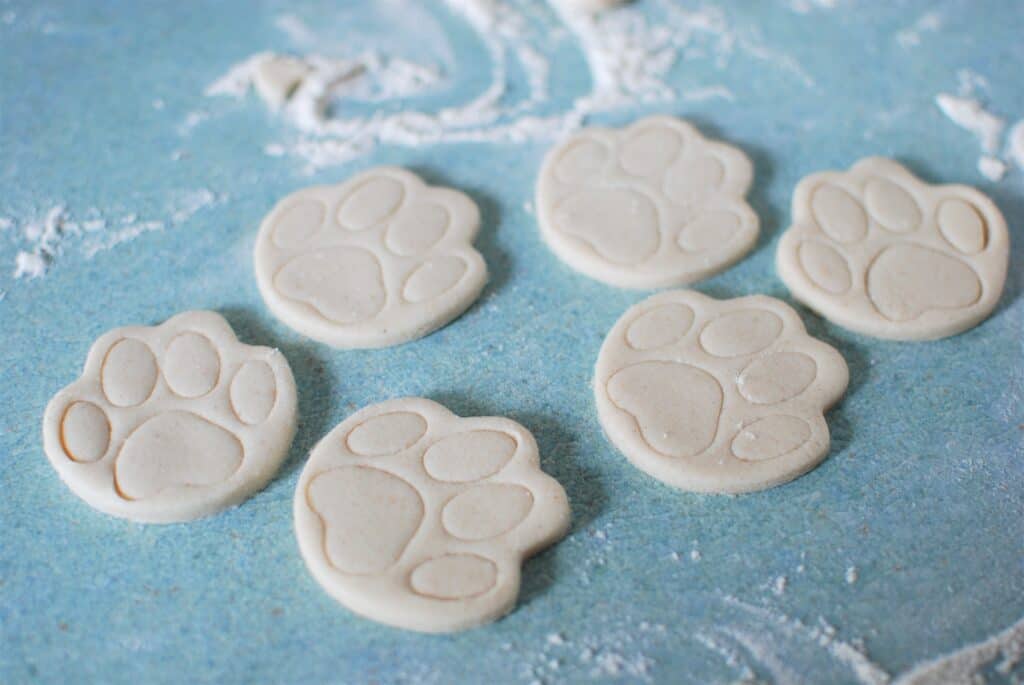
Let’s cook
Next up we need to add holes before we put these bad boys in the oven. Set your oven to 165°c (probably should have mentioned this a bit earlier).
I cooked these for about 45-50 minutes, checking on them every 15-20 minutes or so.

Once the salt dough cat paws are out of the oven, it’s a good idea to leave them a while to fully cool and settle before painting.
As with all my DIY and craft projects, I’m working around two little whipper snappers so I generally paint the next available day. I’d say at least a few hours would suffice if you can’t wait that long, though 😹
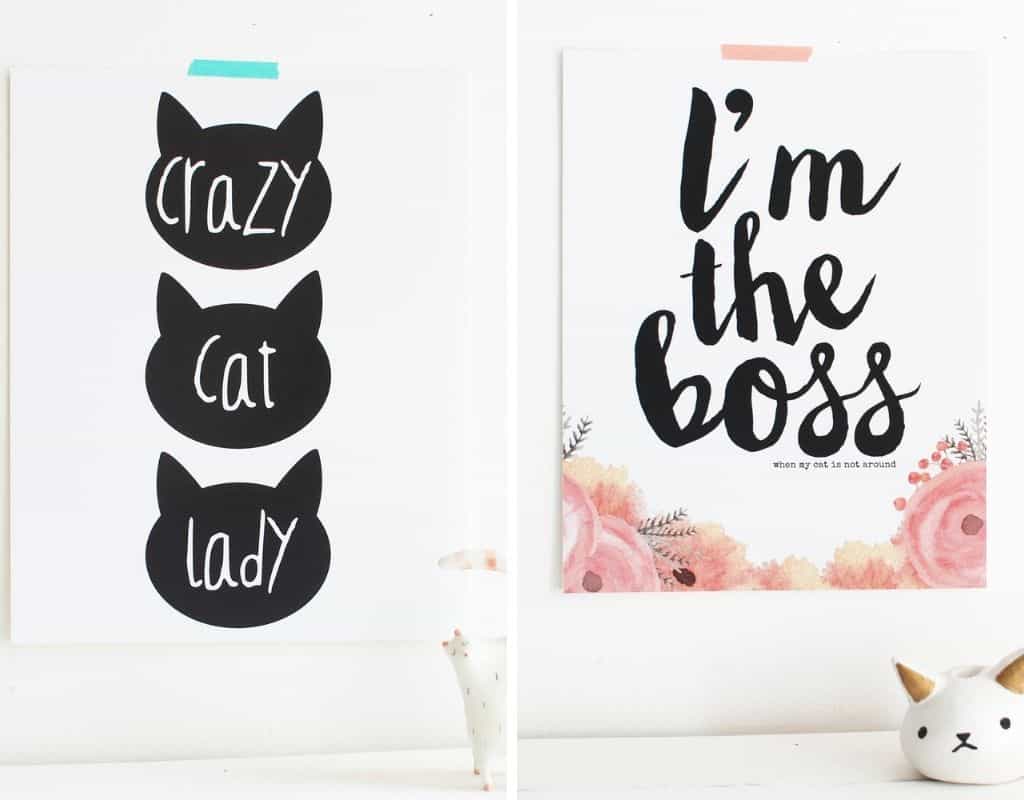
Oh hey, while you’re here.
If you wanna stay updated on my latest cat themed finds, craft & DIY projects and coolest cats on t’internet. Then sign up for my cool cats list below, plus, you’ll get these two free cat printables. Good times 😻
[arrow_forms id=’356′]
Let’s undercoat
So I always like to use a base coat on my salt dough creations and this cat birthday banner project is no different. I hate using my ‘proper’ paints for this task so I just whack on a coat of plain white emulsion.
I find having this white as a base helps to not only to cover any minor imperfections in the baked dough, but also if you’re using white in your project you don’t have to use as many layers.
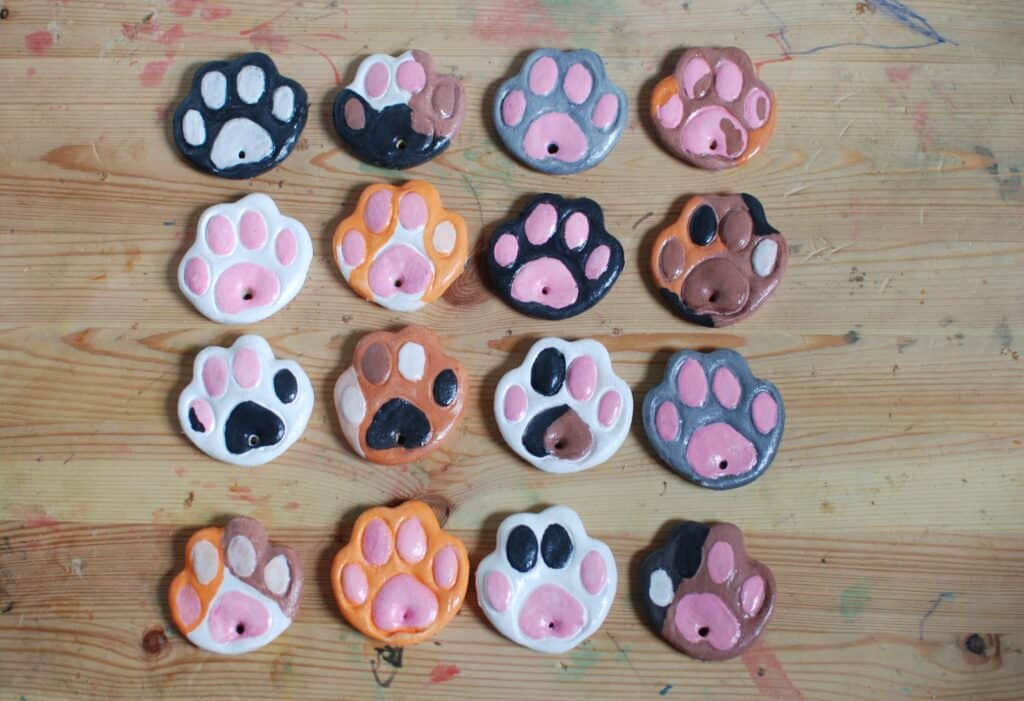
Let’s paint
I found this super set of acrylics at the Range which I’ve been using for a while now and I just love them 😻

Pro tip – I spent far too long looking at cat toe beans online trying to find colour inspiration. Unless you’ve got a few hours to kill, I’d defo recommend just freestyling this one or you’ll end up in a toe bean trance!
Let’s make the wording for your cat birthday banner
So for Una’s banner I used Canva to write out the text. Our home printer needs ink so I had to print elsewhere. Proooooobably not the most cost efficient way of doing it but I typed out each letter on a 6×4″ base and printed them at my local photo printing shop.
I’d highly recommend using your own printer for this, but Canva is great for chosing different fonts and being able to move them easily around the page, change sizing etc. (I used their ‘Aloja’ font).
Another option is simply hand writing your sign 😻
Once you’ve got you wording printed and cut out. Thread your string from the back of the paw and either tie or stick then attach your letter to the other end of the string.

It’s up to you if you’d like the string hanging down or flush against the paw. I tried both options but for some reason it just looked better like this.
Thinking about it, you don’t necessarily have to use string to attach the letters to the paws. But I found that it gave more of a level look as some of my paws came out a bit bumpy. I do hope that makes sense 😹
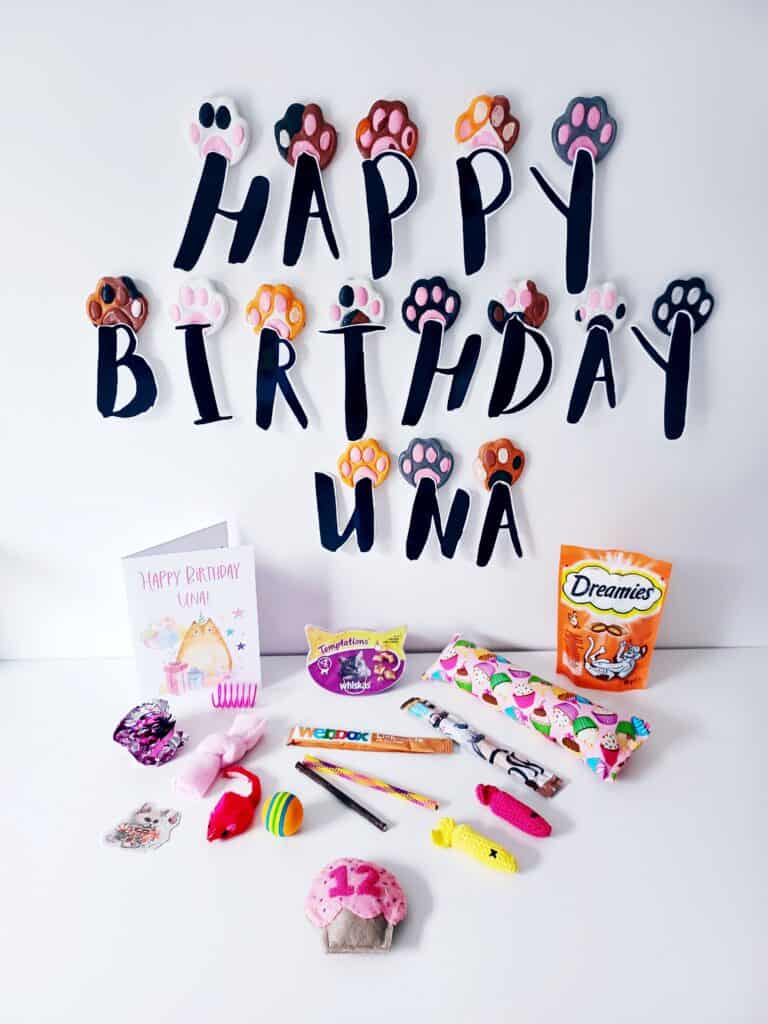
And there you have it!
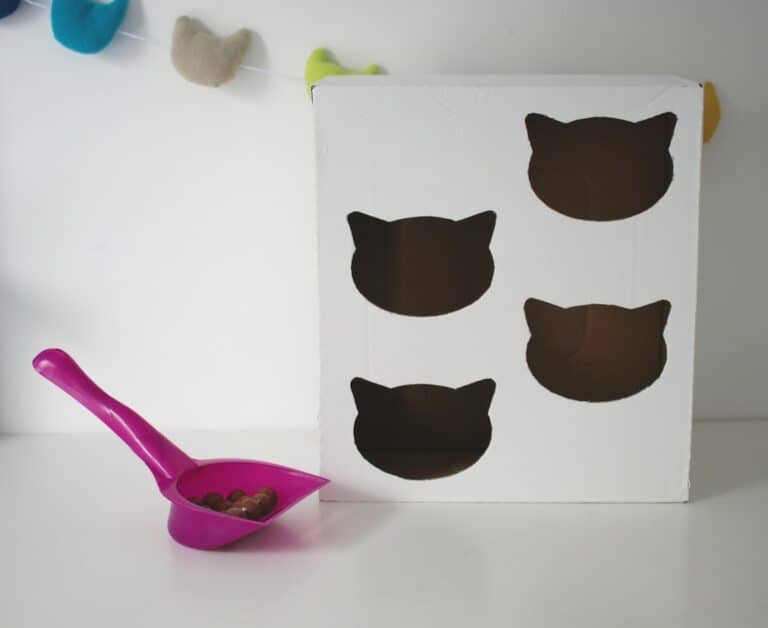
We made a thoughtful gift for our cat. These little cat paws are great for using in other projects, too. Maybe you’d like to string yours up to make cat paw bunting or you could even use them on your Christmas tree this year.
Una had a great birthday this year. I’ll make a post soon when I’ve got all the photos sorted out!
Enjoy
😻
2 Comments