
Cat head bunting DIY
Recently I’ve been getting my sew on. I found a template to make this cat and once I’d made a couple of those for my little ones, I started to think what else I could make.
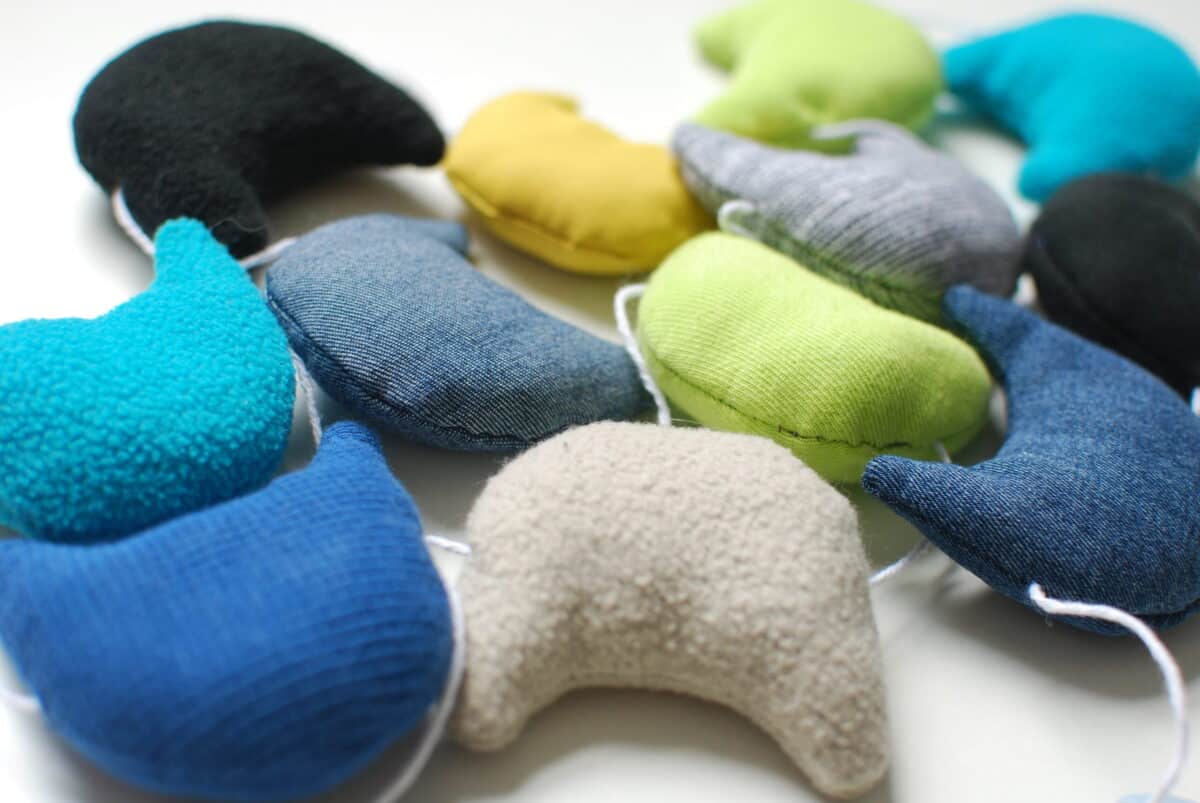
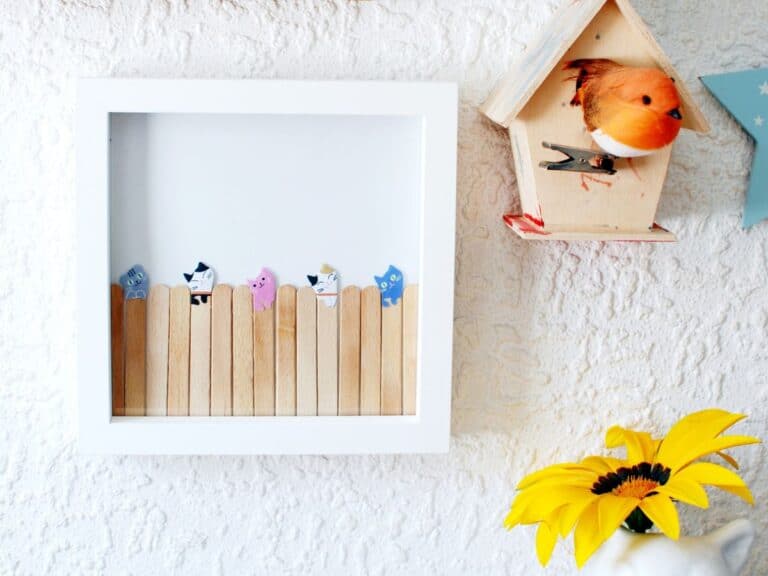
My eldest son has been really getting into my projects and asked if I could make some more cats for his bedroom. I had a think and came up with these sweet little cat heads which I made into bunting for his chimney breast wall.
What to do with old clothes
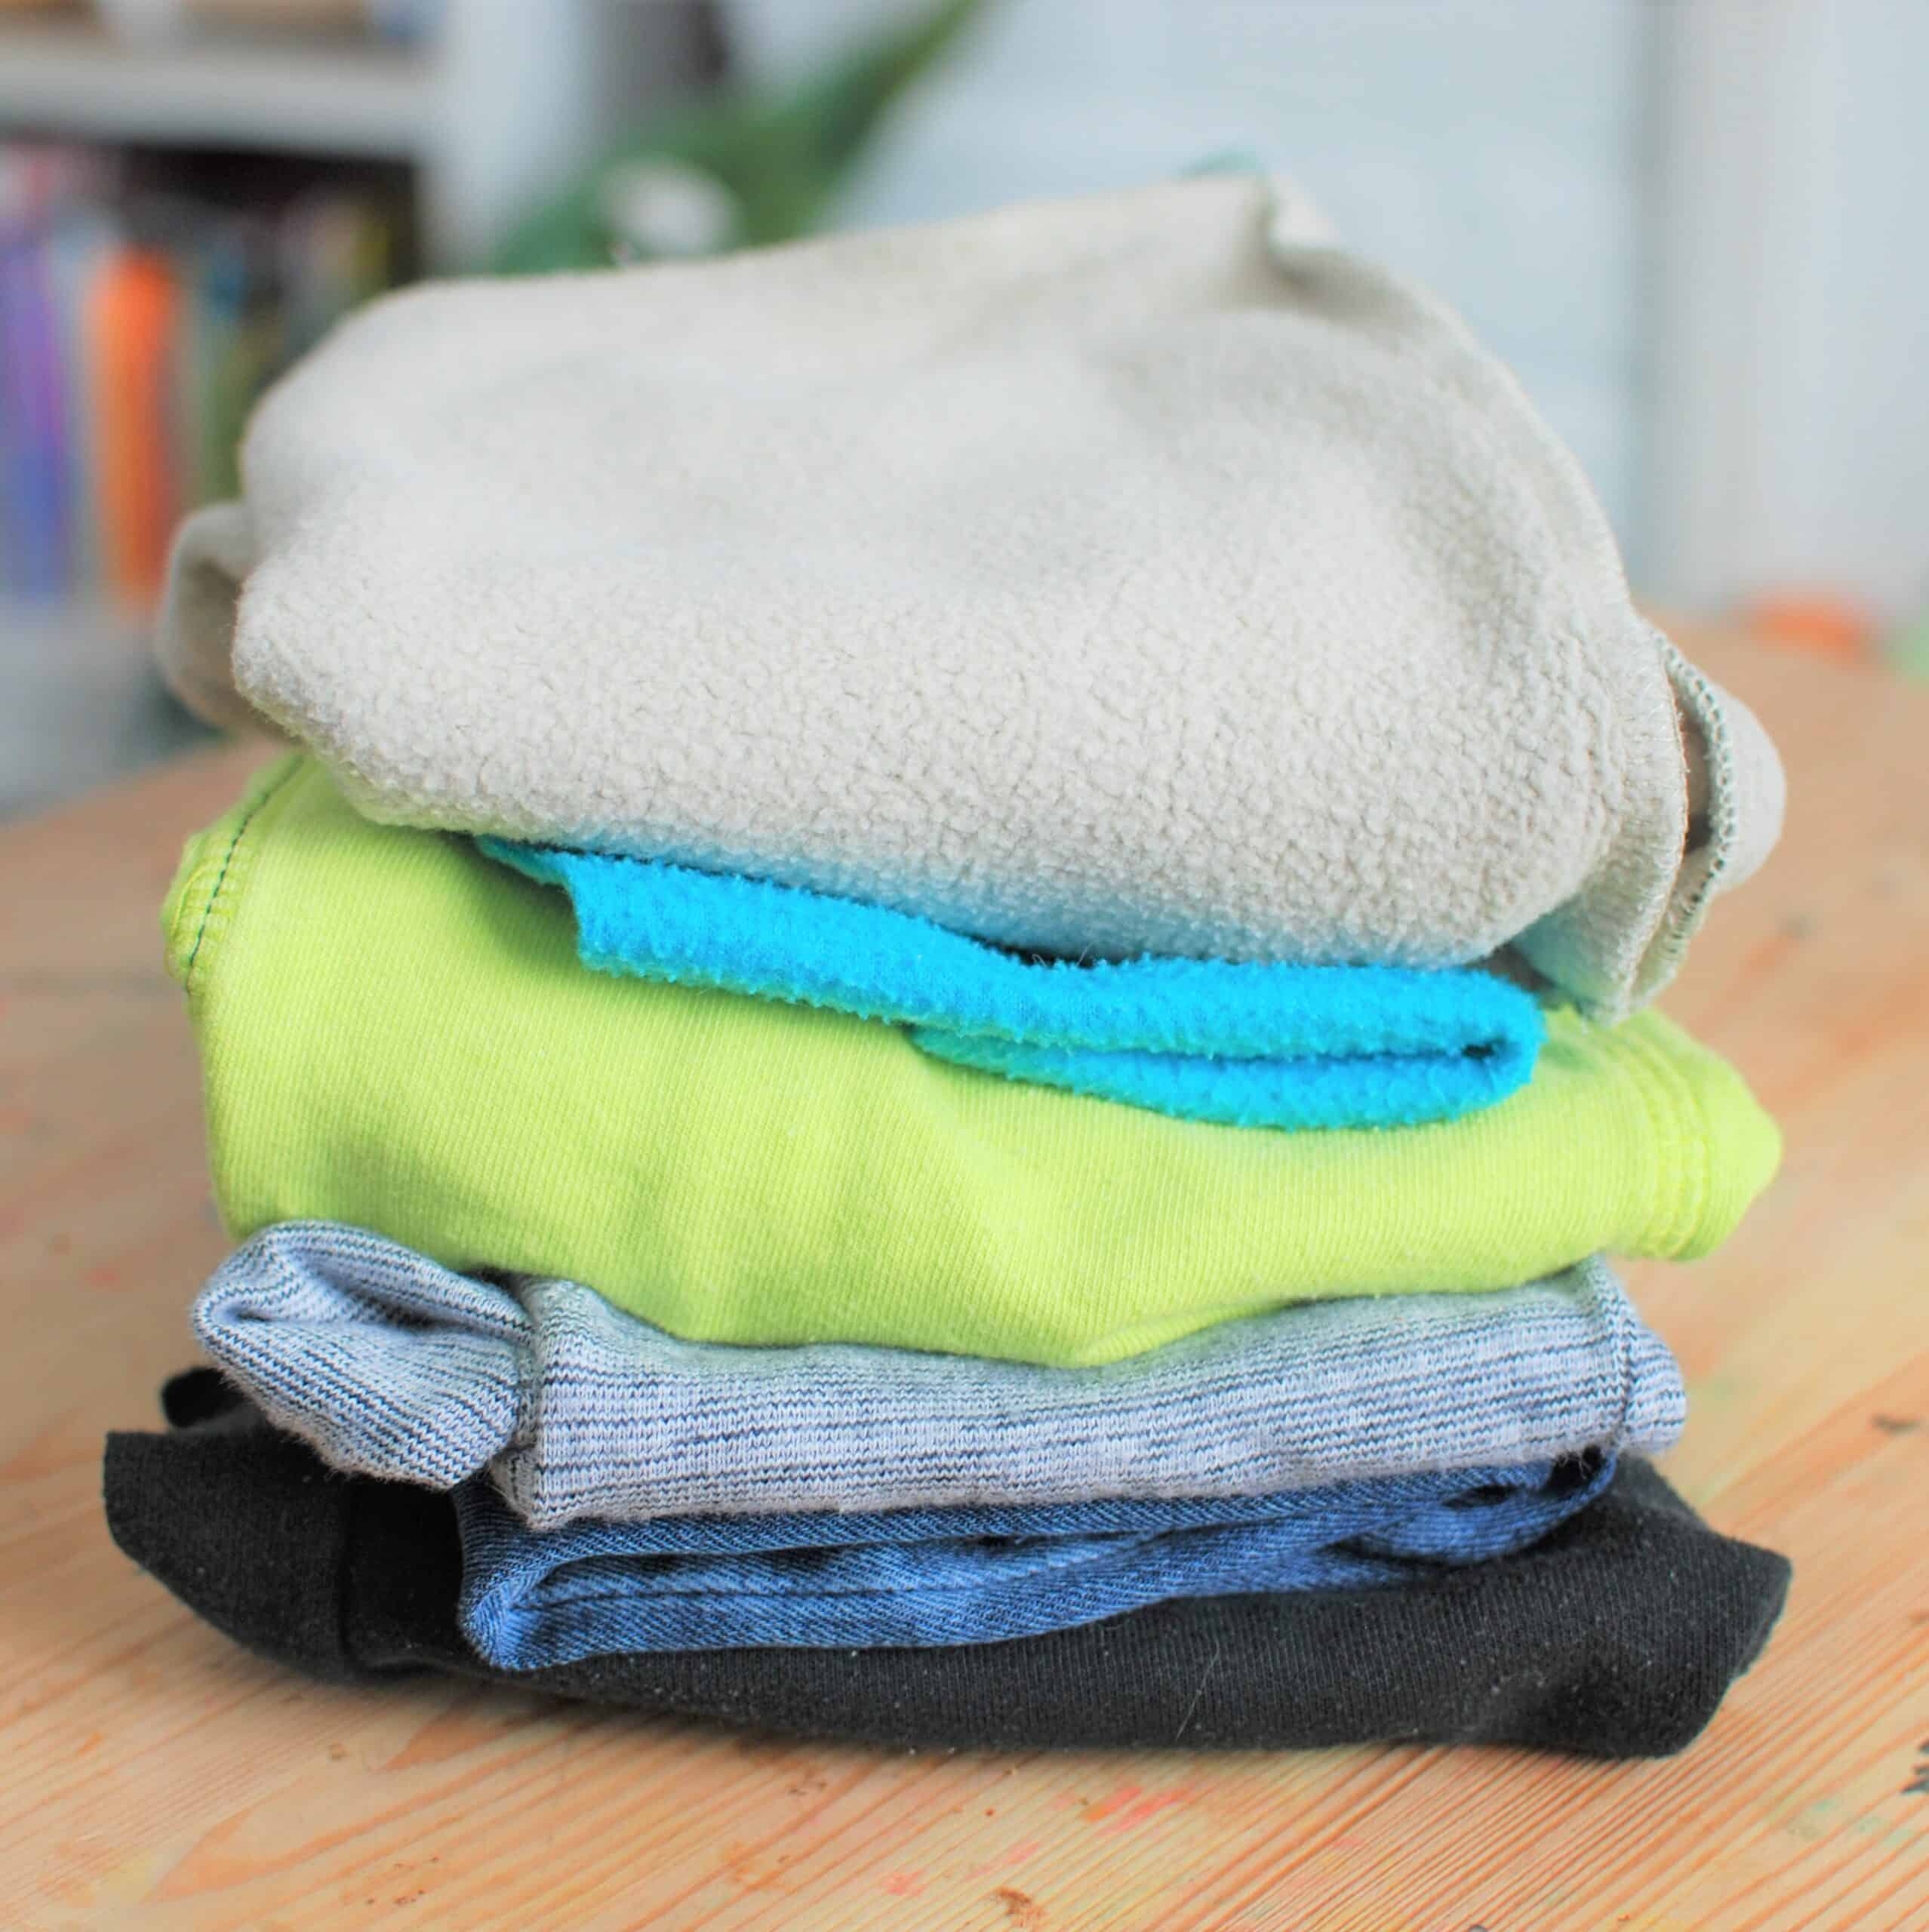
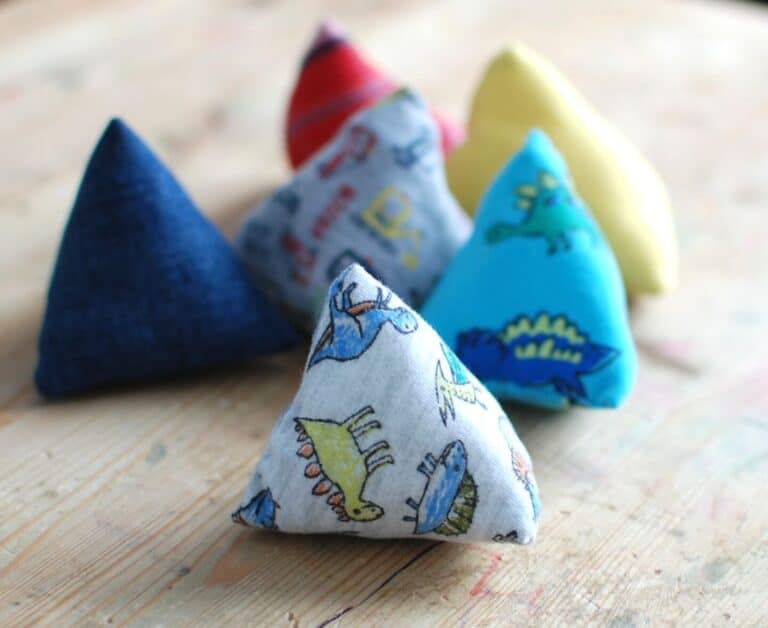
My lads don’t half go through clothes fast, it’s good in a way because the little one gets the big one’s hand me downs but after a while they do get worn out. I used to use the clothes that had worn out for dusters but I’ve been keeping a good stash of them to use as fabric for projects recently so I had a good choice on hand.
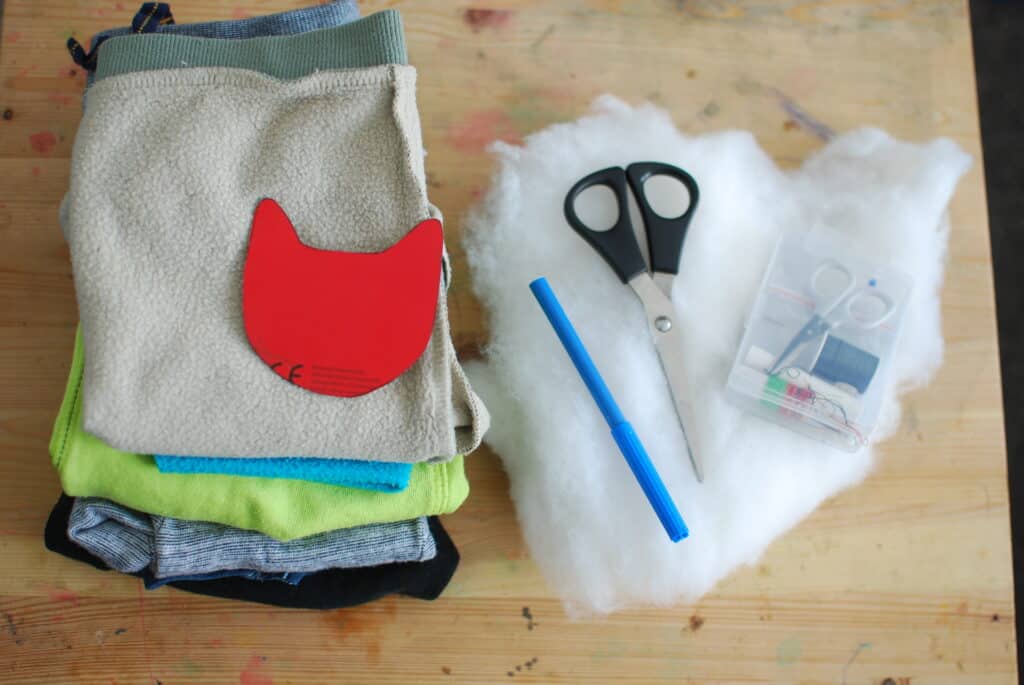
What you’ll need to make your cat head bunting
- Your choice of fabrics
- Stuffing (I used some from an old cushion but if this isn’t an option you could just use some of the leftover fabric)
- Cat template
- Pen
- Scissors
- Your sewing kit, plus you need a wide eyed needle for the string
- Choice of string/twine/wool etc. (not pictured)
Cat head template
I drew my template freehand so depending what sort of sized cats you’re planning, it’s up to you. I do have a template here for you to print and use if you’d like the same size as me.
This is standard UK A4 paper (297x210mm)
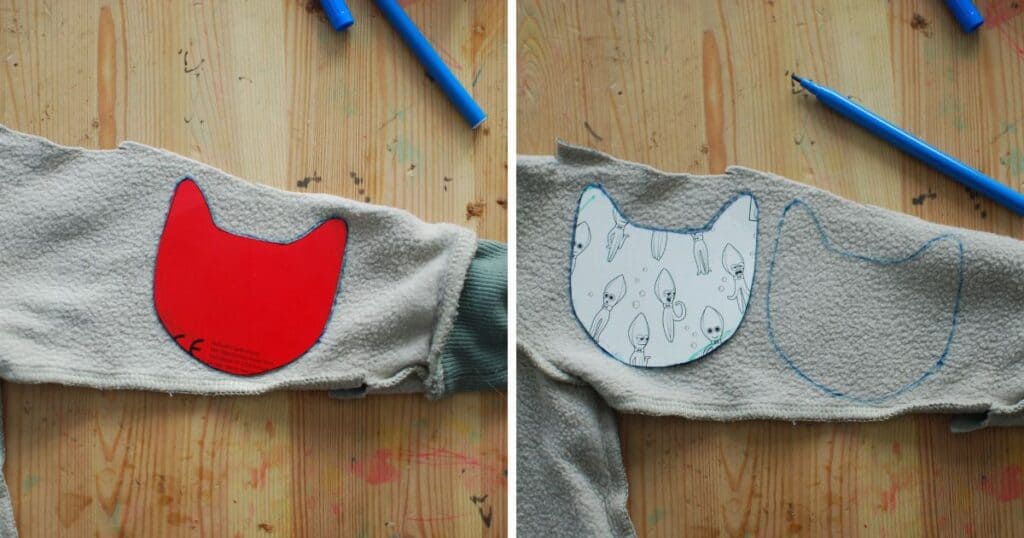
Cut out your fabric
I found it easiest to draw around my template, then flip it over and draw around again. This ensures each side of the head will fit together perfectly.
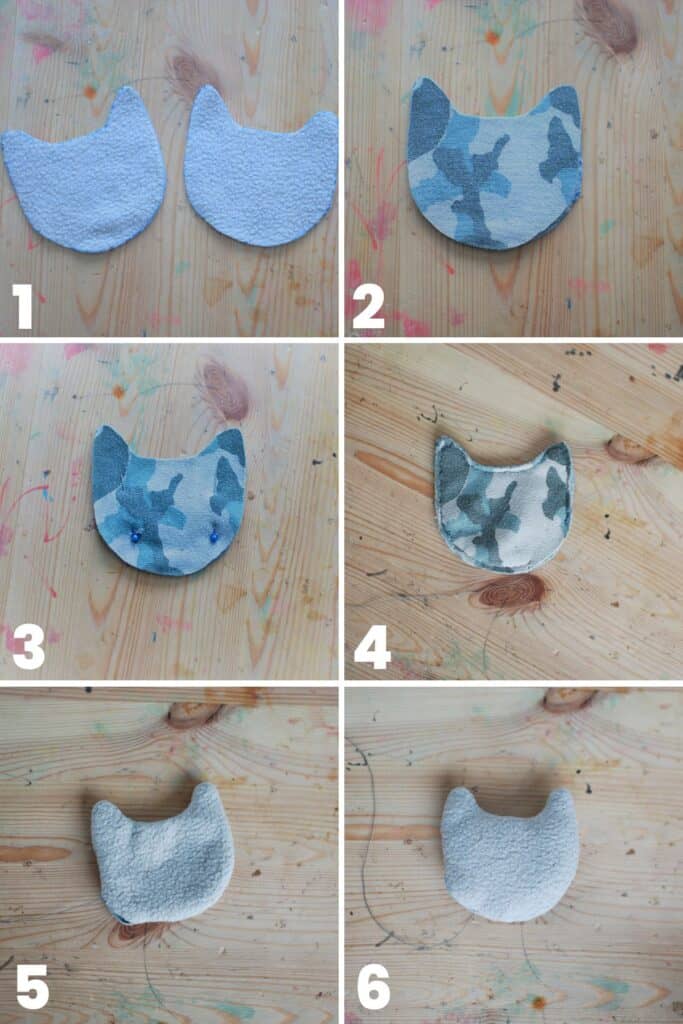
Next up to make your DIY cat head bunting is to put it together and get sewing, SO exciting.
- Cut out your cat heads from your template. It doesn’t really matter which side you draw the outline on as you’ll be sewing inwards of that so you won’t see it.
- Put the heads together, with the side you want showing when it’s finished on the inside so they’re essentially inside out at this stage.
- Add a couple of pins to keep each piece of fabric in place while you’re sewing.
- Sew around the cat heads leaving 2-3mm around the edge. Remember to leave a gap so you can turn your creation right side out again and add stuffing.
- Yay! Your cat is ready to stuff (that sounds weird).
- Once you feel you’ve added enough stuffing, sew up the gap. There’s a great video showing how to sew an invisible stitch like this.
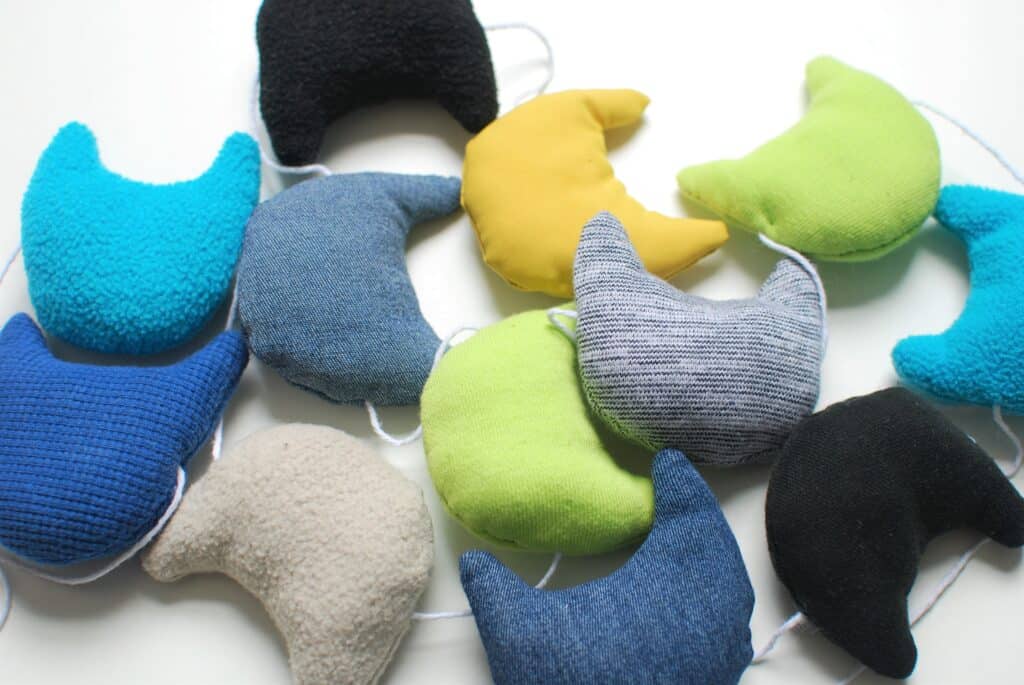
And repeat
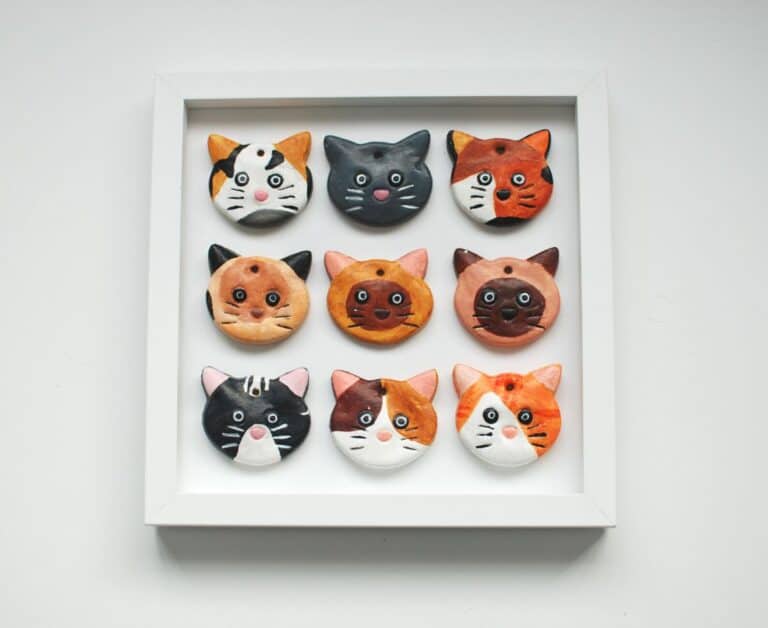
I made twelve cats in all and that worked perfectly for my son’s room. Depending on the space you want to hang them, you may need more or less.
Now we need to string up the cat heads. I just used a plain white string I bought from our supermarket a while back, always handy to have around.
A wide eyed needle is a must for this bit, unless you’re some sort of threading ninja, I don’t know.
I simply pulled the string through and did not make any knots around the cats as I wanted to ensure I could move them around to get the spacing correct.
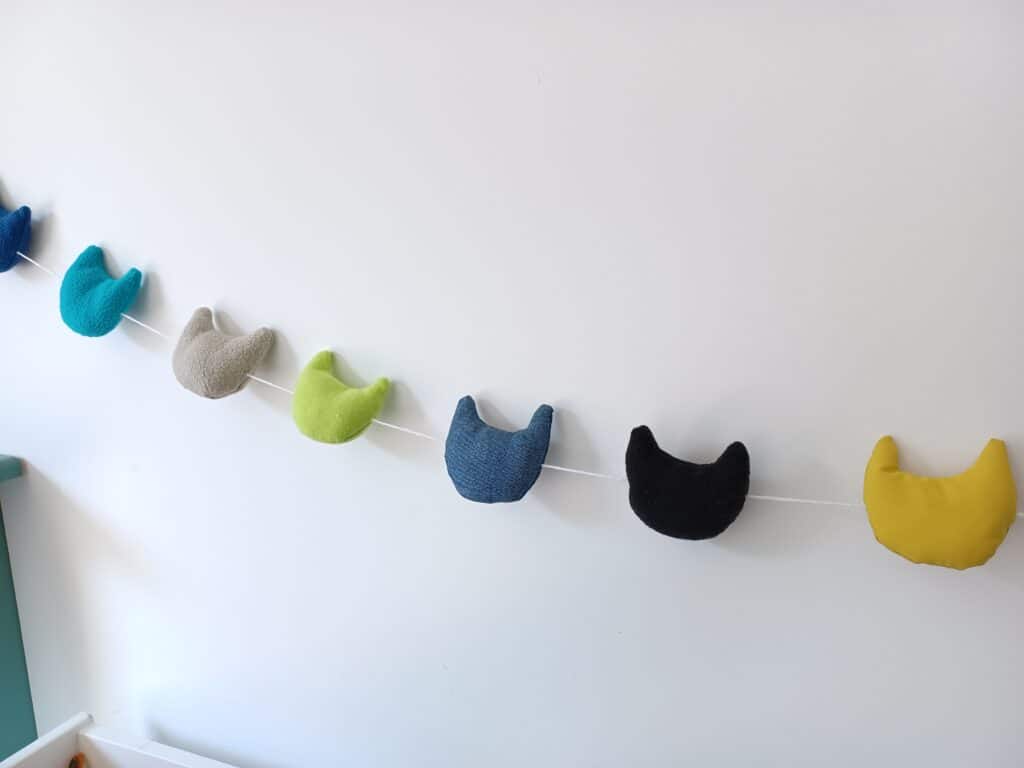
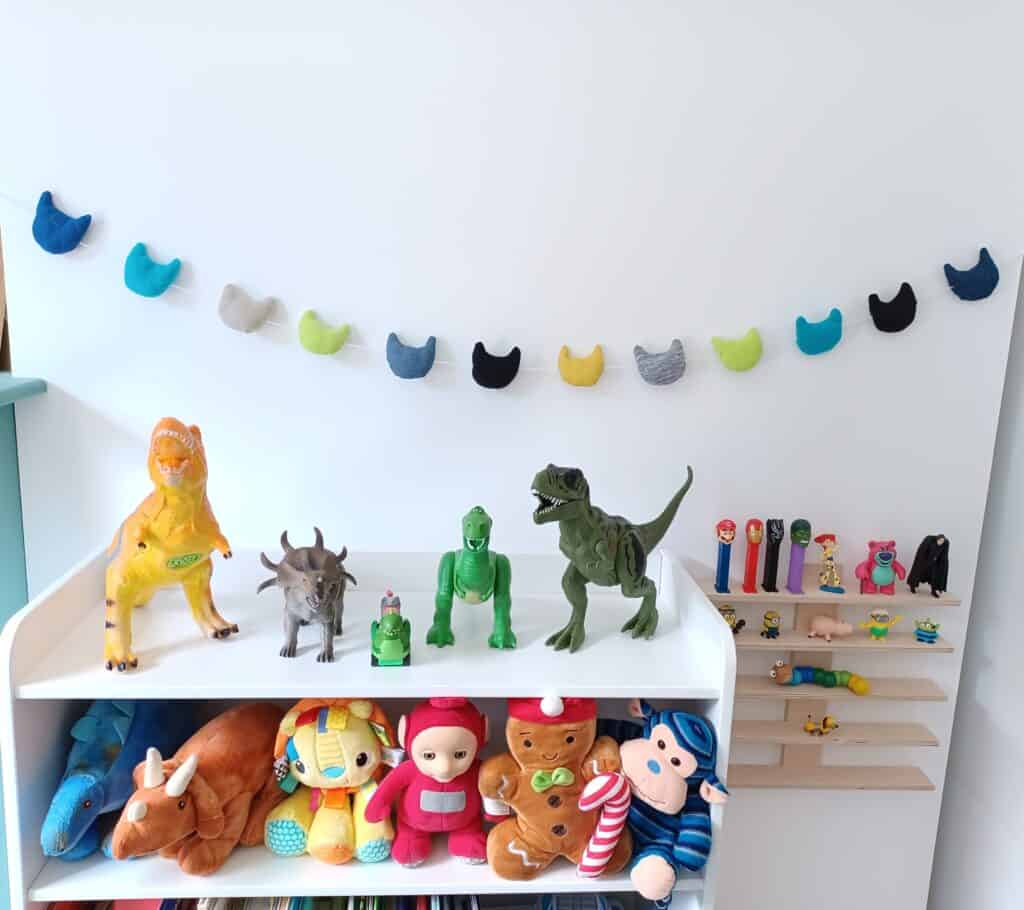
All done!
And there we go, that’s us finished with our sweet little cat bunting. How did you get on?
2 Comments