
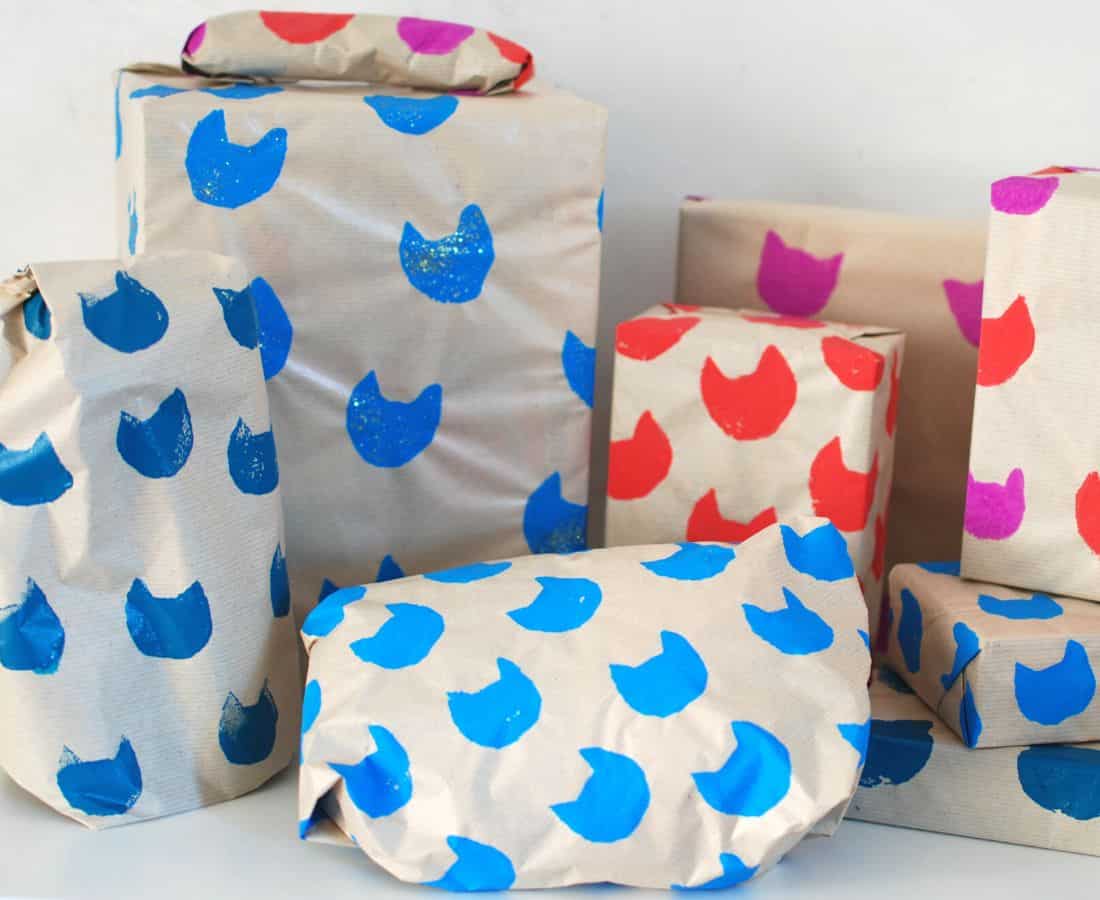
How to make your own homemade stamps
If you’ve ever wondered what can you make a stamp out of then you’d be surprised at just how easy it is to make your own homemade stamps.
Pretty much everything you need you will already have at home. You may need to purchase some craft paper or packing paper so you’ve got something to actually stamp once you’ve finished making these sweet badboys, though.
Get a lot of Amazon deliveries? Sometimes there’s brown packing paper mixed in there. I get Subway deliveries sometimes and their paper delivery bags are just perfect for this.
So let’s have a look at how to make your own custom stamp.
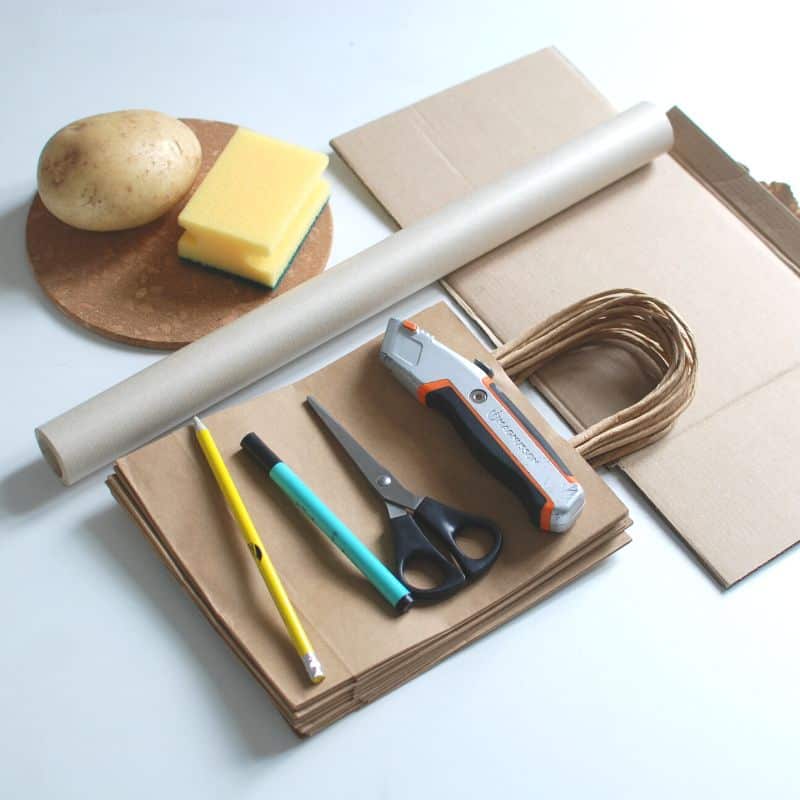
What you’ll need for your homemade stamps
Now, I’ll be honest. I’ve never made stamps before at home so I just got a few random things that I thought would be a good fit.
- A potato
- Dishwashing sponge
- Corkboard
- Cardboard
You may be a DIY stamp making whizz so let us know your secrets in the comments.(Also welcome, but why are you here? 😹)
You’ll also need
- Scissors
- Stanley knife or craft knife
- Pencil and pen
- Your choice of ink or paints
- Glitter (optional)
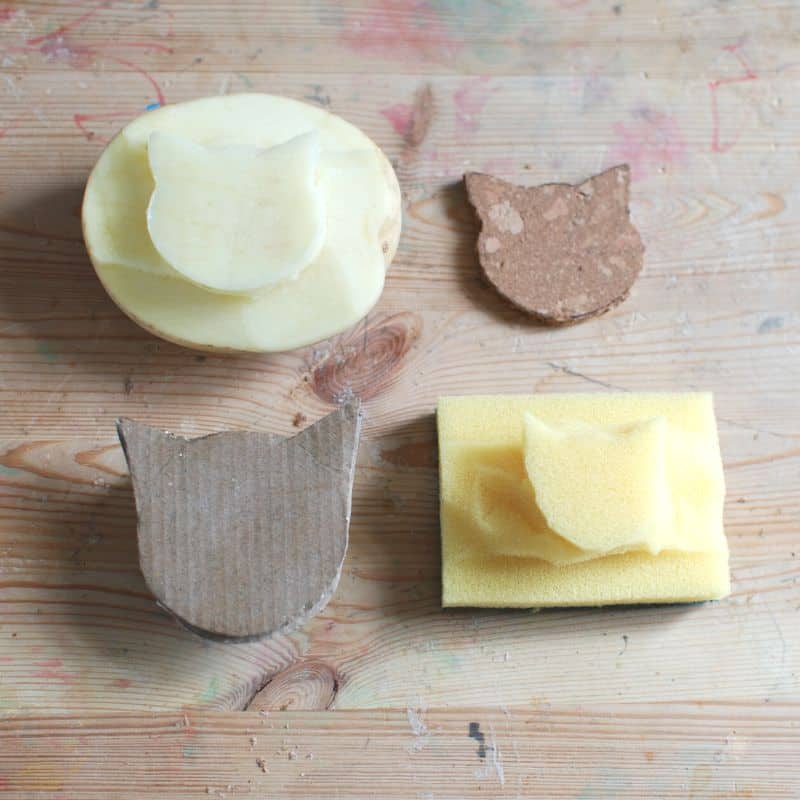
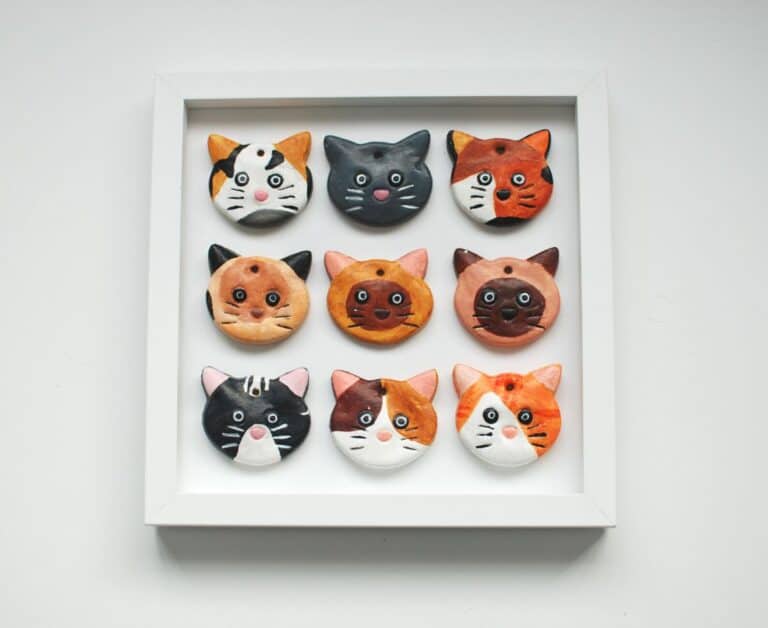
How to make the cat stamps
I’ve drawn a few different cat shapes here for you if you’re not too confident drawing your own. Simply print and cut out and use as a template.
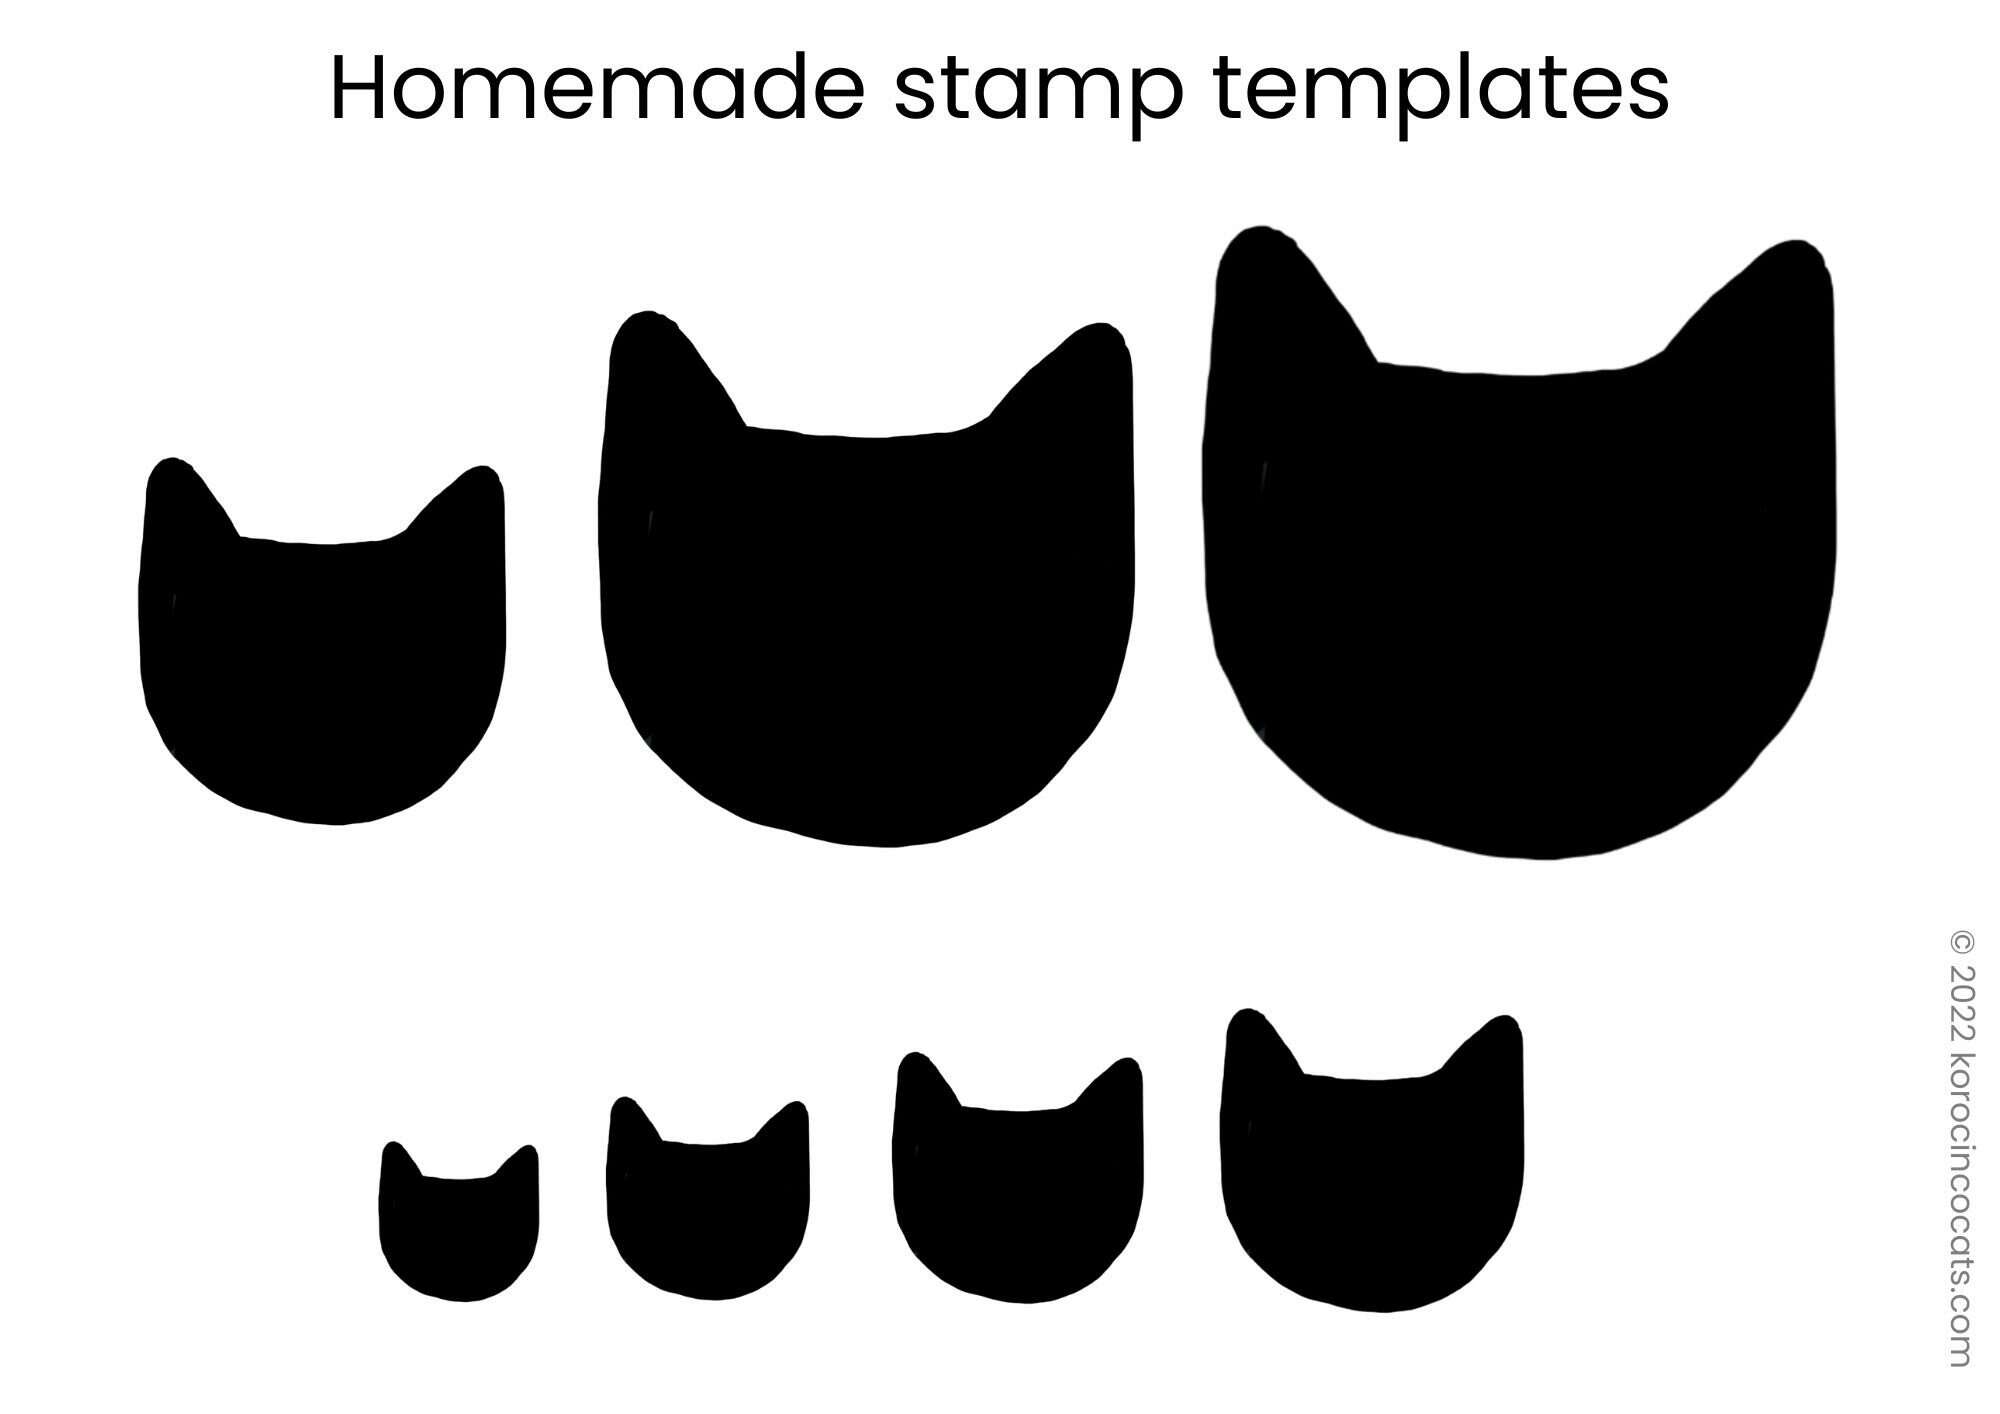
If like me, your printer is a bit hit and miss then you can open the file in your laptop or desktop and trace over the screen with a piece of paper.
Ok, so depending on what medium you’re using for your stamp. Let’s get going.
*This post contains affiliate links, which means that if you love the products I found as much as I do and go on to make a purchase, I may get a small percentage. This is at no cost to you or the seller.
How to make potato stamps
To make the potato stamp I used my cat head cookie cutter, I pushed the cookie cutter into the potato, then used a knife to cut off the excess around the edge of the cat face.

Once I’d cut off the excess I dabbed the potato to get all the juices off (🤢). This bit is really important so don’t skip it. Your stamp will be too slippy if you don’t dry it before adding the paint/ink.
I found it easiest to add paint to the stamp with a brush but other options are just to dab it into the paint or use an ink pad.
| Potato stamp pros | Potato stamp cons |
|---|---|
| Readily available | You could slice your finger |
| Easy to carve shapes | Bit messy |
| Consistent stamping | Only lasts for one project |
| Compostable | |
| Easy to hold |
How easy is it to stamp with a potato?
I can tell you now that 100% the potato was for me, a big learning curve. I almost cut my finger off a few times and when I eventually got the shape I wanted and came to stamping, that MF was slipping and sliding about all over the place.
My husband later told me that he thought you had to let them dry a bit first before stamping. (blush)
They say that potato stamping is for kids but I found it really hard at first! So yeah, be careful and be sure to dry it off.
By my second try (with a new potato) I got the hang of it and it was actually pretty easy.
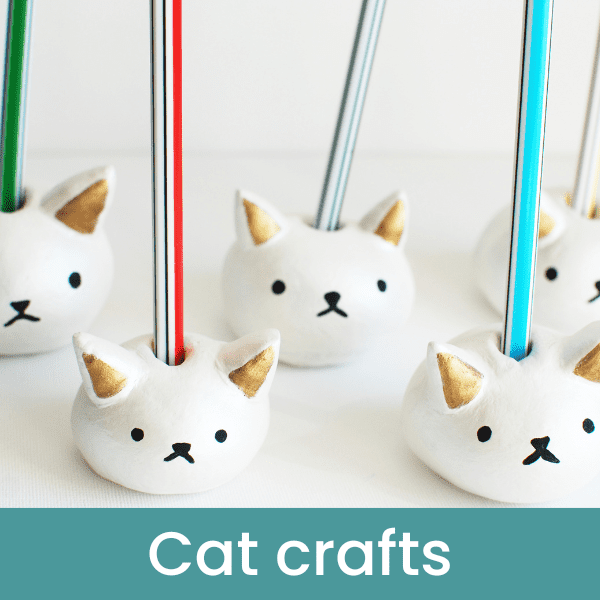
If you love making cat themed crafts then take a look at our crafts section below.
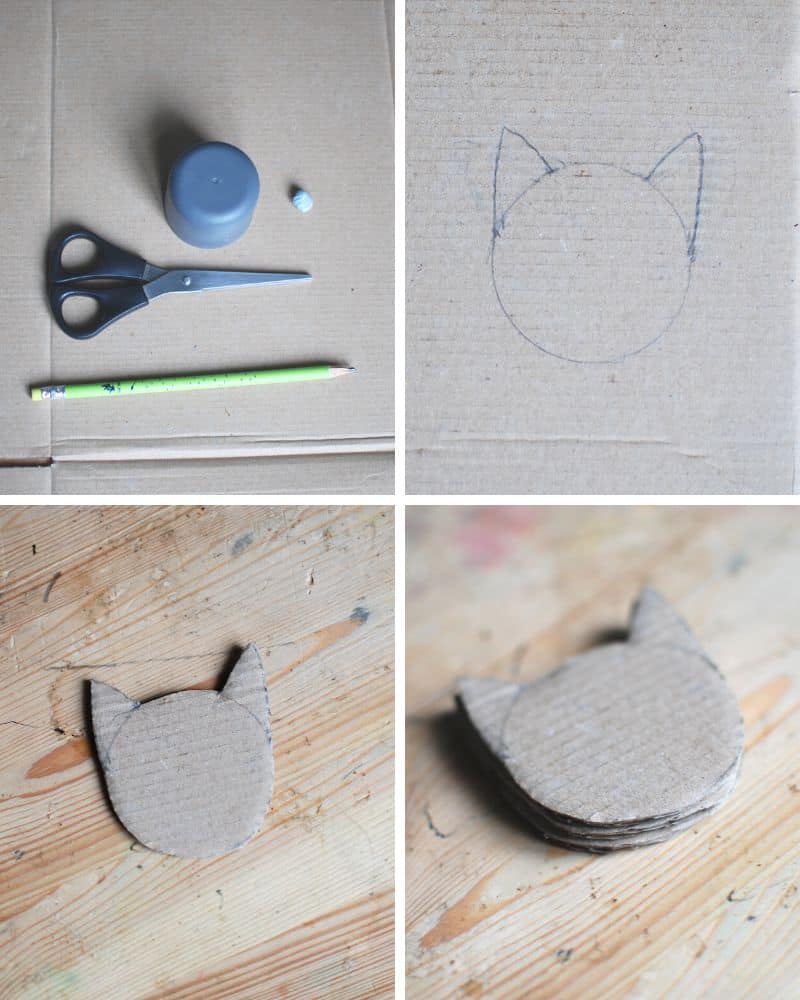
Cardboard stamp
I drew the cat shape I wanted onto the cardboard (took a few goes but I got there). And once happy I cut it out to use as a template. I then cut a further two cat heads and stuck them together with blue tack. If you have the time to let it dry then you could use glue.
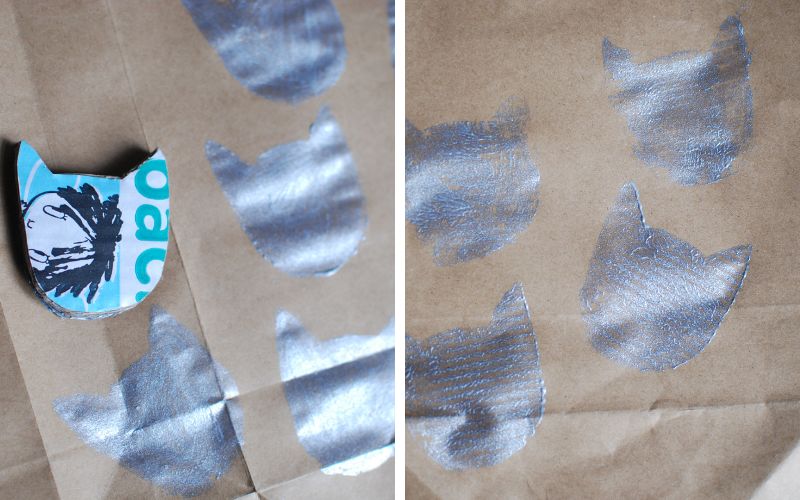
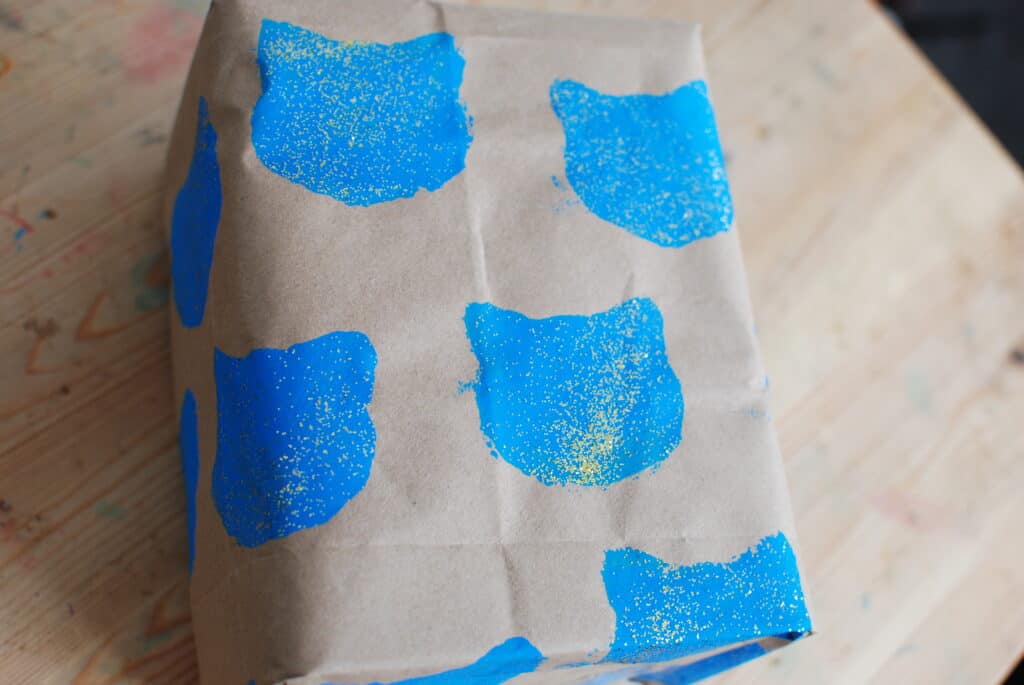
To get an even spread on the stamp, as I was using paint in my project. I found it easiest to brush the paint on rather than dab the stamp into the paint.
With the other homemade stamps there is quite a consistent result. With the cardboard option however, as it is made out of paper it gets saturated and starts to fall apart after a while and you will end up with different finishes.
When I first started with the carboard, I had trouble getting the stamp flush with the paper so had to fill in with a paintbrush (this is gonna be really time consuming if you’re making a lot of papers).
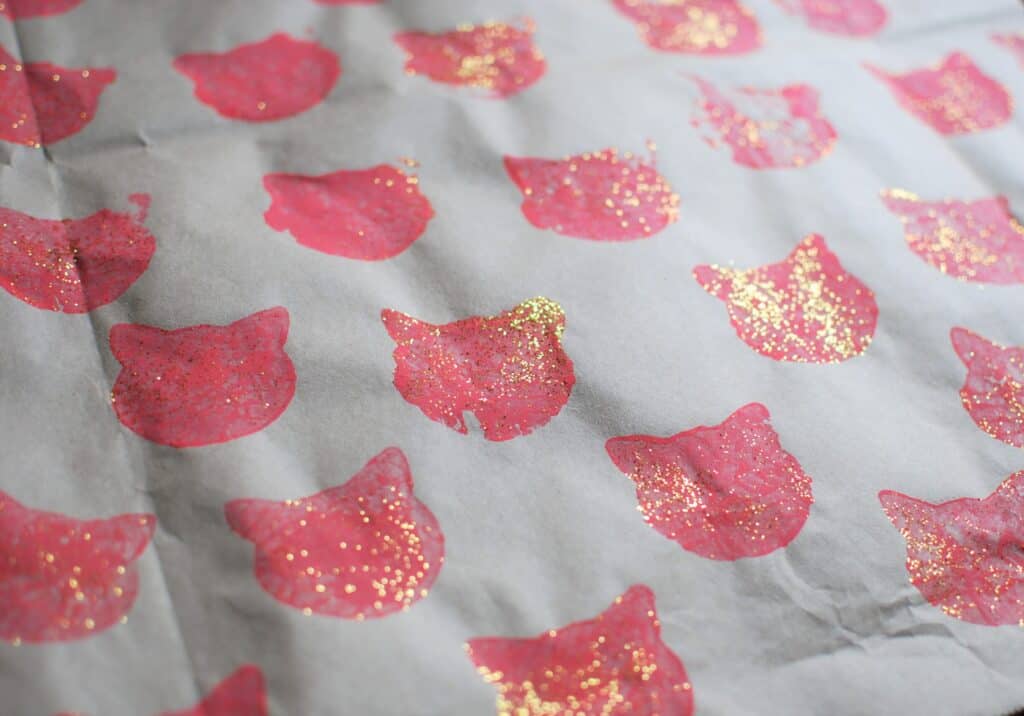
After about 10 minutes, the paint I used had saturated the first layer of the stamp and created ridges on the print. I actually think this looks pretty nice so it would be good for maybe a gift bag or very small sheet.
| Carboard stamp pros | Cardboard stamp cons |
|---|---|
| Readily available | Inconsistent |
| Recyclable | Does not last long |
| Easy to cut | Not suitable for big areas of stamping |
| Easy to hold |
How easy is it to stamp with cardboard?
If you want a crisp and even finish then a homemade cardboard stamp can be pretty time consuming and tricky. Yes, it can be done but it’s a bit hit and miss.
I felt like I was really up against the clock when using the carboard option as after a while it just comes apart. If you have a large area to cover then you will need to make more than one stamp.
This option would be great for little ones who just like the fun of paints and stamping.
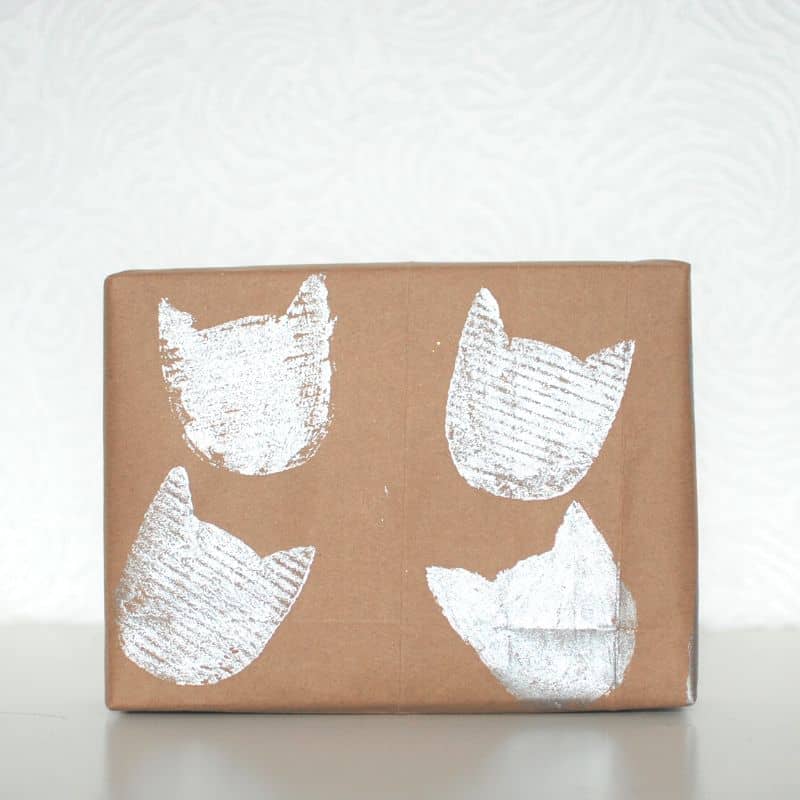
How to make homemade cork stamps
Either use your cat head template or draw your shape freehand onto the cork. I found that a Stanley knife or craft knife works best when cutting through cork.
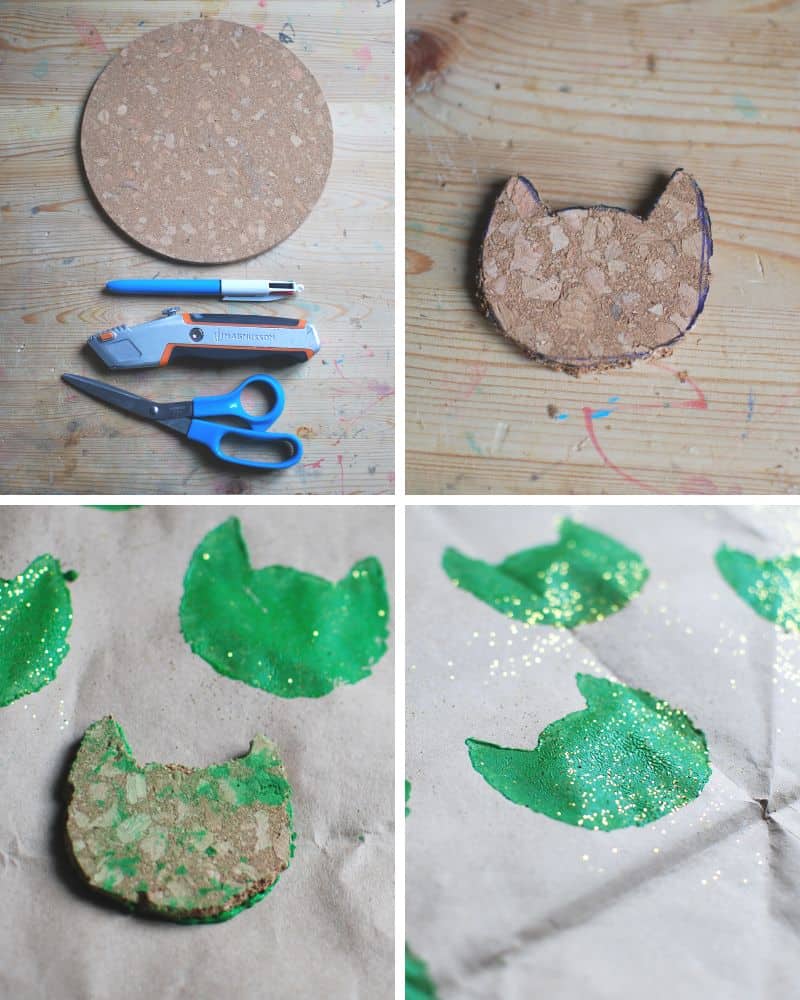
Depending on the thickness of your cork board you may need to stick two together (don’t forget you’re going to have to hold the stamp and if you have it too thin you risk getting paint all over your fingers and not getting a good enough ‘press’ on the stamp.
| Cork stamp pros | Cork stamp cons |
|---|---|
| Consistent results | Difficult to get a smooth cut |
| Recyclable | Fragile and can fall apart easily |
| Difficult to hold |
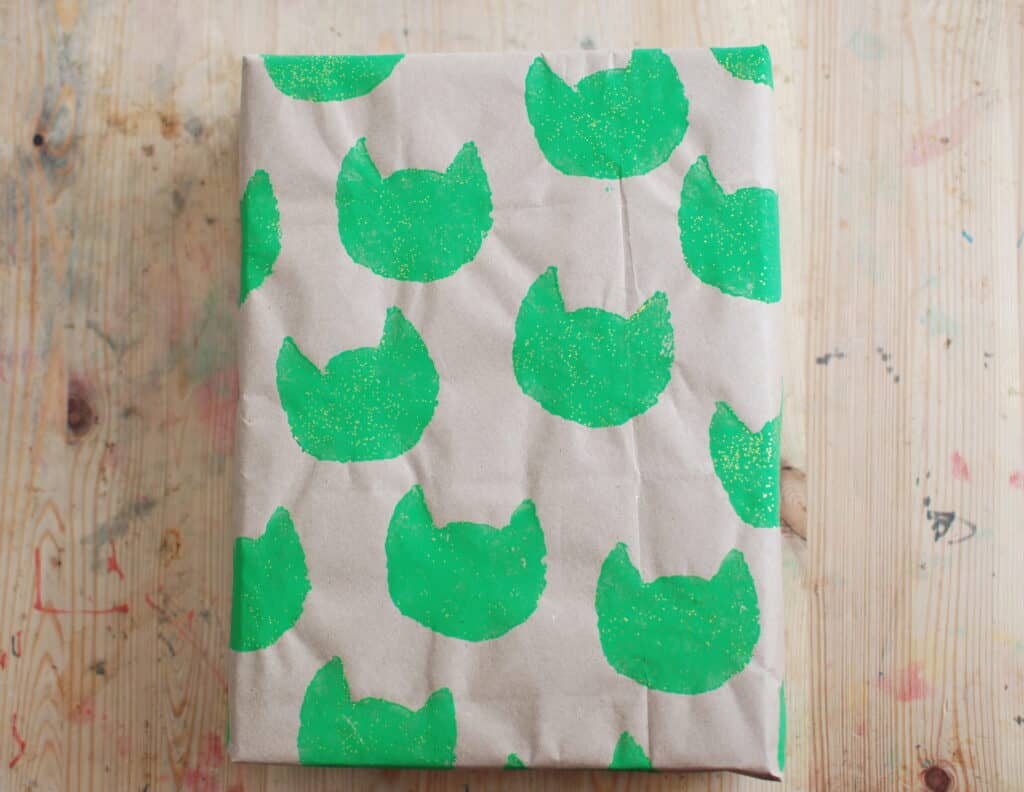
How easy is it to stamp with cork?
All in all the cork stamp gave a good result for the DIY wrapping paper. It was a little hard to shape the head as the cork I was using had large chunks but I’m pretty sure there are more compressed corks out there.
Again, because of the chunks, it was a little hard to hold as bits kept breaking off. But overall the consistency of the stamp worked really well.
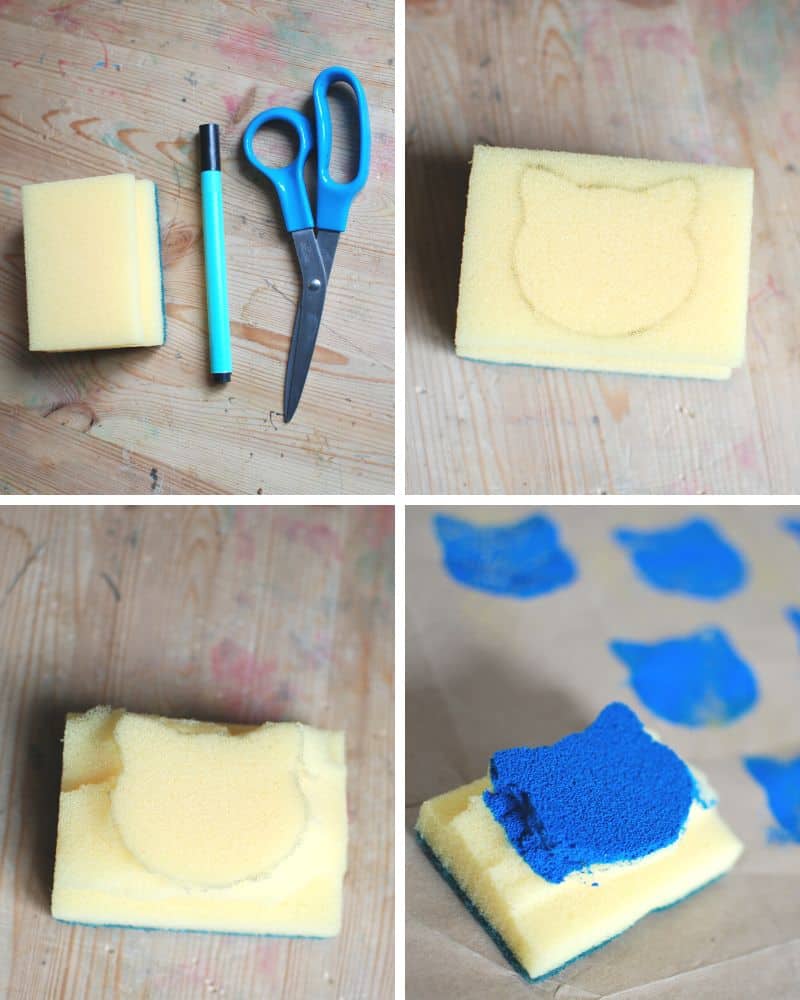
How to make sponge homemade stamps
You can either freehand your design onto the sponge or use the template above. Draw your cat head shape onto the sponge and carefully snip around it in increments of a few millimetres at a time. This is to enable you to get the initial shape of your design and then you can cut away the remainder of the sponge.
I found that sponge is the most unforgiving when cutting out as the tiniest wrong snip can drastically alter your outcome.
| Sponge stamp pros | Sponge stamp cons |
|---|---|
| Consistent results | Not always recyclable |
| Hardwearing | |
| Multiple project uses |
How easy is it to stamp with sponge?
The sponge stamp was very easy to use. Unlike the other stamps I found that I could get an even coverage of the stamp just by dabbing into the paint. I didn’t have to paint it on, so it’s a little quicker which is always a bonus!
The only minor problem I guess was that I didn’t cut enough of the sponge away to form a thick enough stamp relief and I ended up getting paint on the void of the stamp (if that makes sense). So at times this caused extra paint around the edge of the design, this can be easily fixed by snipping it off.
My favourite stamp?
I didn’t think I’d be saying this but the favourite stamp I made was actually the potato 😹 After a bit of a bumbling start with it, I persevered and I was pretty happy with the result.
So there you go, you now know how to make your own homemade stamps. Let us know how it went or tag my with your designs over on the Koro Cinco Cats Instagram page.

One Comment