Salt dough crafts – Cat pen holder DIY
If you’re looking for a little salt dough crafts project. I’d like to introduce you to my super cute cat pen holders. I can pretty much guarantee you’ll have everything you need to make them at home already.
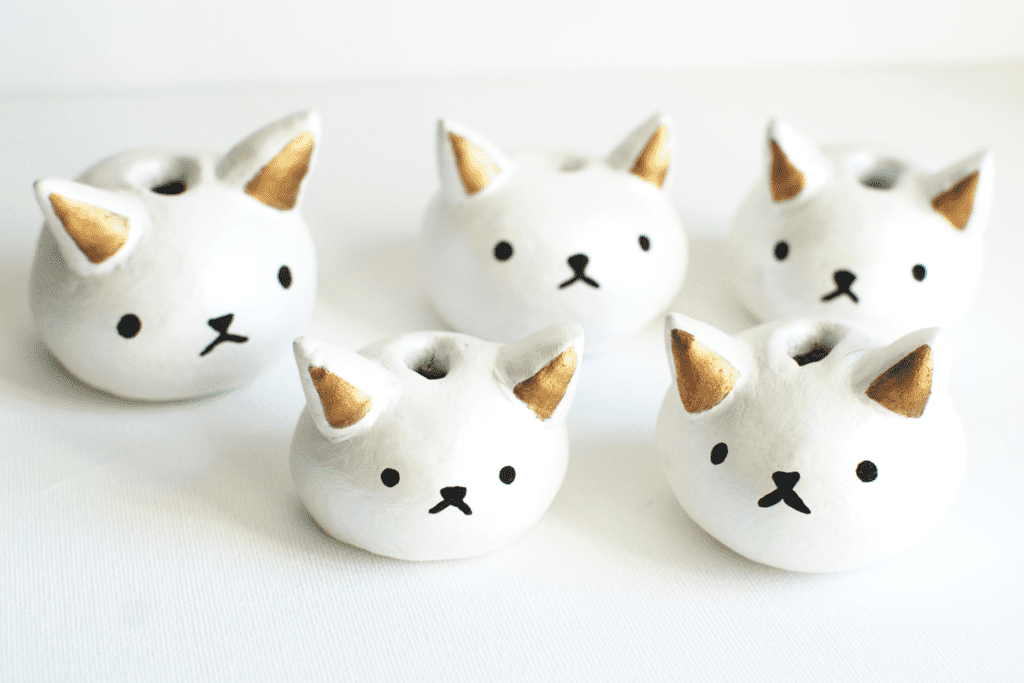
If you’re new to this age old craft then be careful, once you start you’ll have trouble stopping!
What you’ll need to make your cats
- Salt
- Plain flour
- Water
- Mixing bowl
- A coffee mug (for measuring)
- Some treats for all your hard work
- Filler (like you’d use for a crack in the wall)
- Sand paper
- Your choice of paints
- Tin foil
How to make salt dough
There’s plenty of salt dough recipes out there on the internet but over the years I’ve found this works best for me.
- One mug of flour
- Half a mug of salt
- Half a mug of water
Mix the flour and salt and then add the water. This is the fun bit as if you don’t mind getting your hands dirty.
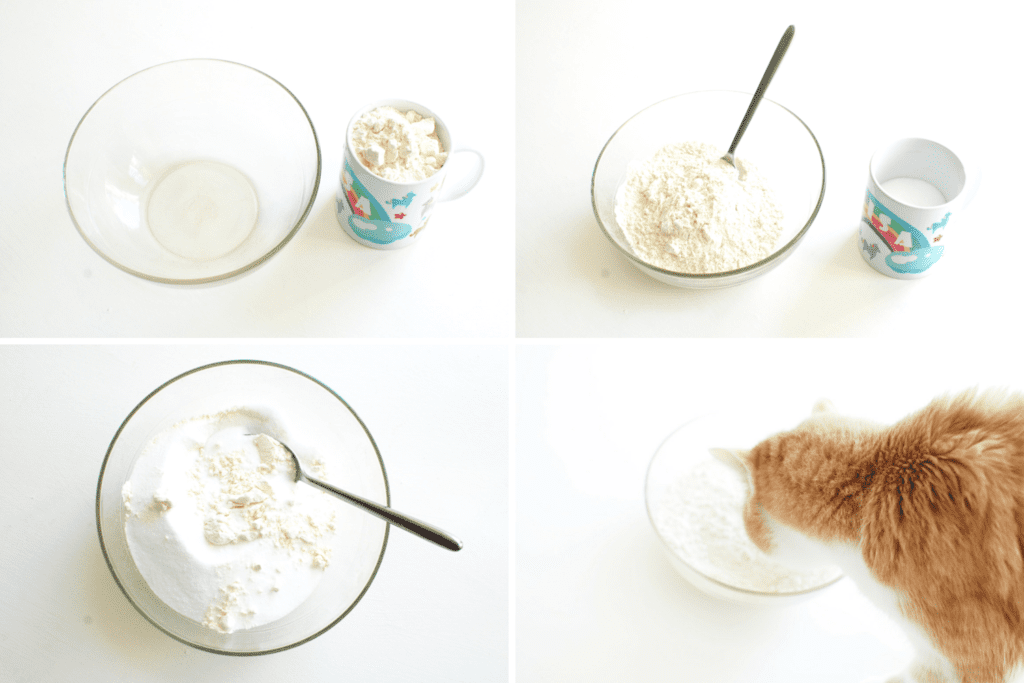
Once you’ve let your cat examine your mix and they have declared it acceptable, you should end up with quite a handful of ready to go mix. What we’re aiming for here is a sort of play dough texture, pliable but not sticky and it holds its shape.
Don’t worry if you need to add more flour or water during the mixing stage. Try and fold and roll for as long as you possibly can to get the air out. This will prevent any cracking once your designs go in the oven. Don’t panic too much about cracks, that’s what we’ve got the filler for, right ☺
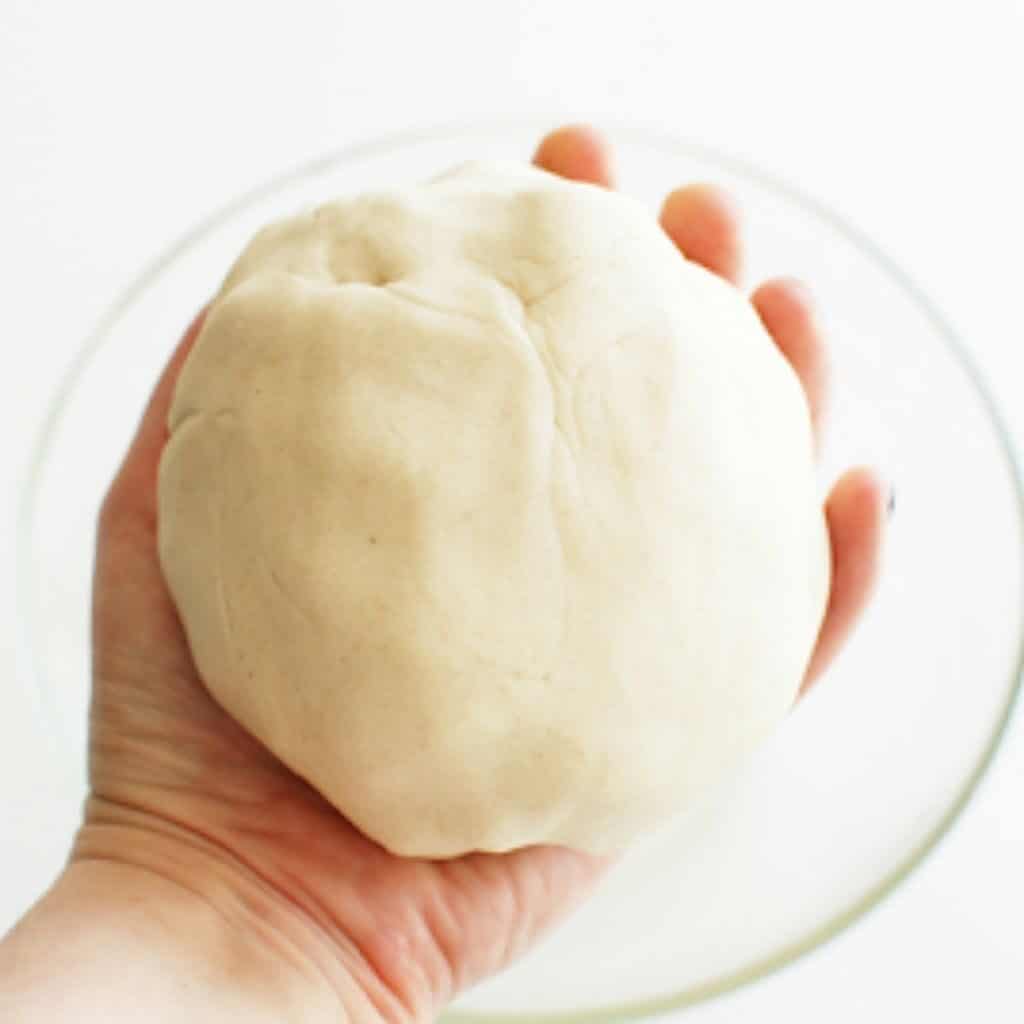
The quantities in my ‘recipe’ will provide enough dough for around five decent sized kitties. The ones I made are various sizes starting from 5.5 x 4.5cm to 6.5 x 6cm but it’s up to you. I also had a little bit left over which I used to make some footprints from my cats (that was fun).
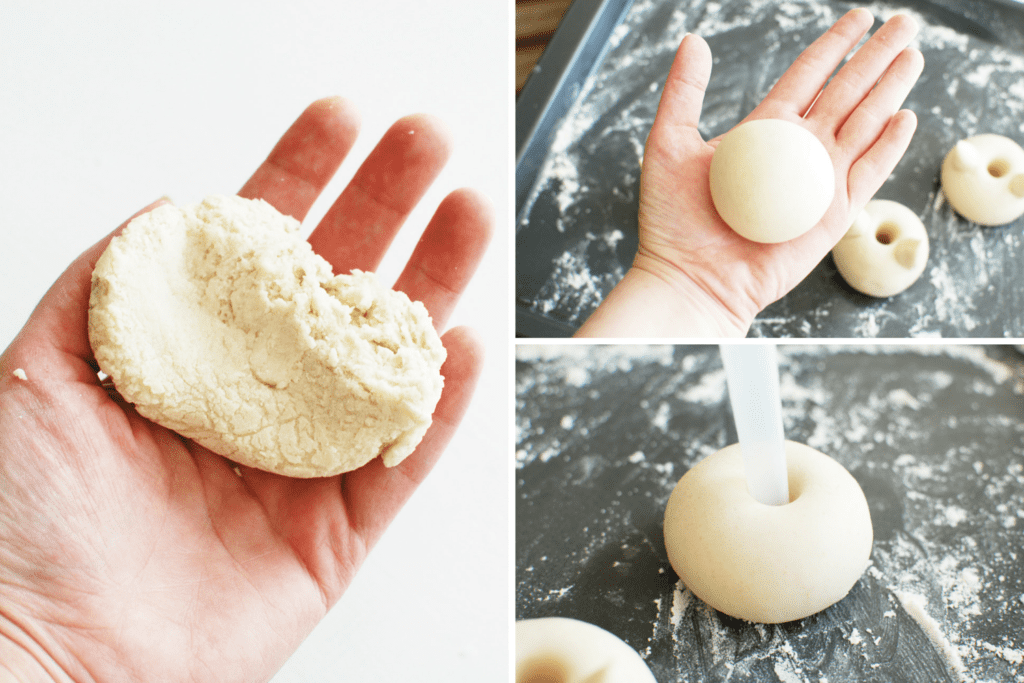
How to form the salt dough cat heads
To make the heads, just take a little chunk, about a handful and roll into a ball. At this point I’d like to point out that we’d ran out of tinfoil so I just layered a bit of flour down onto my baking tray.
Put the ball straight onto the baking tray and use a pen or similar to poke the hole. I recommend rolling it round a bit to make it larger than needed, baked salt dough tends to shrink. Next we need to make those cute little ears.
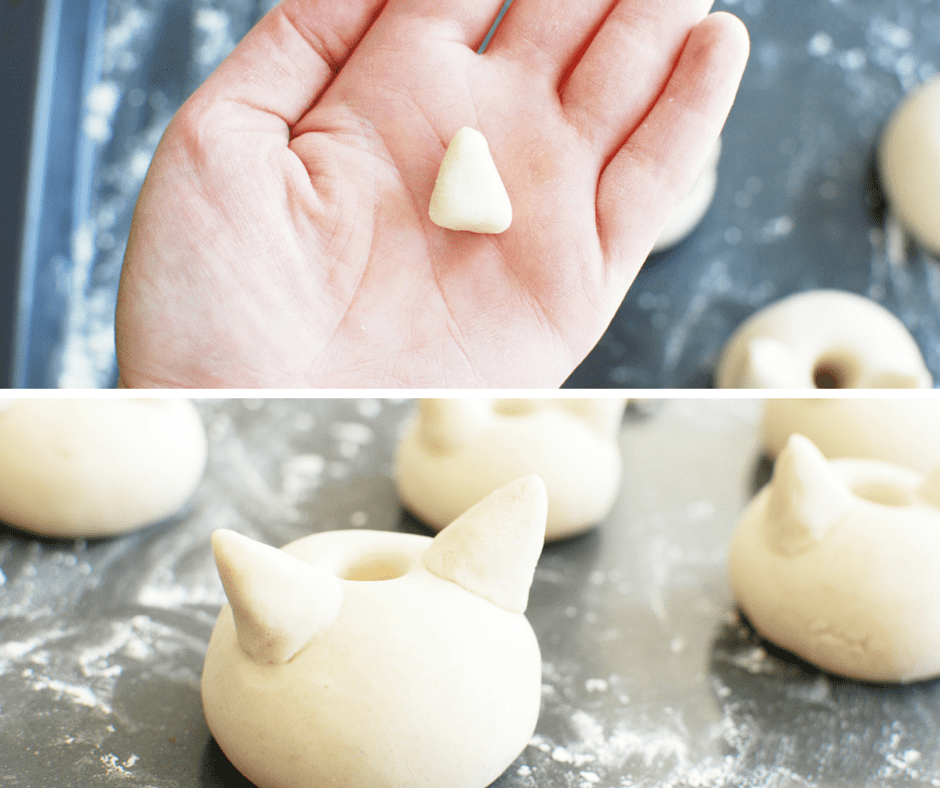
Take a small piece and make another ball then form it into a triangle and attach to the side of the original ball. Now these little babies are looking more and more like the cats we love so much.
Preheat your oven to 165 degrees C whilst you’re fiddling around with the ears. I like to cook for about an hour but it depends on how many salt dough projects are in the oven at the time. If you’re baking something thin then times can vary a lot so I always have a check at around the 25-30 minutes mark.
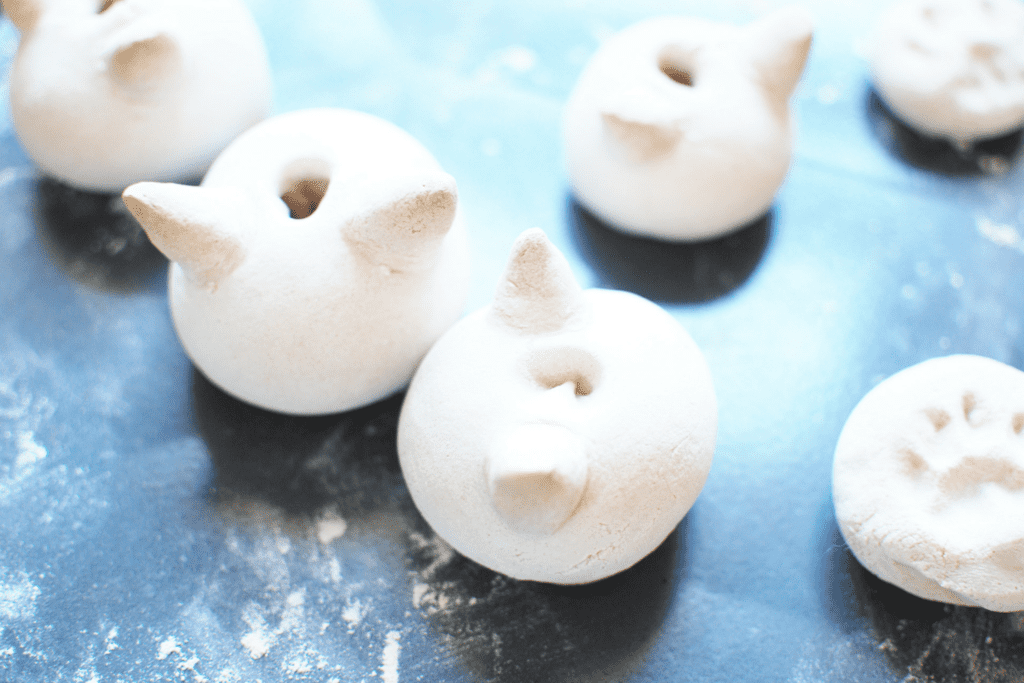
When I checked at 25 minutes, the holes had started to close up so I simply poked through again with a spoon. You can see the cat footprints here too ♥
Hey, want some free cat wall art?

[arrow_forms id=’356′]
When the cats first come out of the oven (never thought that would be a sentence I’d use!), they may look a little burnt around the edges, you may even have cracks.
If you do have a lot of cracks then it’s nothing a bit of filler and sandpaper can’t fix.
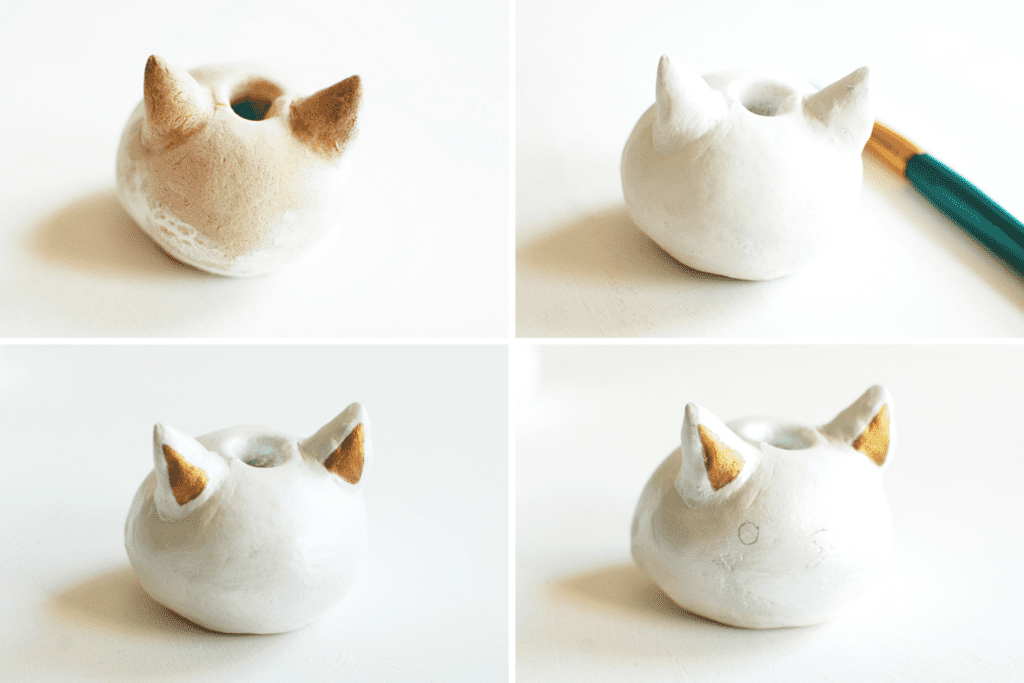
It’s certainly worthwhile spending a bit of time sanding down your cat now as once painted, any bumpy bits will stick out like a sore thumb. Once I’d filled and sanded each head, I painted on a few base coats of matte white. Your hairdryer will come in handy if you’re not the waiting for paint to dry type, like me. I chose a white shimmer as a final coat and once that was dry I added some gold for the ears.
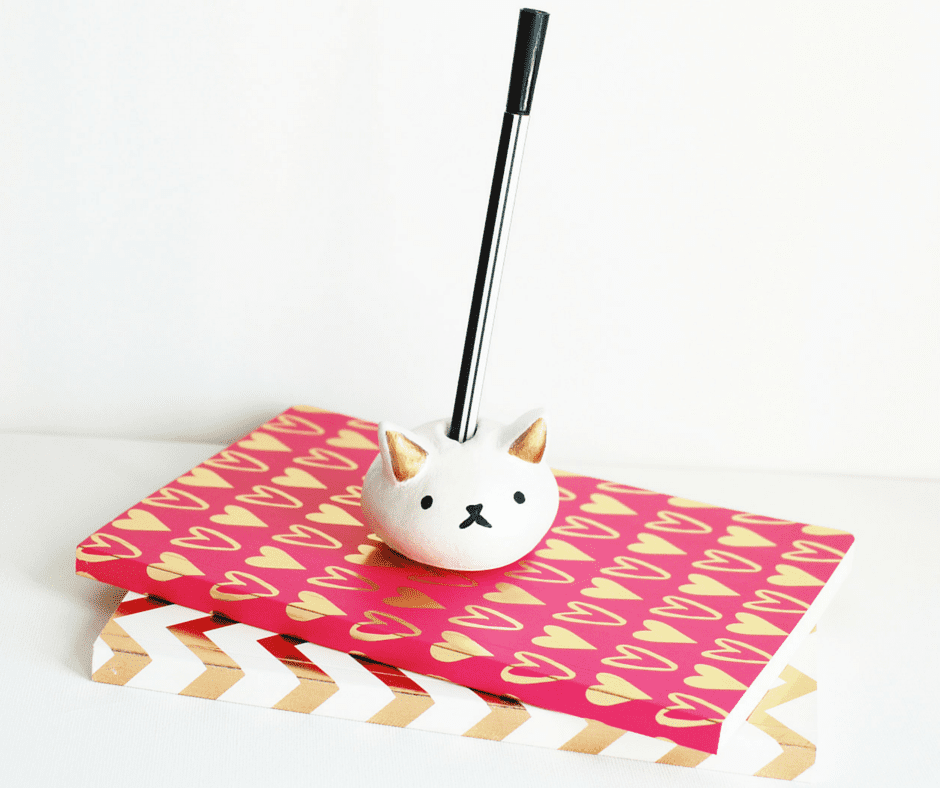
Then you can get to painting the face. Now, get this wrong and all your hard work goes down the drain. I spent a while looking online at different cat faces. You don’t have to have the same as me, so have a look around first to see what you like.
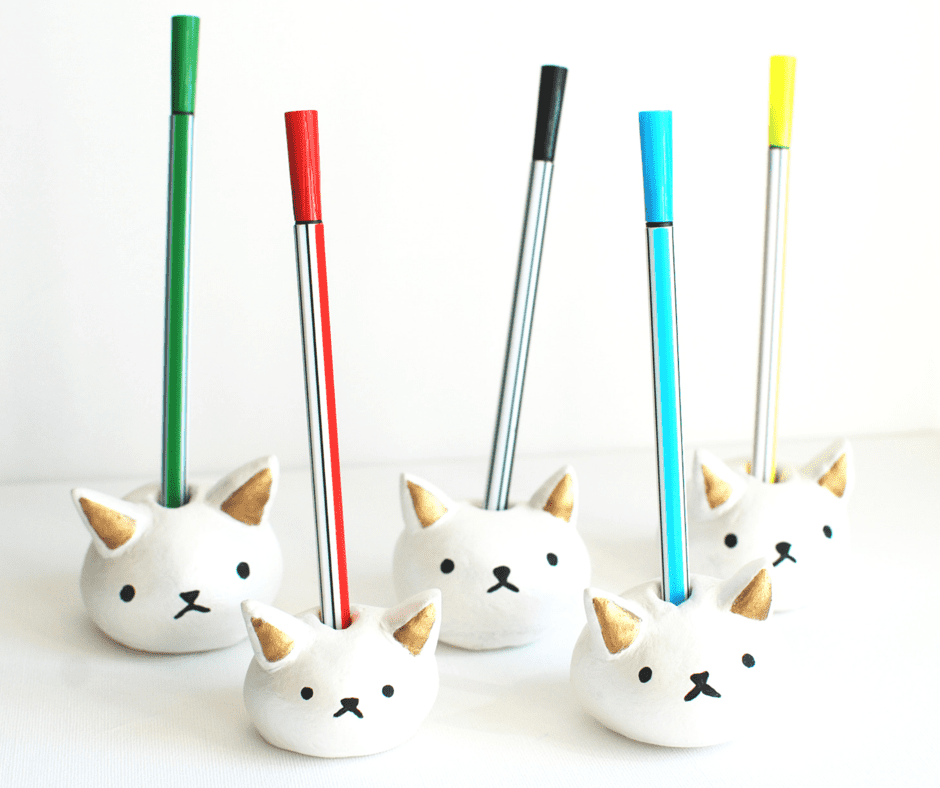
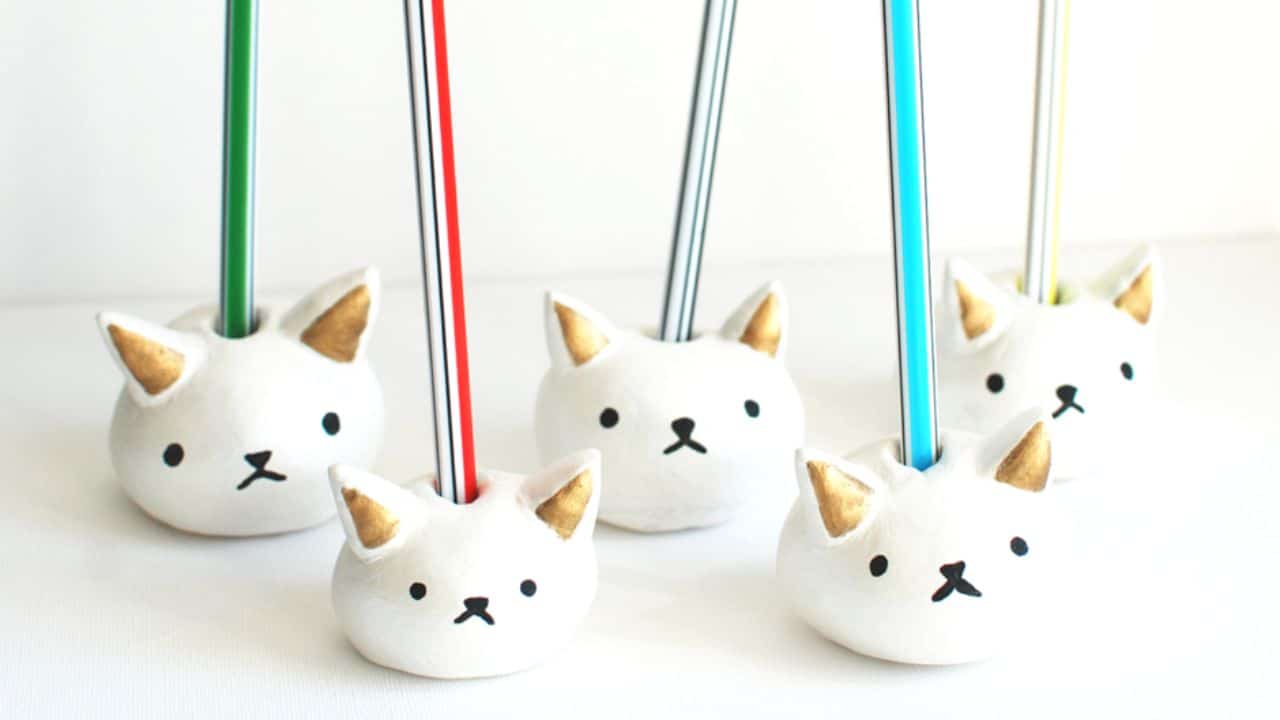
So there we go, I hope you have as much fun as I did making these little bad boys! I absolutely adore making salt dough crafts so look out for some more cat themed crafts some time soon.
Want some more cat crafts ideas?
Take a look here, enjoy!

One Comment