How to make a suncatcher
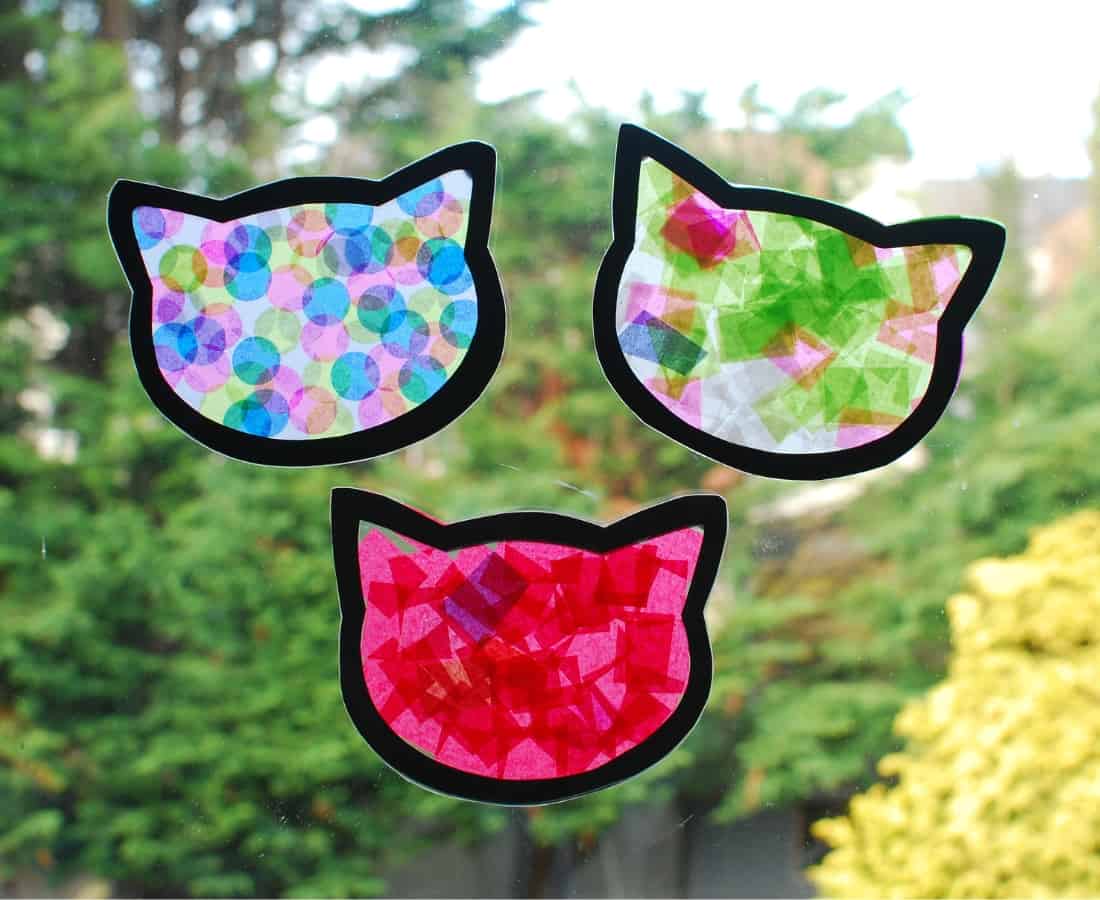
I showed my boys how to make a suncatcher this week and we were absolutely made up with their creations. Naturally we made cat head suncatchers and they’re now proudly on display on their bedroom window.
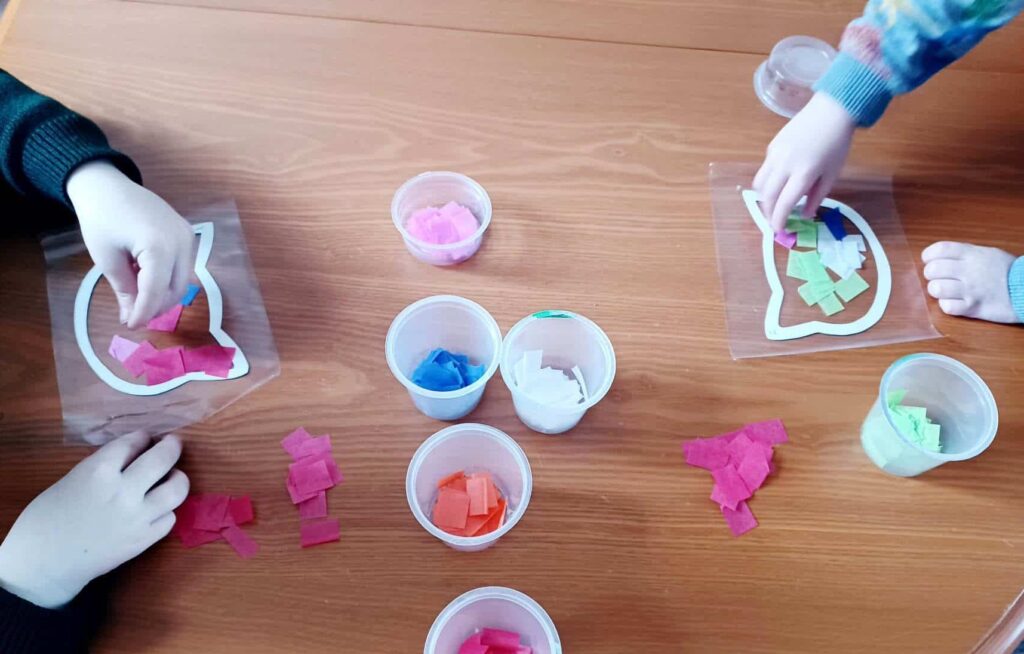
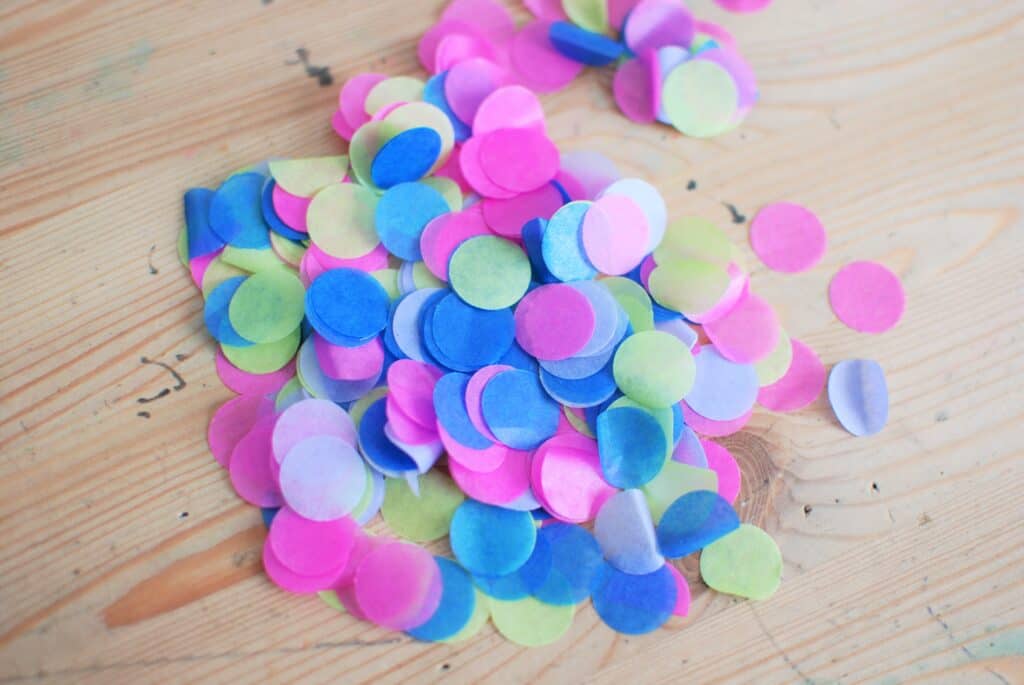
Suncatchers are a great little craft you can do with kids of all ages. My children are three and five and they really enjoyed it. There’s no glue or paint involved and other than us all having a confetti party with the leftover tissue paper at the end, the cleanup is minimal.
This post contains some affiliate links. This just means that I may get a commission on any sales made from links on this page and this is at no extra cost to the seller or you. Win/win/win.
What you’ll need to make a cat suncatcher
Suncatchers are a great cat themed craft to do with your little ones (plus I really enjoyed it, myself) and you don’t really need to go out and buy a lot of craft supplies in order to do it. You may even have a lot of the materials in your home already.
- Card
- Sticky back plastic
- Tissue paper
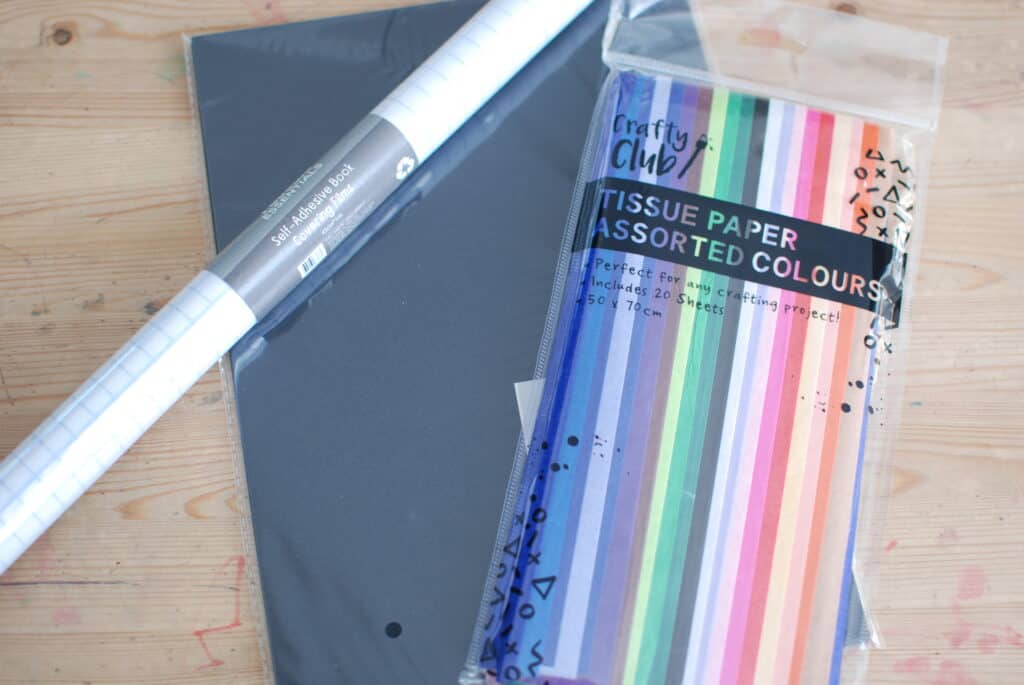
Not pictured is the template I used which was the lid off my cat’s biscuit treats 😹 Plus you’ll need some scissors and a pencil.
How to make a suncatcher
First off you’ll need to pick the colours you like best for your cat head suncatcher. Once you’re happy, cut the tissue paper into small pieces.
You can use scissors to cut the paper up, tear it, or if you have some paper punches you could also use those for some interesting designs.
Next up is the frame. My cat’s treat box lid which is shaped like a cat head was the perfect size. If you don’t have anything similar you can simply freehand a cat head.
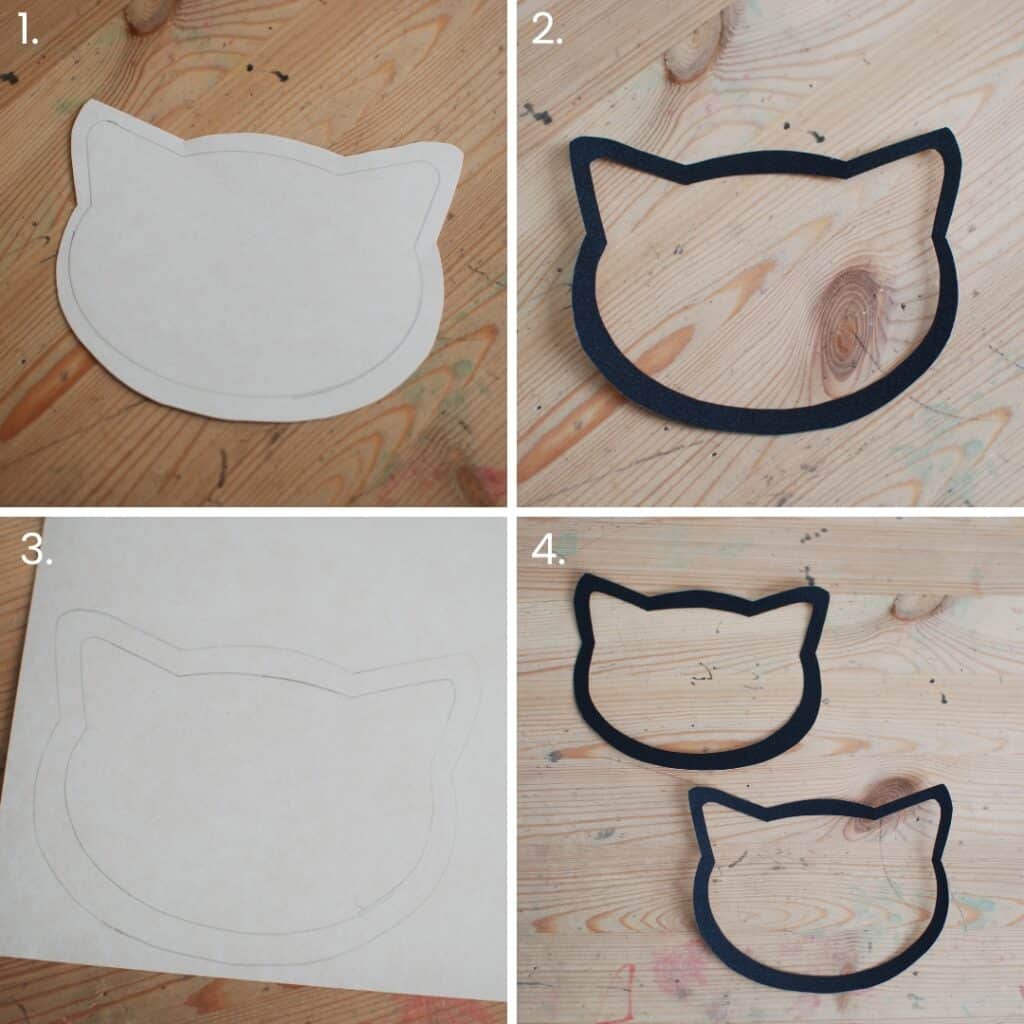
- Whichever method you choose, draw your cat head and then draw another around the outer edge. The width here is entirely up to you. We used about 5-10mm.
- Cut out the frame.
- Use the frame and with it good side up, draw around it to make the other side of the catcher.
- Your two cat head suncatcher frames should now fit together well, with the good side facing out on each side.
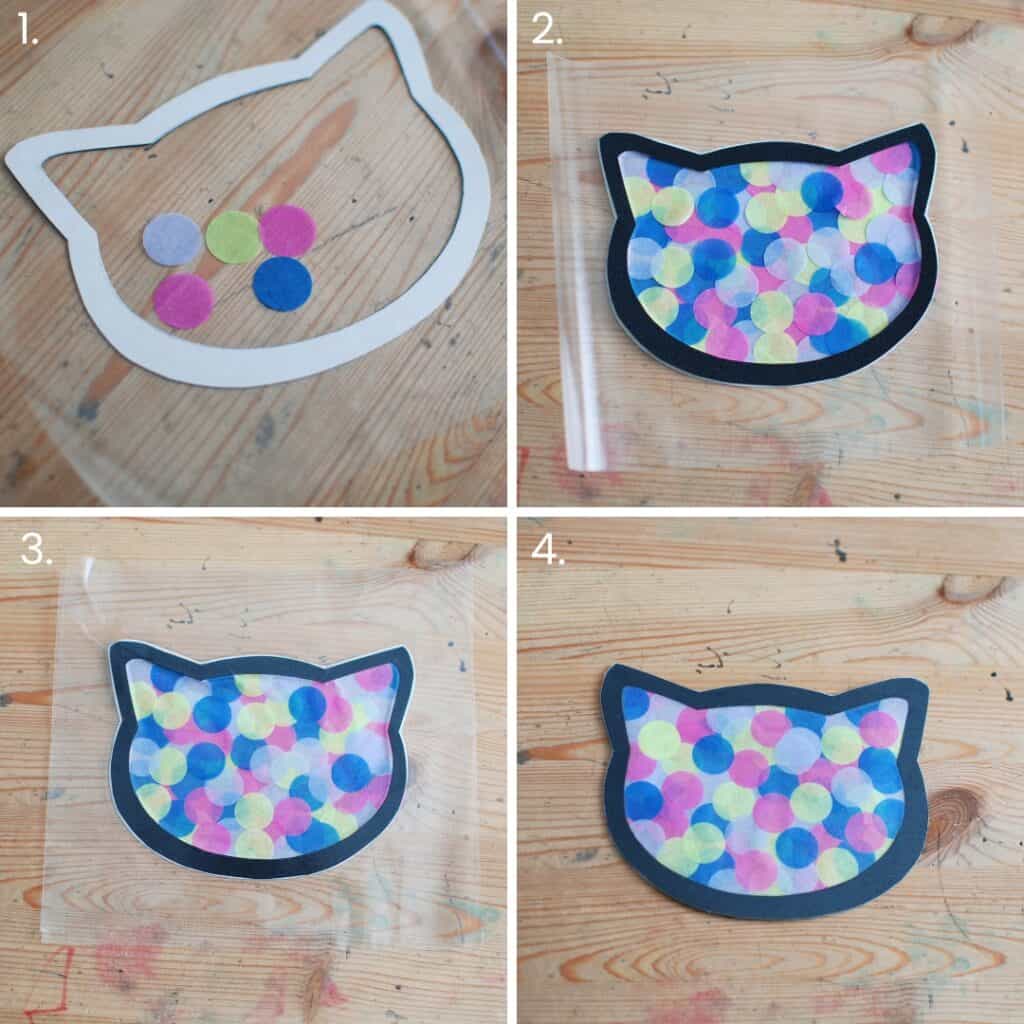
- Cut a square of the sticky back plastic a little larger than your cat head. Peel off the back so the sticky side is facing up. Then get creative with your tissue paper craft and start laying on your colours.
- Once you’re happy with how your DIY suncatcher looks, carefully lay the other cat head frame over the top.
- When in position, take another square of the clear plastic, peel off the back and lay the sticky side down covering the suncatcher.
- Smooth out any bumps and bubbles with your hands then cut the excess around the edge of the frame away.
Now to display
The great thing about this little project is that the suncatchers can be displayed easily and brighten up your room. Simply use a bit of sticky tack or dots on the back to stick them to your windows. You could place them in your car or even just hang them on your wall.
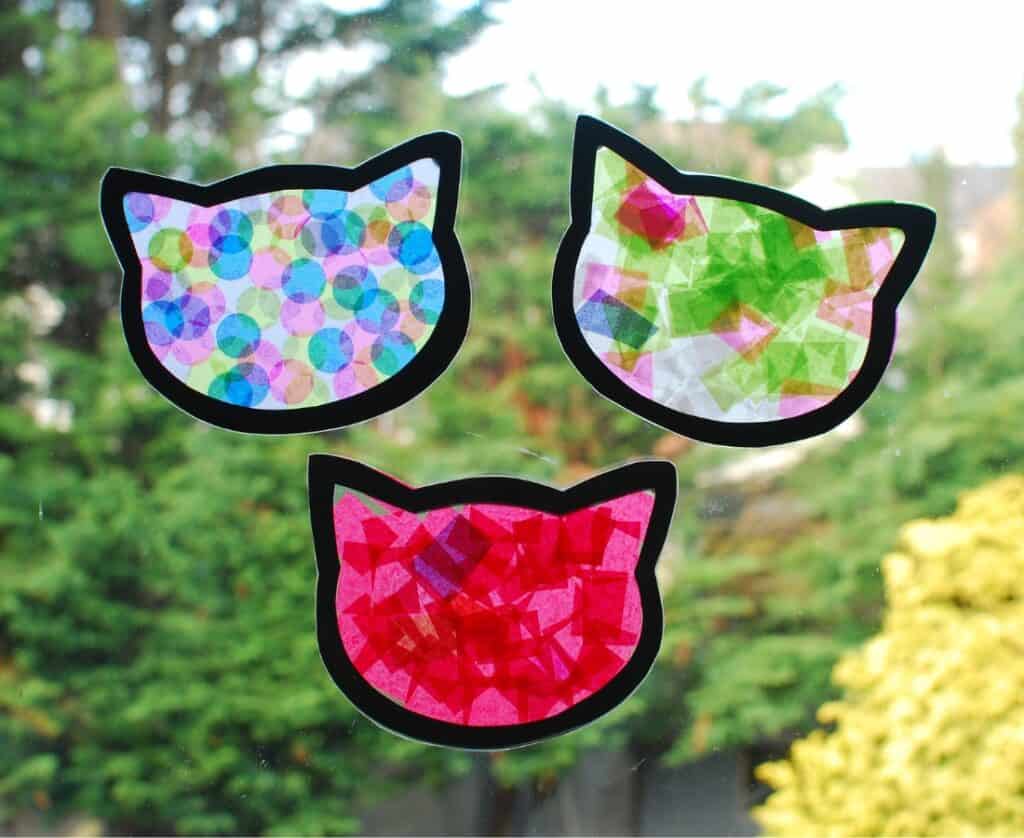
Just imagine at Christmas time having a window full of snowflake suncatchers, I think I’ll get to work on this with the kids during those loooong summer holidays! 😹
What else can I use to make a sun catcher?
There are lots of things you can use to make a suncatcher, a lot of which you’ll probably have around the home already. Think about things like colourful transparent sweet wrappers, drinks bottles, spots of paint or even add some glitter for that extra sparkle.
I would definitely do this craft again, looking at my kids’ creations on the window just gives me a warm fuzzy feeling inside 😻
Looking for more cat themed crafts?
If you enjoyed this DIY suncatcher make, then take a look at our other cat themed craft projects.
Come over to our Koro Cinco Cats Facebook page and share your DIY suncatcher with us.

